|
|
Post by Lonely Wolf Forge on Oct 18, 2013 8:30:21 GMT
hahahha yeah, but there will always be naysayers, people who are pissed off they cant do something themself so all they can do is bash someone who DID it.  |
|
|
|
Post by Lonely Wolf Forge on Oct 18, 2013 8:25:33 GMT
centered as in vertically? in the middle of the grip? Side to side it is centered lol. although in the bottom pic it kinda doesnt look like it
|
|
|
|
Post by Lonely Wolf Forge on Oct 18, 2013 0:20:22 GMT
Grip cxores done and permanently fitted, wrapped it very tightly in waxed thread to add strength, even if the wood core somehow cracked, no way its going anywhere with this wrap and the leather over that Ill be sending it off to Crusader Monk this weekend for scabbard and suspension, when it comes back ill finish the grip wrap to match the scabbard and suspension. 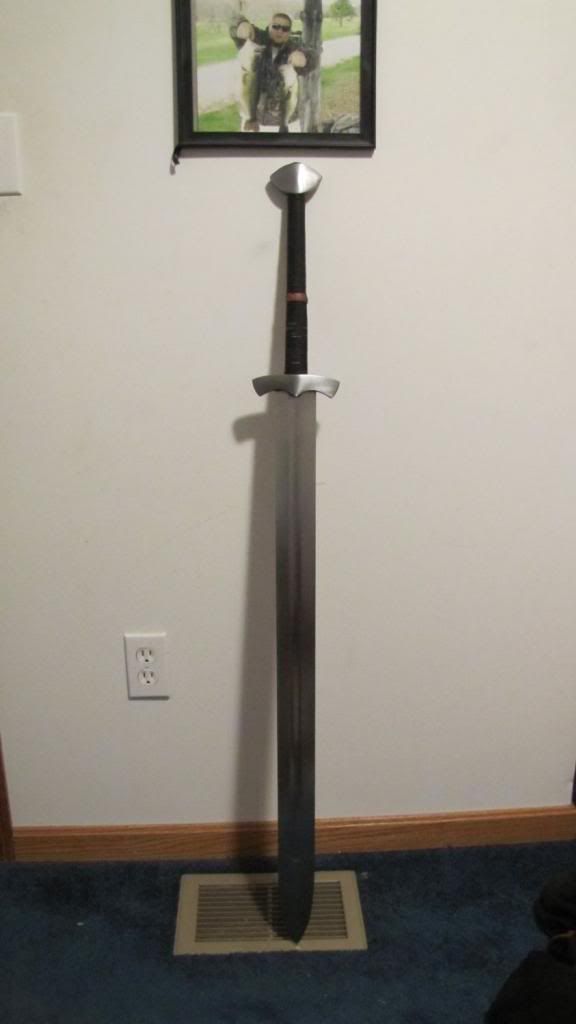 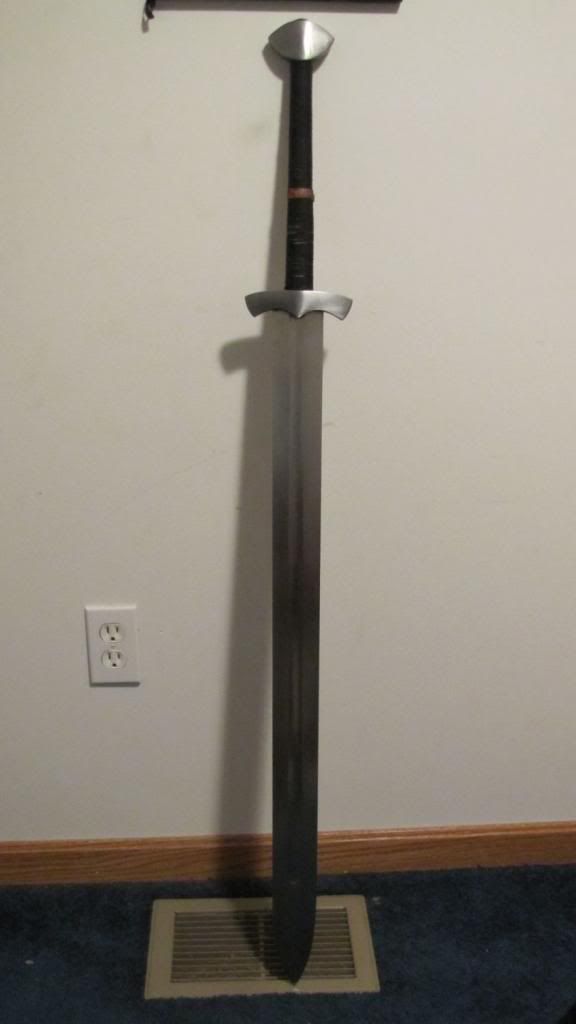 |
|
|
|
Post by Lonely Wolf Forge on Oct 17, 2013 14:09:10 GMT
thanks Ernie, Glad to see you responded to this thread as well since apparently people think i just bought the finished sword from you and assembled it myself, DSA Style... Those guard and pommel blanks were awesome Man, all i had to do was Cut the final shape with my angle grinder and then grind in the 3D attributes i wanted from the flat blanks. cut off alot of steel and was knee deep in grey powder when i was done, but with your blanks, unlike the local machine shop ones, the tang slots were milled STRAIGHT. the Other ones i had Slotted at the local shop were crooked....idiots couldnt clamp a piece of steel down and mill a straight slot lol.
|
|
|
|
Post by Lonely Wolf Forge on Oct 16, 2013 18:52:13 GMT
It's come to My attention that someone/someones been saying that I had Ernie make this sword for me and that all i am doing is hilting it up and assembling it. Doesn't matter who, I dont care. This is my sword, and Thats pretty laughable since ive posted continuous progress updates through every stage of its creation. So to lay any of you rumor mongers to rest..Yes there's a photo of my blade on Ernies facebook page, why? Cuz as i stated ages ago, I cant do fullers and i commissioned him to do them for me. He also cleaned up the profile of the blank, and provided me with Slotted guard and pommel blanks because a Local Machine shop semprinied up the slots on the first set of pommel and guard blanks i had finished, i believe you can see pics of those ones earlier in this thread. So yes, I did have help from Ernie, and haven't failed to recommend and give him credit where it is due. Also, if anyone wants to question my methods, try PM'ing me instead of spreading hearsay and uneducated guesses about my blade making process. If anyone wants to contest my statements, Feel free to email Ernie and ask him if he made this blade for me. Anywho....now that that is settled, Im hoping to have it finished up on the morrow...look for an update Nothing to hide here, I'm not Darksword Armory :lol: 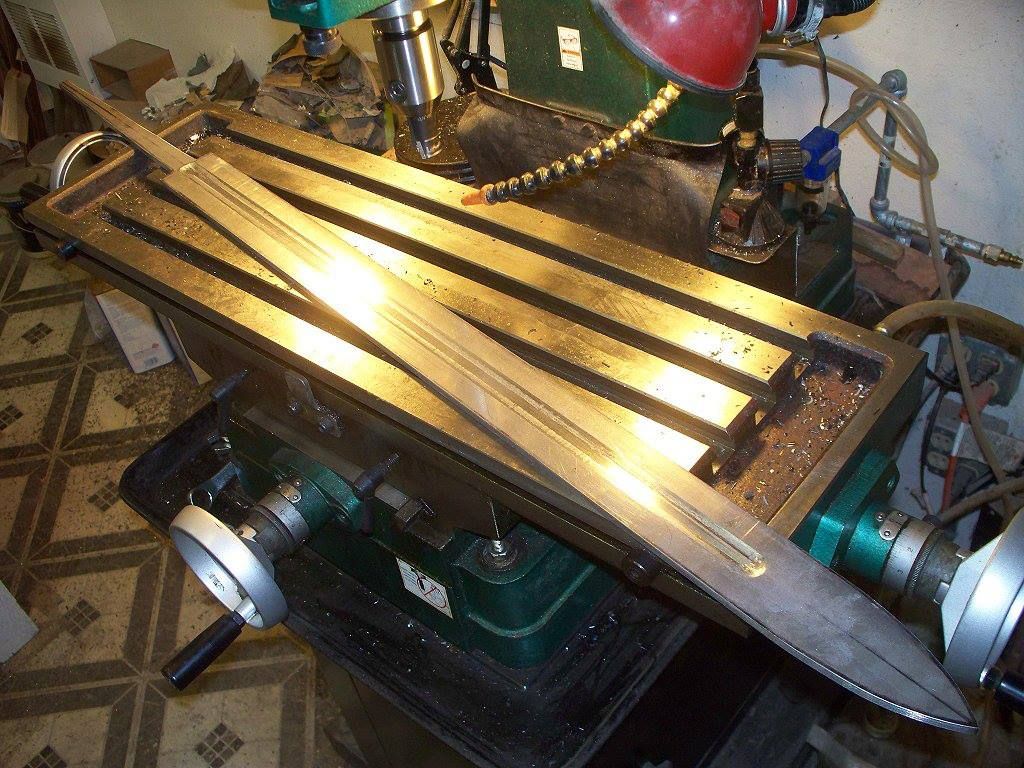 |
|
|
|
Post by Lonely Wolf Forge on Oct 16, 2013 8:28:33 GMT
i had ernie send me slotted guard and pommel blanks which i ground, shaped, polished, and fitted myself. The blade is all me except the fuller, which ernie also did. I suggest anyone wanting hilt parts to get in contact with Ernie, he does a bang up job, and it will cost a hell of alot less than a local machine shop will charge. i made the mistake of paying a local machine shop 90 bucks just to mill tang slots for me and then they botched it and made the slot offset so the pommel wouldnt sit right.
|
|
|
|
Post by Lonely Wolf Forge on Oct 15, 2013 23:04:58 GMT
its a semprini. i can grind out and finish a blade in half the time it takes to fit a hilt. its NOT like in the Albion video. theyve cut out all the parts where stuff doesnt fit and it takes Hours with needle files just to get it right and all that stuff lol
|
|
|
|
Post by Lonely Wolf Forge on Oct 15, 2013 18:36:38 GMT
when doing a peened pommel you have to do it this way otherwise when heating the tang tip to peen it you will catch the wood core on fire and burn it off long before you finish the peen. Dont ask me how i know this. Check out this video, this is how i did/am doing this sword |
|
|
|
Post by Lonely Wolf Forge on Oct 15, 2013 0:07:40 GMT
i had that happen with a scabbard i made, it bent severely too the left but when you put the sword in it went straight, left it that way for 6 mos, pulled out the sword and its still bent like a bannanna. My money says Call Sarge abd have him make you a new one :]
|
|
|
|
Post by Lonely Wolf Forge on Oct 15, 2013 0:04:56 GMT
|
|
|
|
Post by Lonely Wolf Forge on Oct 13, 2013 0:29:48 GMT
looks great
|
|
|
|
Post by Lonely Wolf Forge on Oct 13, 2013 0:27:53 GMT
awesome demo
|
|
|
|
Post by Lonely Wolf Forge on Oct 12, 2013 0:35:26 GMT
that looks pretty cool, but the grips not as long as the photos suggest. only 10 inches.
|
|
|
|
Post by Lonely Wolf Forge on Oct 11, 2013 23:06:48 GMT
After about 9 hours in the shop,alot of grinding, hammering, polishing, and Cursing... heres my progress update. Guard and pommel have been fitted properly and all rough work is done, they have been rounded and trued up to their final geometry, and given a rough polish. the grip core is finished and ready to be split apart and cut in half to make room for the Polished Bone Spacer that will be in the middle of the grip. The fittings will recieved a better hand polish job to remove all machine marks, the pommel will be peened, and the entire blade and hilt will be given a final Polish. The grip cores will be glued on, the leather wrap will be done, and then the whole sword will receive its final cleaning and be dubbed ready for use! But it wont be lingering long, because this sucker is scheduled to be shipped to Crusader Monk ASAP for scabbard, baldric, and belt work.... 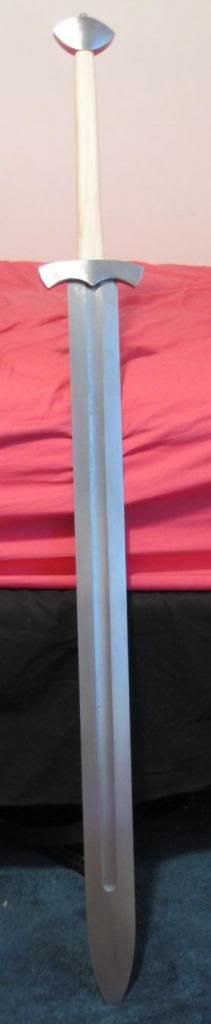  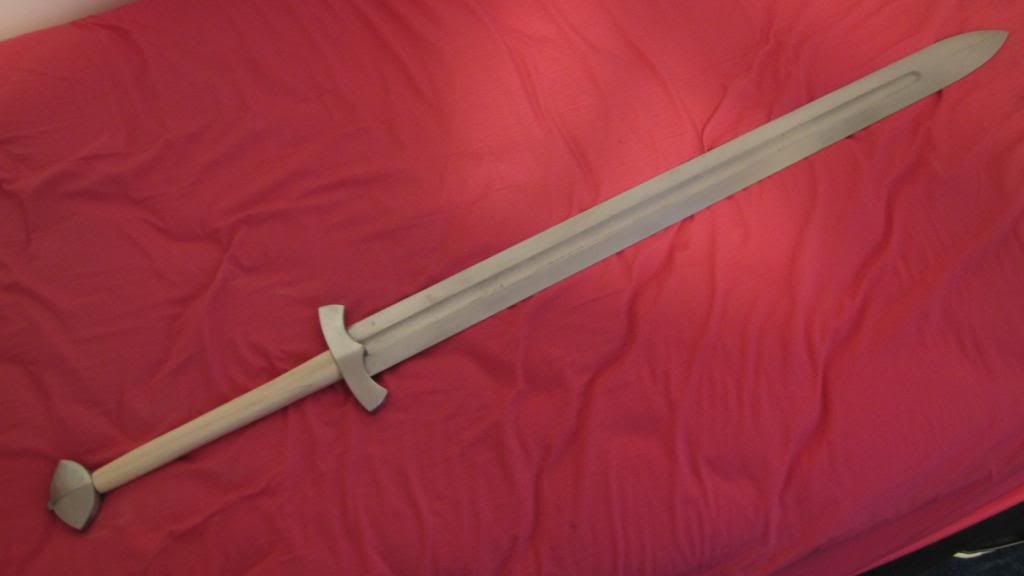 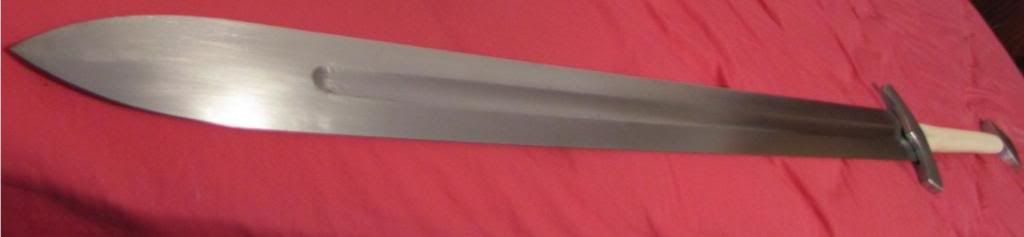  |
|
|
|
Post by Lonely Wolf Forge on Oct 11, 2013 18:25:14 GMT
i thought of that as well, sadly im not set up for that, i generally have to do everything the hard way. all i have equipment wise is an angle grinder, a dremmel tool, a 1X30 belt sander, a Hammer, and some hand files.
|
|
|
|
Post by Lonely Wolf Forge on Oct 11, 2013 18:02:04 GMT
What do you guys use to remove deep machine scratches from hilt parts? its easy on a blade because you can just run the blade along the platen on a belt sander, but for rounded 3 dimensional parts like guards and pommels, how the hell do you polish out the scratches? ive tried ultra low grit paper, but it still doesnt cut as deep as the machine made scratches...is there some kind of tool i can use? ive tried a dremmel with fine grit sanding drums, but while it takes away the scratches, it leaves new deep ones of its own that also wont come out...
|
|
|
|
Post by Lonely Wolf Forge on Oct 9, 2013 5:42:12 GMT
I should add in that the part with the suber fast jug stabbing, and yanking the blade out of the stuck log was artificially sped up to super fast..my brother wasnt being anywhere near as reckless as it might look. haha.
|
|
|
|
Post by Lonely Wolf Forge on Oct 9, 2013 3:16:04 GMT
Some blade testing of my Outbak zombie cleaver, Tripple fullered Dagger, and Langseax....and some...bloopers...Lol The Dagger and Jormungandr are excellent examples of my light backyard cutters, these are made to function as real weapons, and have very sharp edges and low nikku geometry. These are ideal for cutting bottles and tatami mats and pulling off Silent and Static cuts. The outback zombie cleaver is an example of one of my beater grade weapons, made to take tons of punishment and deal out even more, these are a tougher more robust design, but also heavier, with more nikku and a not so wicked sharp edge. these are great for camp knives, brush whackers,and of course, zombie apocalypse. |
|
|
|
Post by Lonely Wolf Forge on Oct 8, 2013 18:53:53 GMT
This. It took about 2 months wait for him to get to my small project.
|
|
|
|
Post by Lonely Wolf Forge on Oct 5, 2013 22:12:44 GMT
oh Killer, glad youve got to put it to some good use
|
|


 Unfortunately I'm an edge-perfectionist. Also one wrong move when unsheathing and the throat nicks the edge on either side.