|
|
Post by Lukas MG (chenessfan) on Apr 26, 2014 6:50:49 GMT
Just an angle grinder, followed by a belt sander to true things up.
|
|
|
|
Post by Lukas MG (chenessfan) on Apr 26, 2014 20:56:18 GMT
So, I finished hand sanding and the blade is now ready for the heat treater. I just talked to him on the phone and he said it'll be 1-2 months until he can get to it, so from now on, progress will be slow. I also got to work on the guard today. As I had said earlier, my first design with downturned quillons was discarded in favor of a reworked VA Kriegsschwert guard. I reground the facets to get rid of all waviness (there was lots of it... also a very sloppy guard inlet and way oversized tang hole, both I'll fix by filling with weld). Then the side rings were made from 3mm steel. 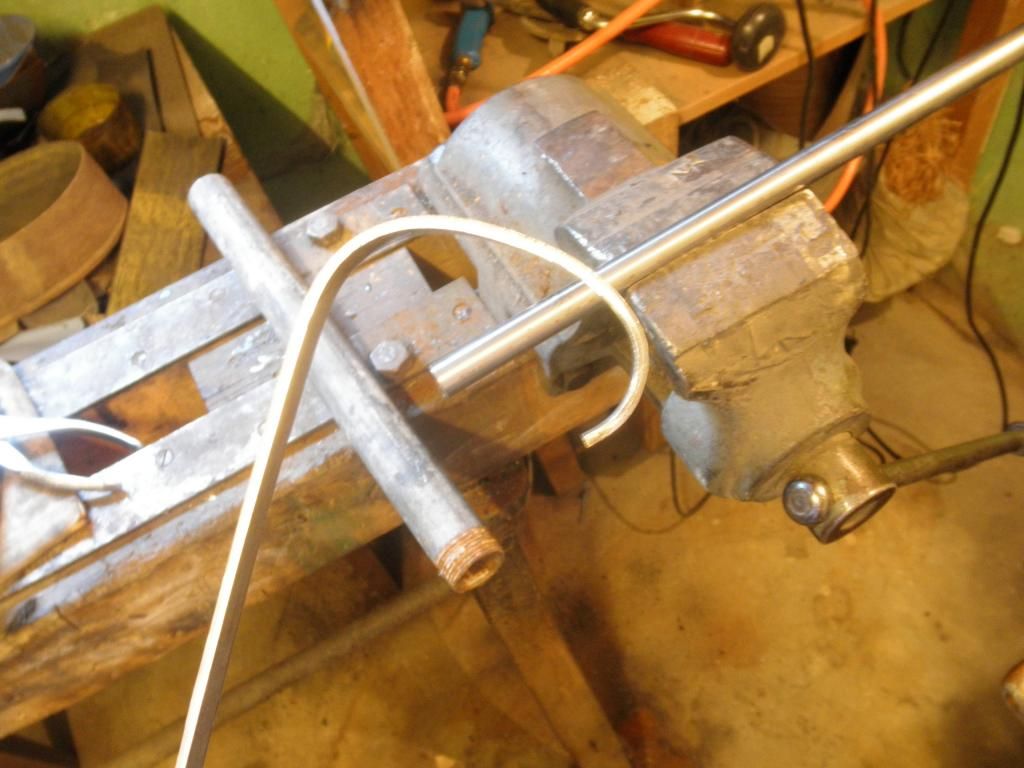 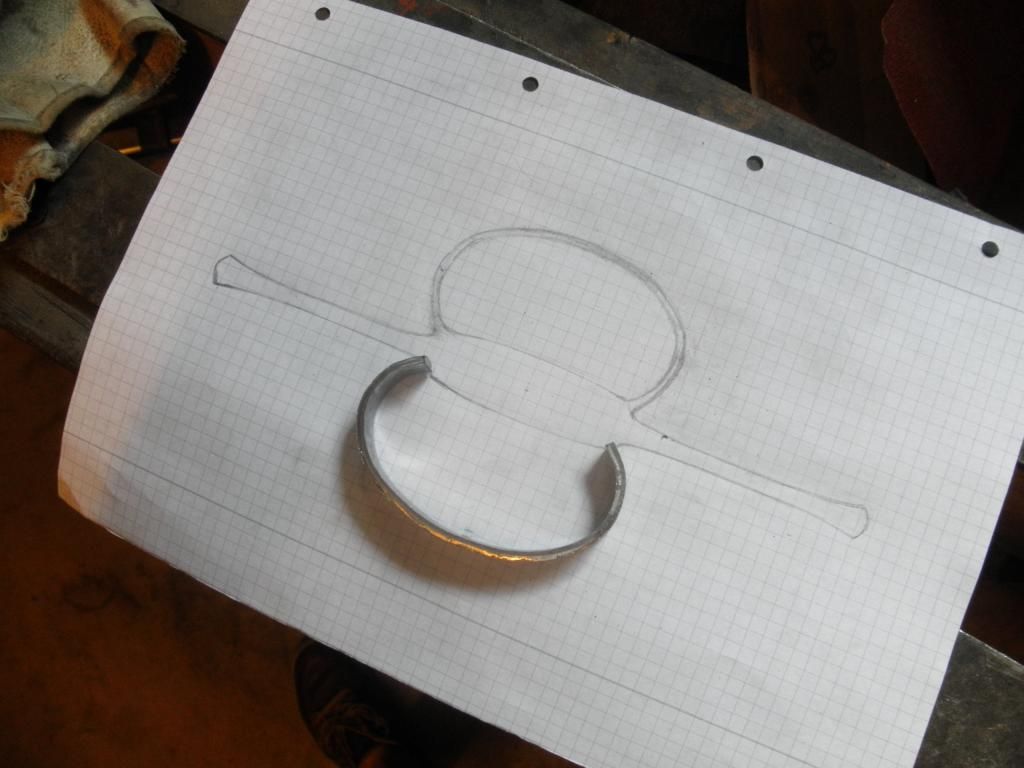 Next step is welding on the side rings, then I'll clean everything up and go over it with sandpaper and file to get things perfectly shaped. 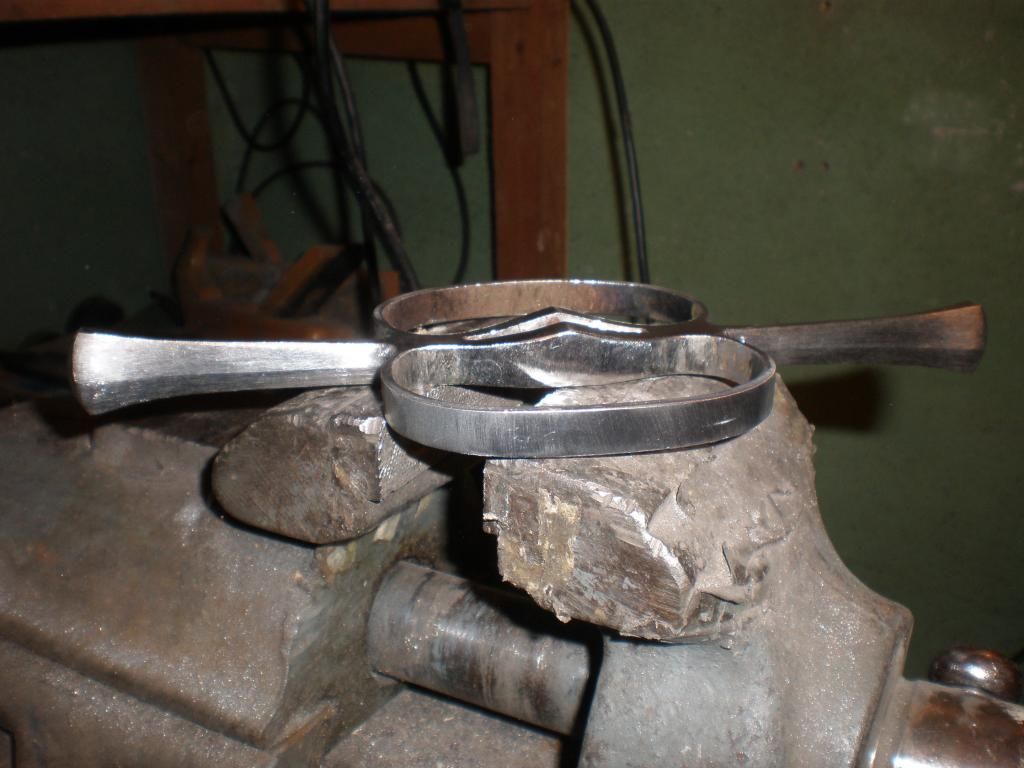 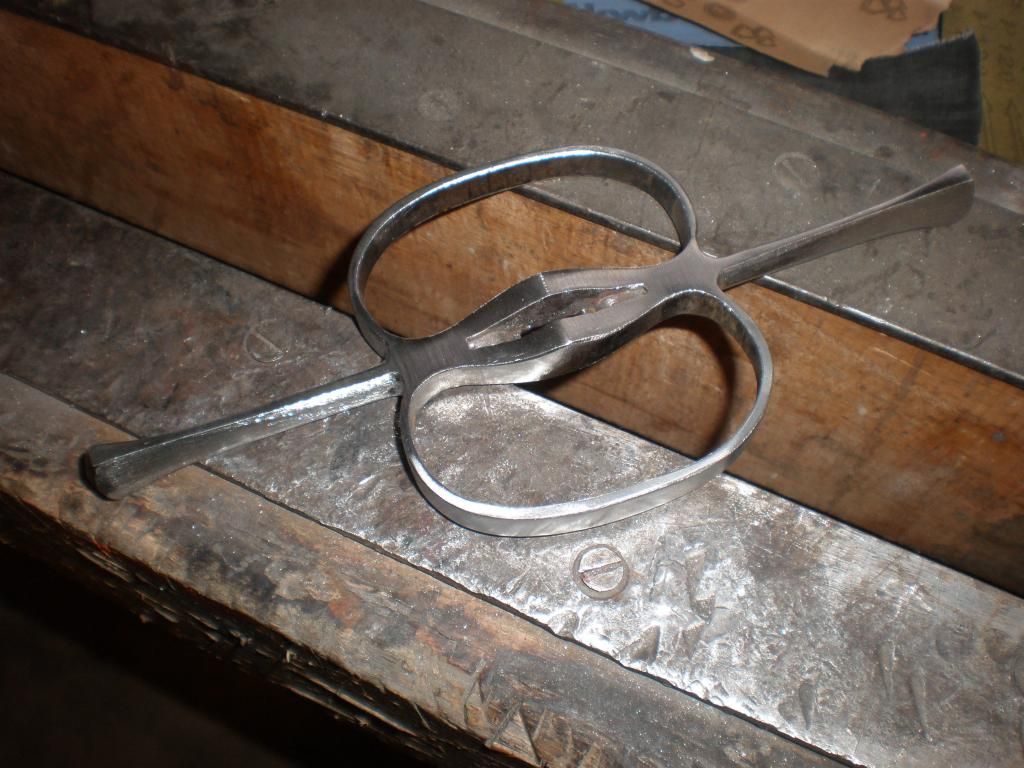 Since the blade is close to final shape and I know the guard weight, I can now calculate the pommel weight. I do that by taping the guard in its future place and adding metal weights to the tang end where the pommel will sit until I like the feel and harmonics like pivot points and percussion nodes. This one needs a pommel weight of about 300g. Now comes the hard part, figuring out how big of a pear shaped pommel I need to get the needed weight. Gah, I hate math  |
|
|
|
Post by LemuelTheLemur on Apr 27, 2014 1:43:53 GMT
Oh that reground guard is just gorgeous! Can't wait to see how everything turns out  |
|
|
|
Post by Adrian Jordan on Apr 27, 2014 1:46:39 GMT
Man, I'm really a fan of your stuff. Everything is super clean. Love it.
|
|
|
|
Post by Bushido on Apr 27, 2014 13:19:53 GMT
Wow, looking awesome! I'm really impressed by the straight crisp lines, good job man!  Can't wait to see this thing finished! |
|
Lunaman
Senior Forumite
Posts: 3,974
|
Post by Lunaman on Apr 27, 2014 16:26:19 GMT
I said this over at myarmoury as well, but I'll say it here, too. I don't want you to be ripping your hair out doing unnecessary math about the volume of pear shapes.
Just do a little math at the outset: convert the 300g of steel into a known volume of steel, then find the weight of an equivalent volume of clay or wax. Then you can play around with shapes in your sculpting medium and easily add or remove material to get the right volume by checking your new 'equivalent' weight on the scale. Once you're happy with the pear shape, then you can go back in and take measurements of your sculpted model to reproduce it in steel. That way you only have to do calculations at the beginning and take measurements at the end. You don't need to be bothered with trying to calculate the volume of different sized pear shapes.
|
|
|
|
Post by Lukas MG (chenessfan) on Apr 27, 2014 21:44:26 GMT
Ha, thanks Zach. That's a very smart way to do this, much better than my very rough estimation followed by "ah, what the heck, I'll make it oversized and just grind off material until it's right"  |
|
Lunaman
Senior Forumite
Posts: 3,974
|
Post by Lunaman on Apr 28, 2014 1:50:42 GMT
hahaha, you're welcome, brother. I'm really loving this project so far, excited to see where it goes!
|
|
|
|
Post by KaOsBlaKbLaDe on Apr 28, 2014 19:44:12 GMT
This is really impressive for a freehand job for sure.
I love the clean, straight lines.
Great Work!
|
|
|
|
Post by Lukas MG (chenessfan) on Apr 29, 2014 15:02:12 GMT
Thanks everybody for the positive comments!! Always nice to see your work appreciated  |
|
|
|
Post by Lukas MG (chenessfan) on May 3, 2014 19:21:25 GMT
Since I'm currently at university, no progress update but I got a (rough) drawing for you that shows what the sword will look like when done: 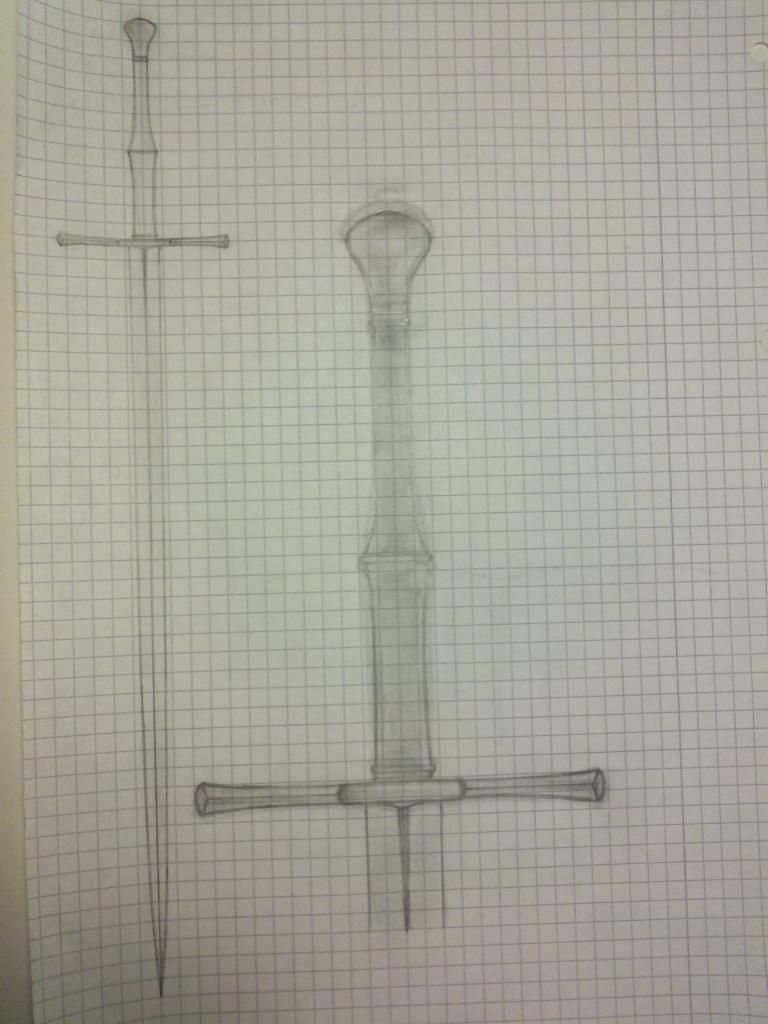 |
|
|
|
Post by Lukas MG (chenessfan) on May 13, 2014 6:57:53 GMT
Since the forum was down for quite a while, I need to catch up on posting updates. I've finished the guard. The only thing that remains is fitting the tang but that will have to wait until I get the blade back from the heat treater. I didn't go for a high polish and left some file marks and slight pits in the steel, I feel that gives it an organic, handmade look. In the last pic one can make out the "grainy" finish a bit. 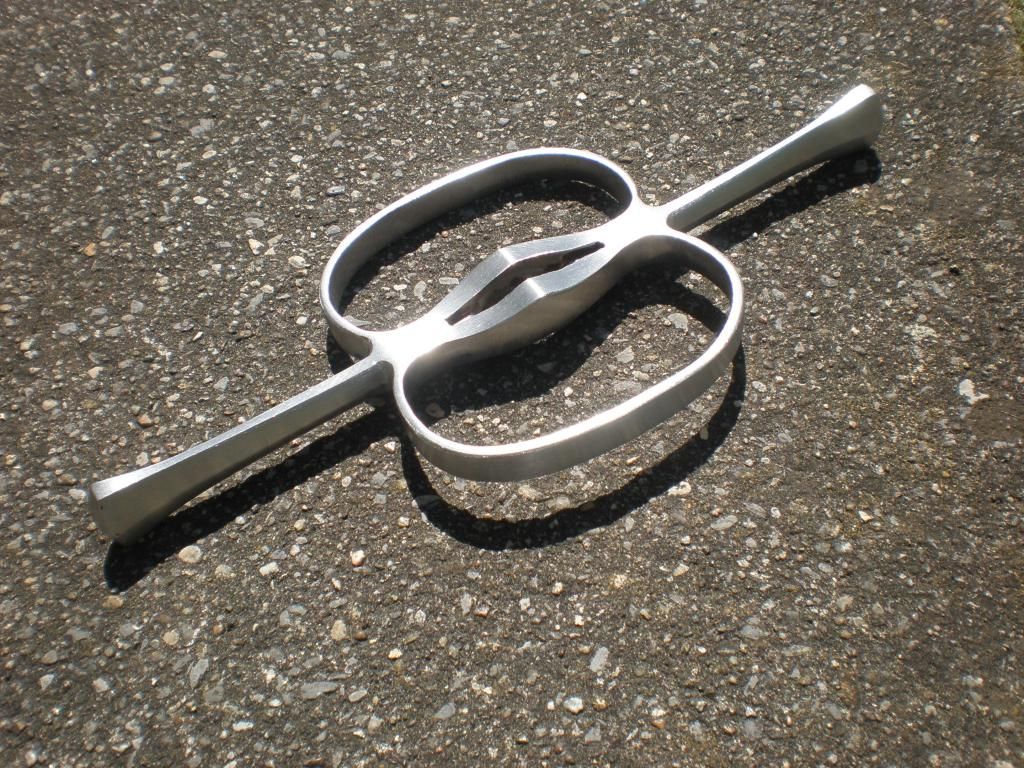 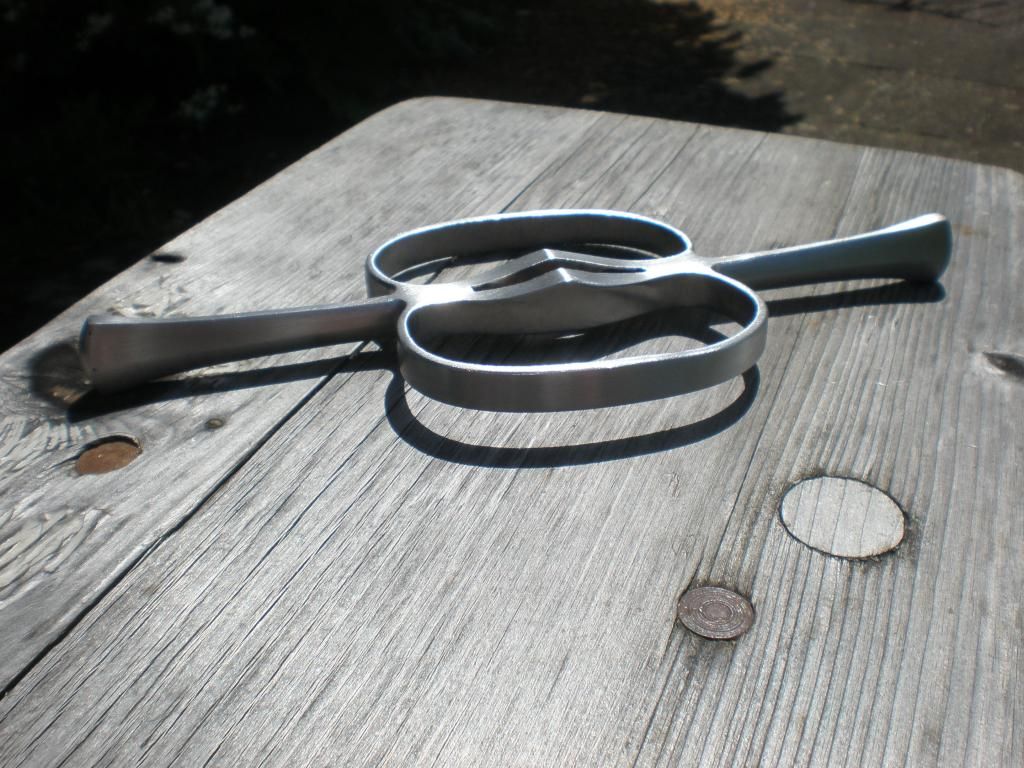 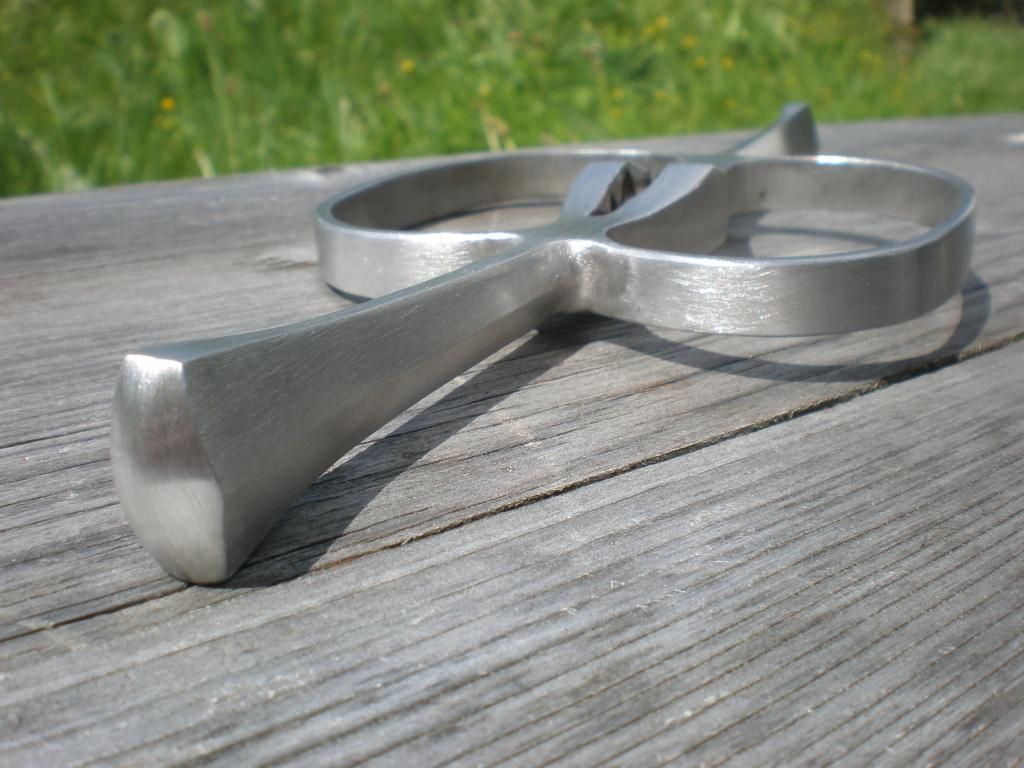 With guards the most important thing is keeping them as light as possible while retaining the desired shape (and strength). Especially with complex guards, this can be quite a challenge. Originals have very sleek and elegant shapes and that's what I strive for as well. I think it turned out pretty good. Here's an in progress shot: 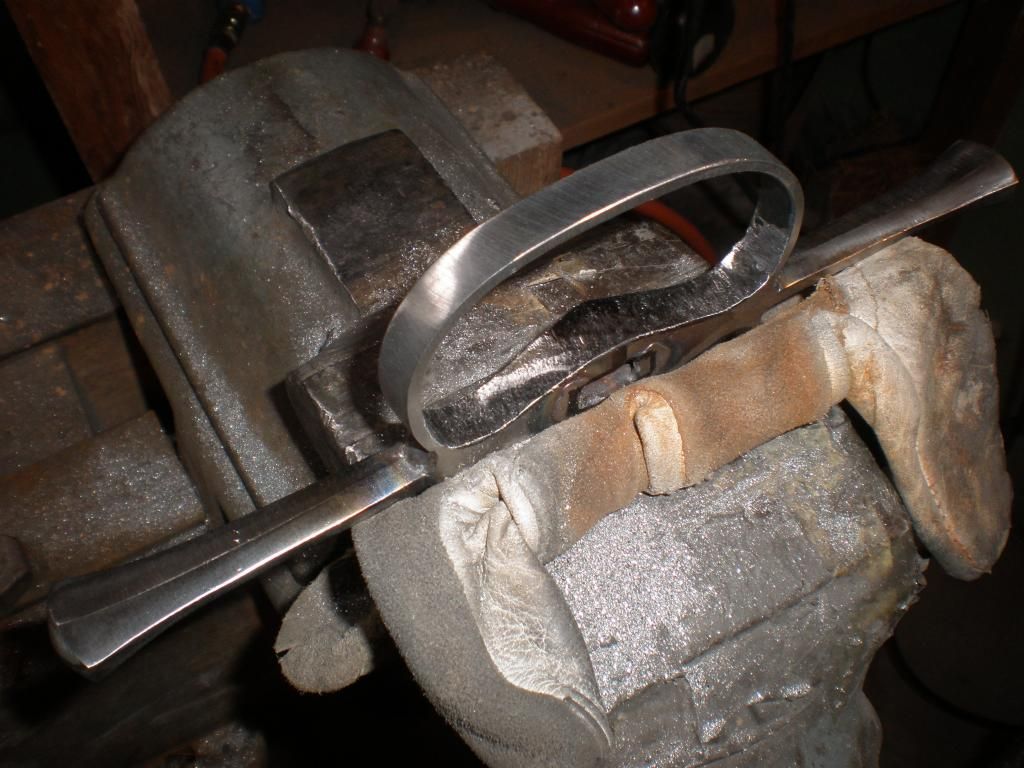 Lots and lots of filing... |
|
|
|
Post by Deepbluedave on May 13, 2014 9:26:58 GMT
Is looking great Lucas, the shape and taper of the blade give it a very classy look which is a testament to your skill and patience, looking forward to seeing this progress.
|
|
|
|
Post by Bryan Heff on May 13, 2014 10:19:00 GMT
That's it. Lucas obviously has both. Very impressive work.
|
|
|
|
Post by Lukas MG (chenessfan) on May 13, 2014 10:22:38 GMT
Aw, shucks :oops: Thanks guys  I'm glad you like it!! |
|
Aaron
Member
Senior Forumite
Posts: 2,369
|
Post by Aaron on May 14, 2014 7:24:42 GMT
 Seriously, though, amazing work. |
|
|
|
Post by Brendan Olszowy on May 15, 2014 16:09:42 GMT
Hey mate. Just had this thread brought to my attention. This thing is looking awesome. I guarantee you this blade will cut perfectly well if you give it a sweet edge, and your technique is sound. And it will just float in your hand. I recently made a similar blade (5 faces of darkness), and am using the first (rejected) blade from that project now to make a sword for myself (it ended up too wavy to pass on to the client, though the heat treatment is awesome, hence I can't straighten out the waves.)
I've had several similar blades, and yes, they cut just fine. Heck I even made decent cuts with a Hanwei rapier noodle blade.
For the pommel at 300g, I have two pear shaped pommels here (in my hand) which weigh about that. So as a guide.
These are both 52mm long.
22 to 23mm across at the base.
Swelling out to 35 to 37mm at the belly.
One is 285g, the other 297. Both have a 6mm hole through, but not keyed yet (so you could add a mm or so here or there). The one with the wider base and wider swelling has a more pronounced waist transition (more concave). The other is thinner but more pear shapes (shallower transition).
I hope this helps you go straight to your target without the fuss.
Keep up the strong work.
|
|
|
|
Post by Brendan Olszowy on May 15, 2014 16:26:33 GMT
Actually these two here, one is 285g, the other is 320g. The more bulbous is the 320g (drilled at 6mm already). It leaves you a little scope for reshaping. It's 22 across the base, 39 at the bulge, and 54mm long. I'd be happy to send it (or them) to you for just the cost of postage (about $30 AUD?), though if you already have a lathe you'd probably rather make your own. Offer is there though. Shave up the top arc, and upper waist and you'd be pretty close to your design, and target weight. If you don't have a lathe you could do this by putting a bolt through it and letting it spin against your beltsander. (reshape the waist spinning against a slack section of belt). Thats how I sand up all my pommels surfaces (do it before keying). Attachments:
|
|
|
|
Post by Lukas MG (chenessfan) on May 15, 2014 22:49:13 GMT
That's a very generous offer!! A good friend of mine has a lathe though and he'll make the pommel for this one. Really appreciate it nonetheless!! I'm also glad you like it  Yes, I'm sure it'll cut fine, can't wait until I get the blade back from the heat treater so I can get back to finish it... and then take it out for a spin  Actually, just a few days ago I checked your website for the XVIIIb you said you had made recently and saw that sword (5 faces of darkness). Really like it  Must handle amazingly from the stats of it! I totally understand you wanting to make a similar one too keep. I'm sure you know this but I had good success straightening out waves after heat treat using a torch and a vice. It is nerve wrecking though and I'm always amazed how far properly heat treated steel can bend without breaking or taking a set. |
|
|
|
Post by Brendan Olszowy on May 16, 2014 1:53:03 GMT
You're welcome. Yes, tempering heat and a vice help, but as you say they're a semprini to reset when they're really spring tempered,, and tend to take so much bending that the effort gets transferred to the wrong part of the blade, and so the bending back and forth... Can become a night mare. This one unfortunately had four notable kinks that just wouldn't come out in the end, and also some sabreing that needed regrinding. Though with such narrow blades sabreing can be bent out (at tempering heat), but can tend to come back a bit during the heat from hand sanding and belt sanding. I spend about 8 hours trying to correct it with regrinds and reheats to the point I just tossed it and started another blade. I made the new blade a couple of inches shorter and that went sweetly. This one is 36.2", and will still be a fine blade for use, I just wouldn't pass it on to a client. What length is your blade? I'll also cut the tang down for a 135mm (5.4") tight hand and half grip. The blade is so light it can even be single handed. Should be a fun sword. I estimate about 1050 grams or so (2lb 5oz). I'll keep this for my beater for a while, and will have the hilt removable in case I get time to make it a new blade at some point. Attachments:
|
|

