|
|
Post by Lukas MG (chenessfan) on Jun 23, 2014 10:27:54 GMT
After peening: 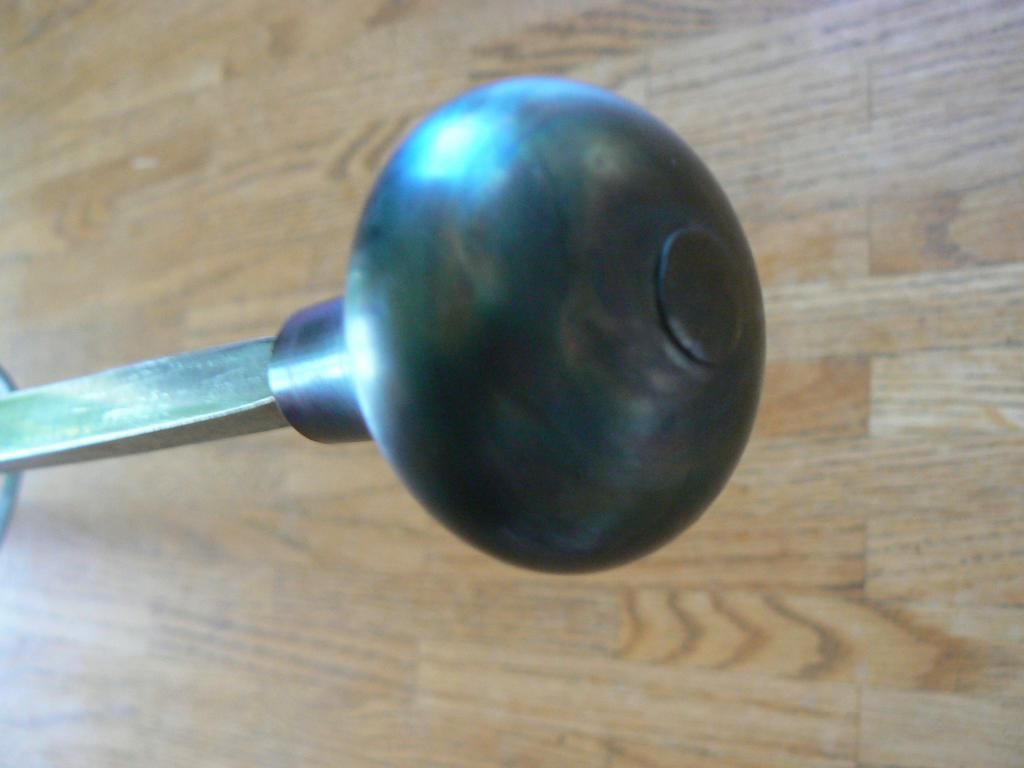 After clean up: 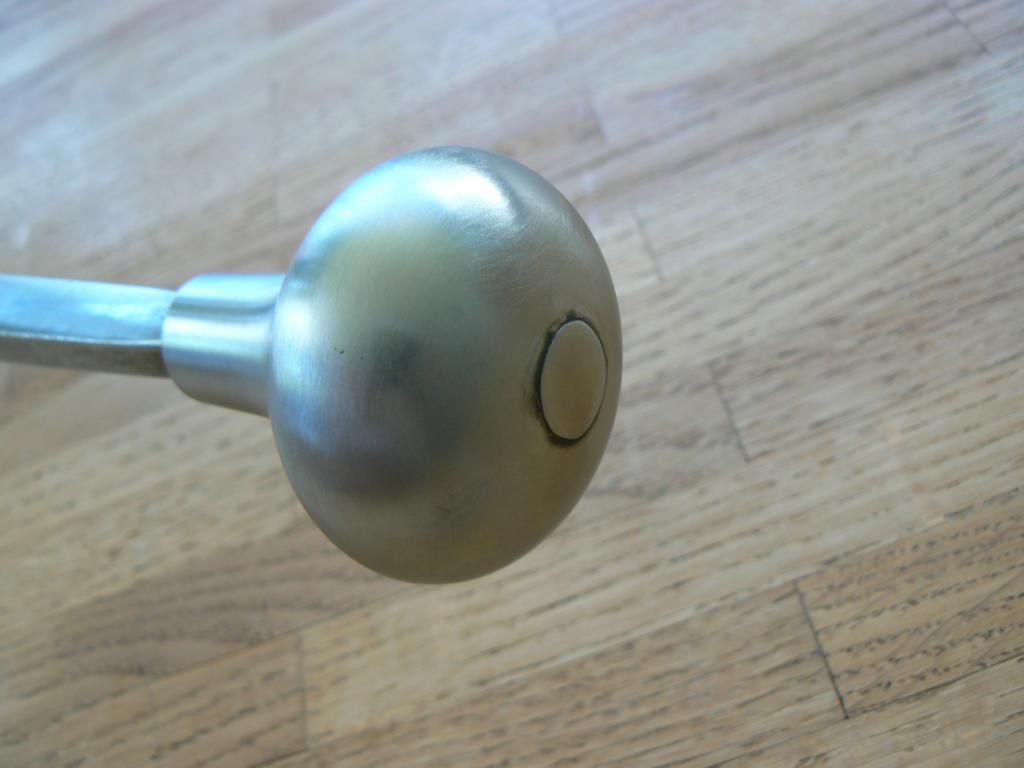 As with the guard, I'm going with a handmade appearance, no excessive polishing, just a simple, smooth surface. Much more durable and easier to maintain than a mirror polish. Also more appropriate for a practical sword I think. That's it for now. The rest of the work (grip and final polish) will have to wait till next weekend or the weekend after that... gotta go to school. Stay tuned!! |
|
|
|
Post by LemuelTheLemur on Jun 23, 2014 10:32:12 GMT
bravo! That is a beautiful peen.
|
|
|
|
Post by Bryan Heff on Jun 23, 2014 10:41:15 GMT
Looking fantastic. What a beefy tang and that peen is top notch. Can't wait to see the grip on.
|
|
|
|
Post by Lukas MG (chenessfan) on Jun 23, 2014 21:27:48 GMT
Thanks guys! Yeah, I can't wait either to finally be able to swing it  |
|
|
|
Post by Brendan Olszowy on Jun 25, 2014 1:25:30 GMT
She looks great mate. I love the shape of the pommel. Congrats on the blade straightening.
At least you can now swing it, pivot it, waggle it, and feel the balance. I love it when all the parts are in place like that. It's exciting!
|
|
|
|
Post by Lukas MG (chenessfan) on Jun 25, 2014 15:44:06 GMT
Thanks. Yeah, I always love when one can finally pick up the sword and get a good feel for it. When experimenting with different weights for pommel and guard everything is just taped in place and while good enough for deciding on weights, it just doesn't give a similar sense of how the sword will behave when done. Very exciting indeed. The next exciting moment will be when the wooden grip is in place. I can never resist taking the sword out for a quick cutting session before doing the cord and leather wrap  |
|
|
|
Post by Lukas MG (chenessfan) on Jun 27, 2014 17:16:15 GMT
Glueing grip: 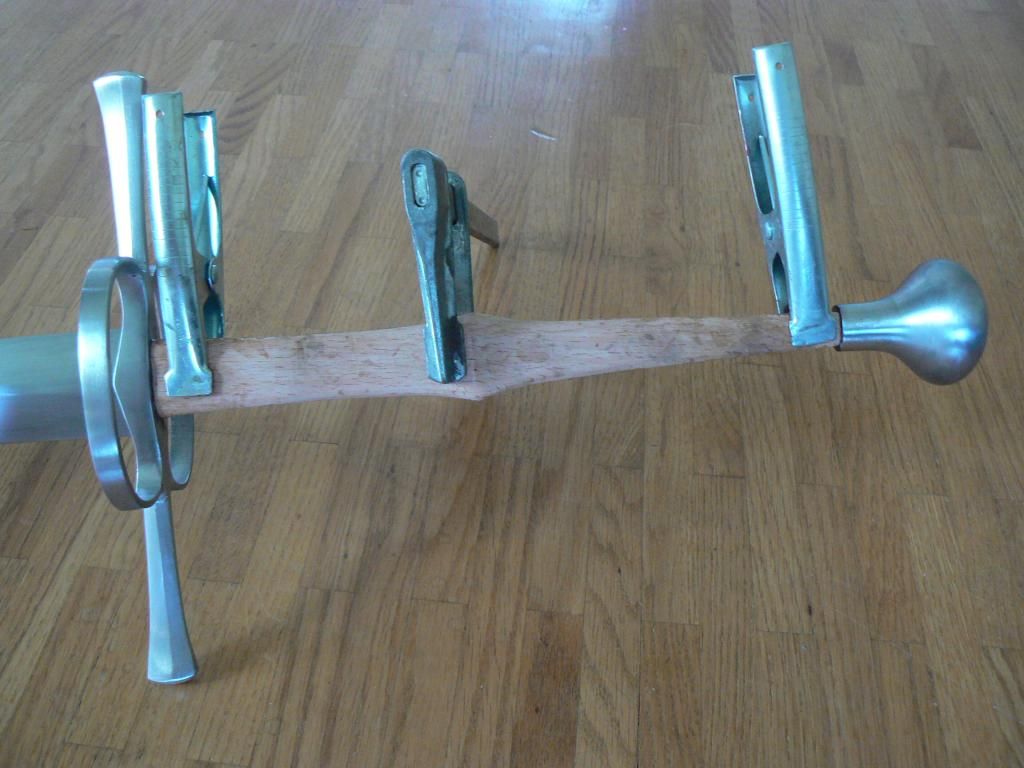 The end is drawing near...  |
|
|
|
Post by LemuelTheLemur on Jun 27, 2014 17:19:12 GMT
oh man that is going to be so hot when it's finished.
|
|
|
|
Post by Lukas MG (chenessfan) on Jun 27, 2014 17:28:19 GMT
Thanks  I'm still trying to decide on grip color... I have black, the brown I used for my last sword and scabbard and some green but that last one is a bit on the thick side. Hmm... |
|
Lunaman
Senior Forumite
Posts: 3,974
|
Post by Lunaman on Jun 27, 2014 20:06:44 GMT
Green green green! Go green! Black looks tacky and you've already done brown.  Brown would be my second choice. |
|
|
|
Post by Brendan Olszowy on Jun 28, 2014 4:25:48 GMT
If the green is soft (chrome tanned sheepskin for examply) and difficult to skiv you may be able to thin it out on your belt sander?
|
|
|
|
Post by Lukas MG (chenessfan) on Jun 28, 2014 10:07:27 GMT
With skiving the green leather actually worked just fine. Cord wrapped: 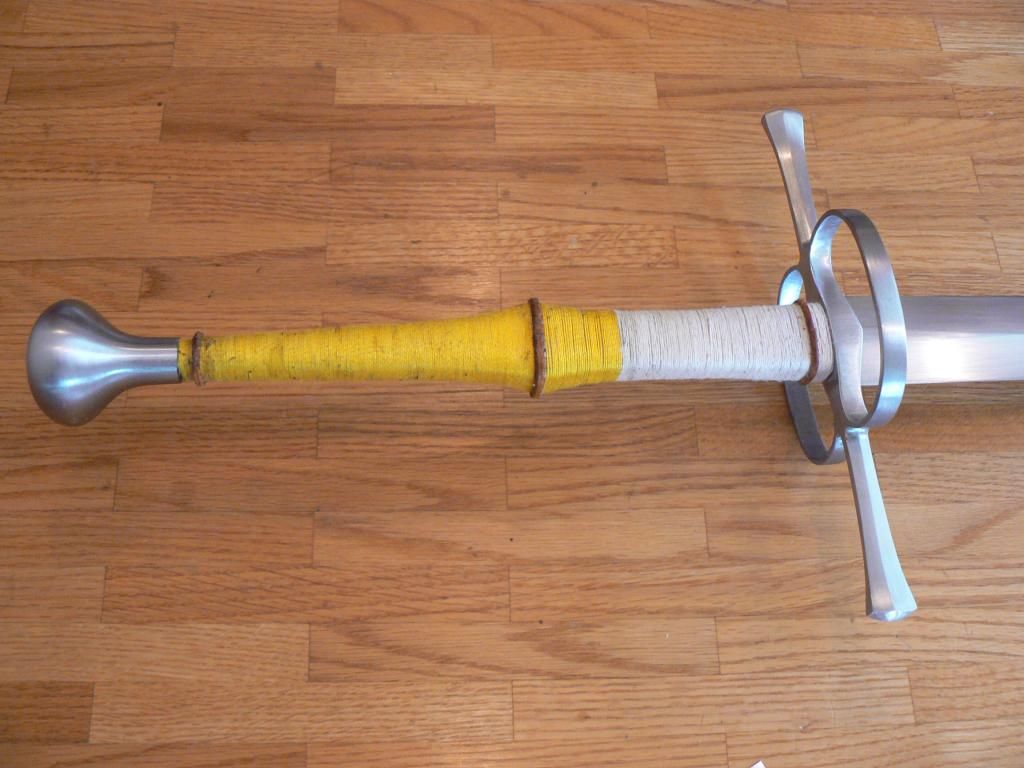 I ran out of yellow string while wrapping and had to finish with white. Doesn't matter anyway. Skiving the leather: 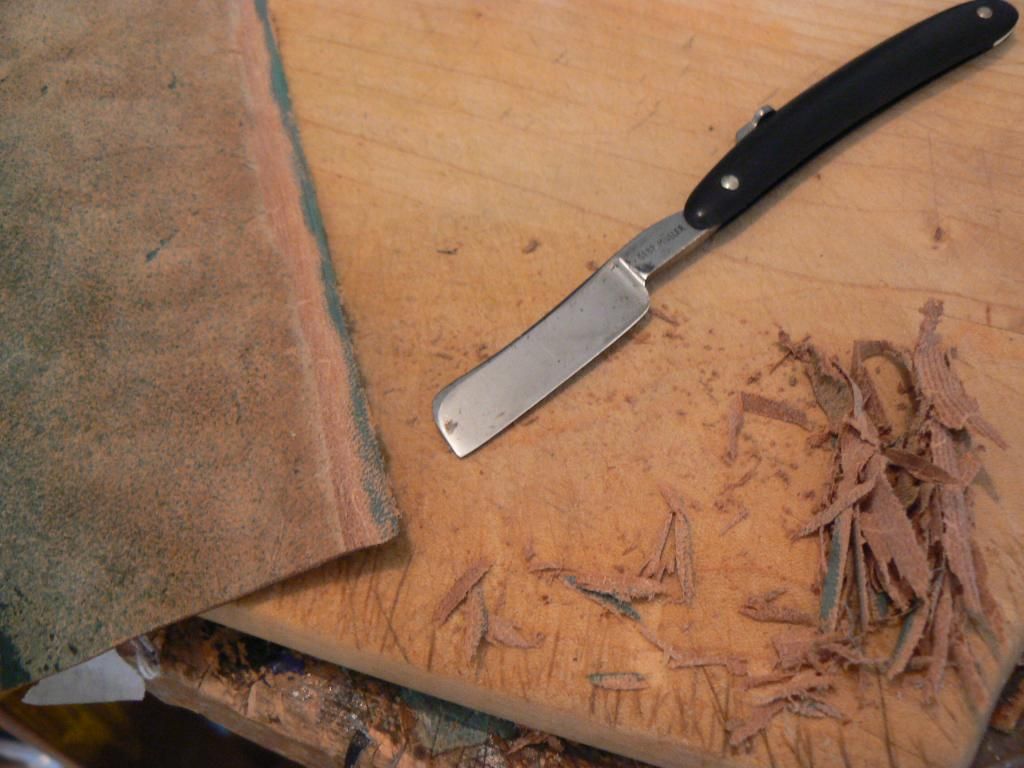 Folding over upper and lower edge where they touch guard and pommel: 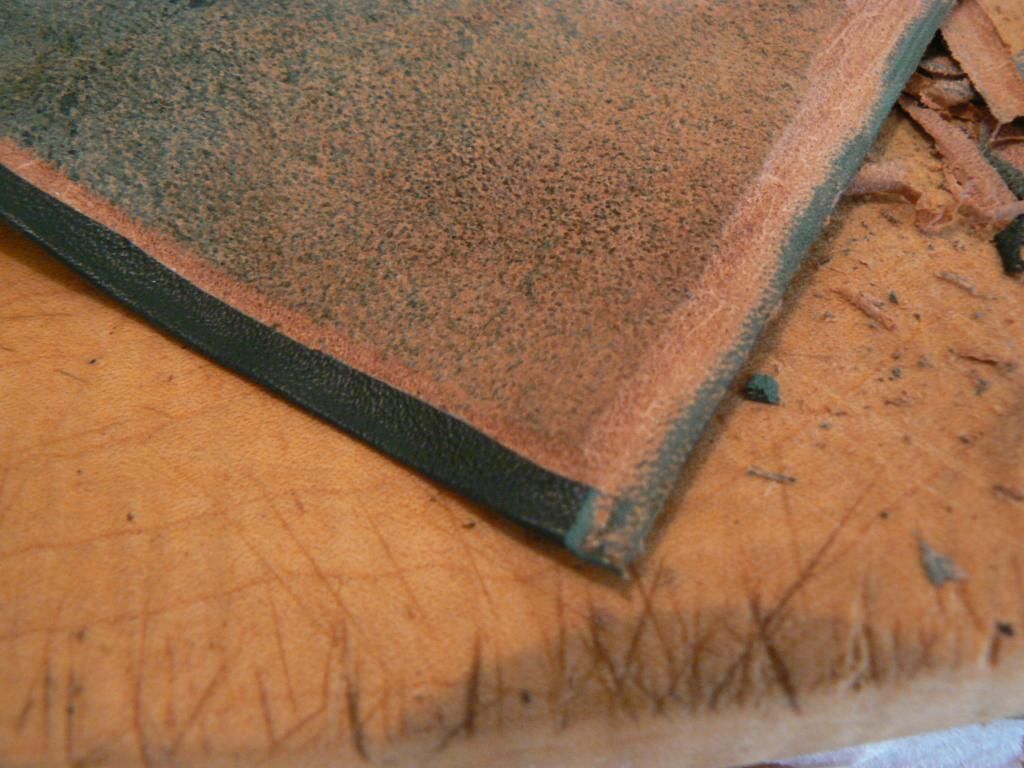 Then I soaked the leather, did the leather wrap and wrapped again with cord. Now the leather is drying. 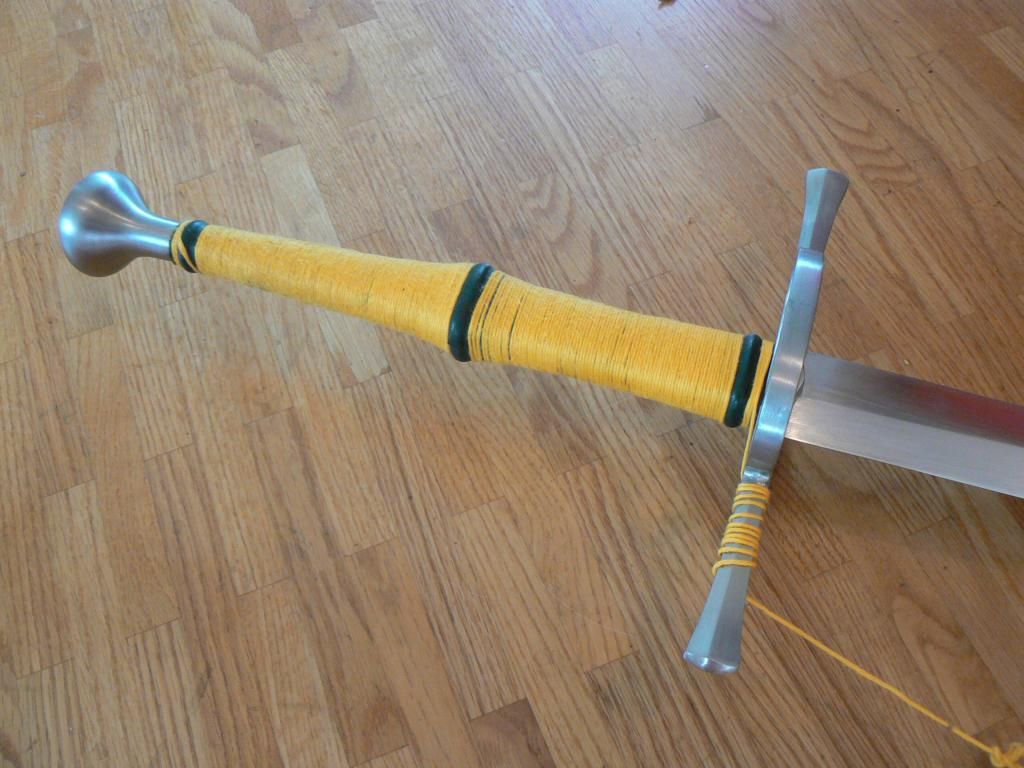 The sword is practically complete. I still need to do the final sharpening as well as go over everything once more to make sure it's all good. In any case you can expect some final photos and a LOT of text sometime later today  |
|
Paul
Member
Senior Forumite
Posts: 1,771 
|
Post by Paul on Jun 28, 2014 10:12:04 GMT
Well done, I've really enjoyed watching this come together.
|
|
Luka
Senior Forumite
Posts: 2,848
|
Post by Luka on Jun 28, 2014 11:47:10 GMT
It was a very nice sword before, but now with grip it has become another level of awesome!
|
|
|
|
Post by Lukas MG (chenessfan) on Jun 28, 2014 13:08:08 GMT
|
|
|
|
Post by Lukas MG (chenessfan) on Mar 10, 2015 17:22:58 GMT
Added the missing pics to the first post, now the making-off process is complete. Also, a side note: one of the blade blanks shown is for our own Bill ;)
|
|
|
|
Post by William Swiger on Mar 10, 2015 18:10:43 GMT
Cool - looking forward to this one for sure.
|
|
|
|
Post by Bryan Heff on Mar 11, 2015 11:20:51 GMT
I gotta say I am always in awe at how clean that center line ends up when a sword is hand ground with an angle grinder, it just seems like it wouldn't be....I feel like I am pretty handy but I just can't see how I would be able to get that line to end up so straight...even with the hand filing. Granted I have never tried and probably never will so have no experience in that realm, but it's impressive to me for sure. That is excellent work.
|
|
|
|
Post by Lukas MG (chenessfan) on Mar 11, 2015 17:11:55 GMT
Thanks but I actually don't find it very hard to keep the center line straight, just grind up to the middle of the red line ;) 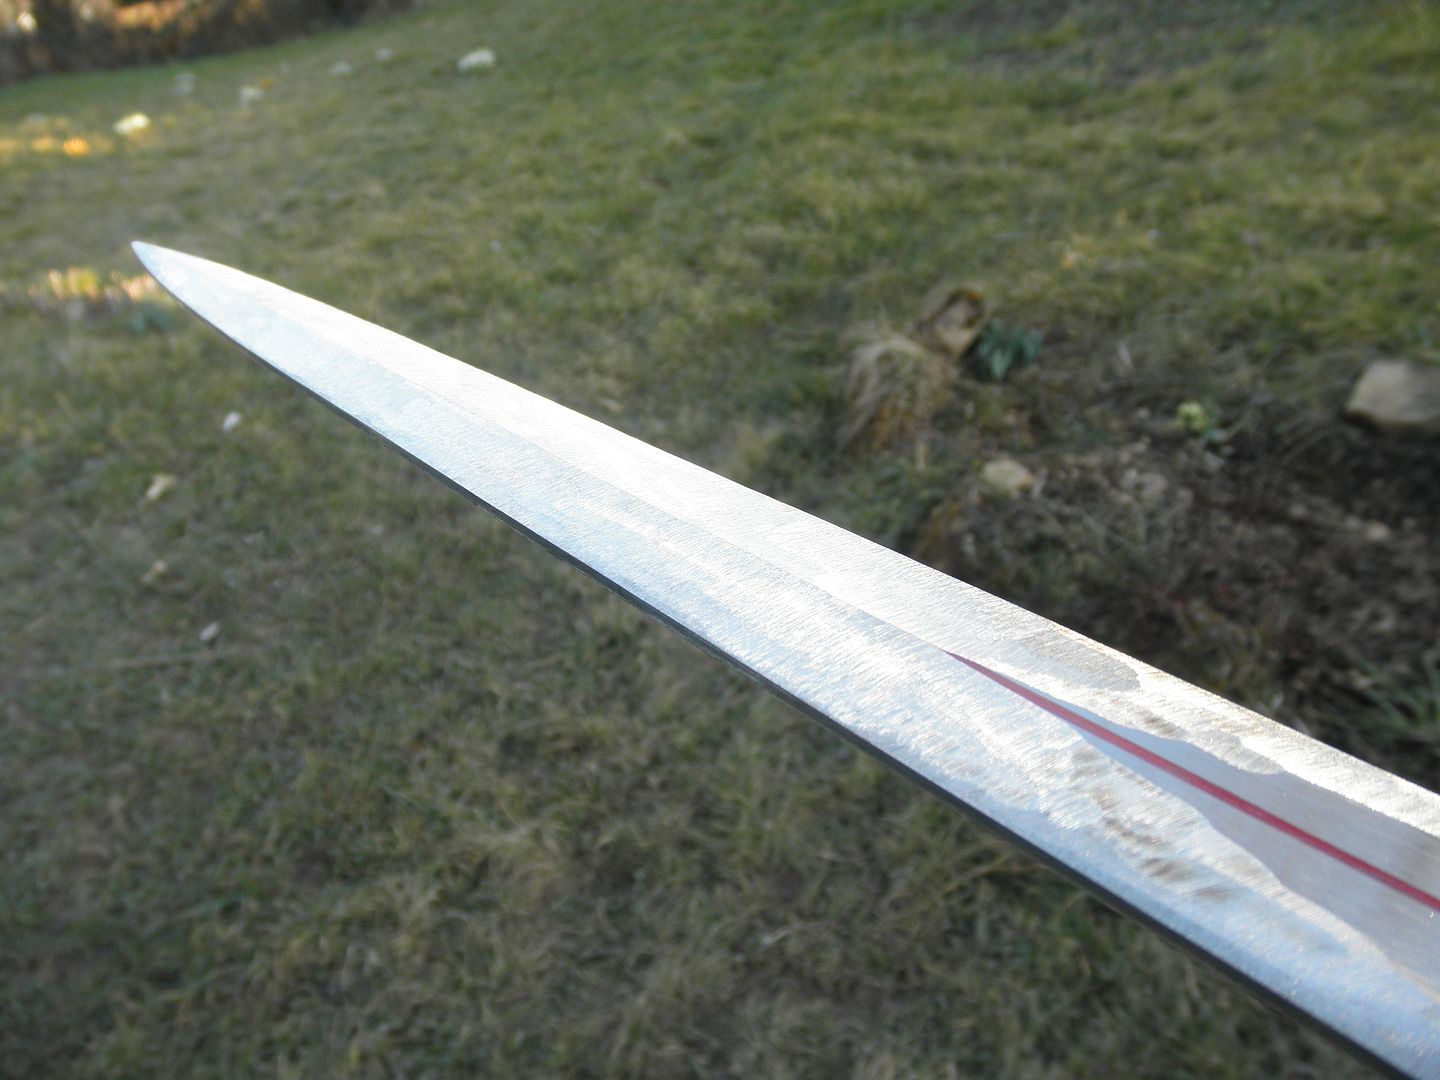 For me it's much more difficult to keep the bevels as flat as possible, with neither convex or concave areas. The better I grind with the angle grinder, the less material I need to remove with the belt sander to get things perfectly flat. Though I factor in 1mm each side to have enough material to smooth out any waves and low spots. |
|
|
|
Post by Lukas MG (chenessfan) on Mar 12, 2015 6:08:02 GMT
Well, I'm glad that this is of help ;) Make sure you post your results!
|
|

