|
|
Post by dustinf11 on Sept 10, 2015 22:48:47 GMT
Thanks! Now I'm just trying to work out a time to start peening uninterrupted and getting some bow work done in the process. Peening soon, with any luck. Here's what I have to work with. 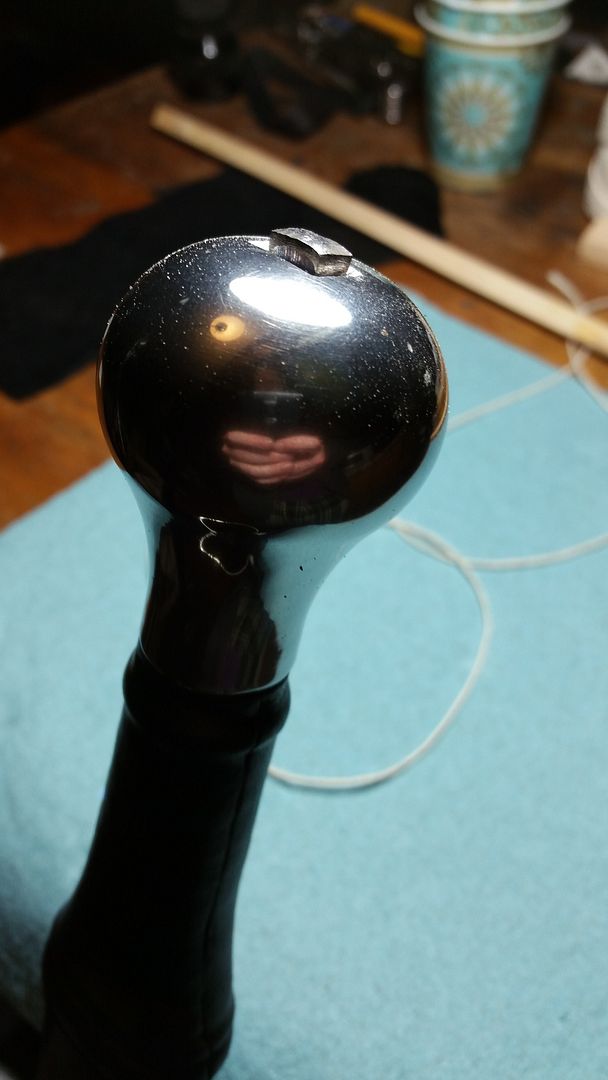 I can't wait to get this complete so I can move onto the scabbard. |
|
|
|
Post by dustinf11 on Sept 12, 2015 5:56:09 GMT
I'm trying to clean up the cross guard/blade fitting. The blade doesn't sit all the way into the space, so if you hold it to the light, it shines through. It actually barely sits in the space. 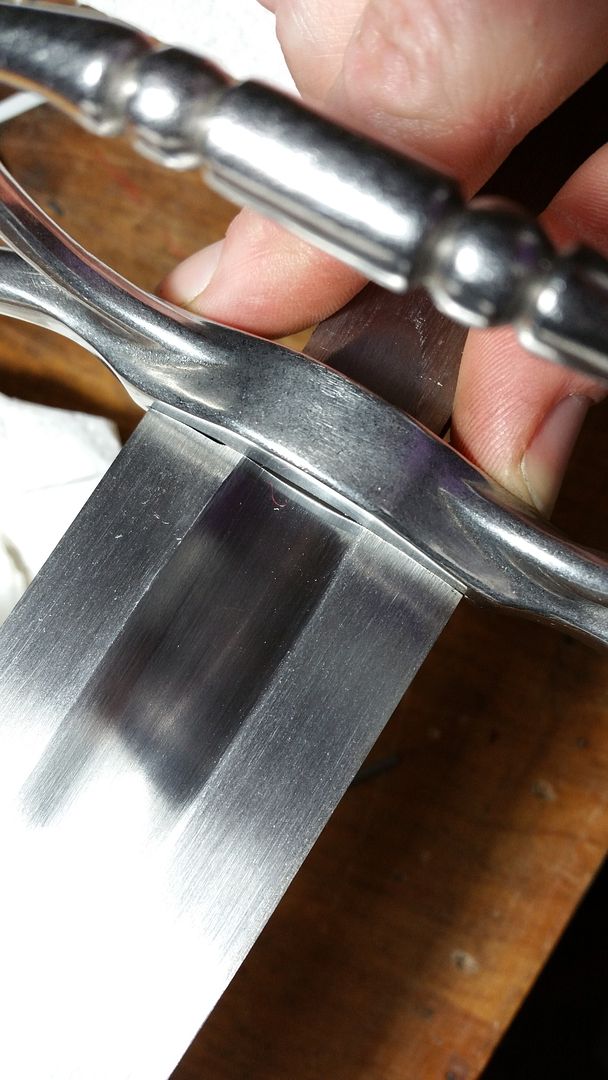 There was still material in the slot that blocked the blade, but even after removing it, I'm not getting a good fit. 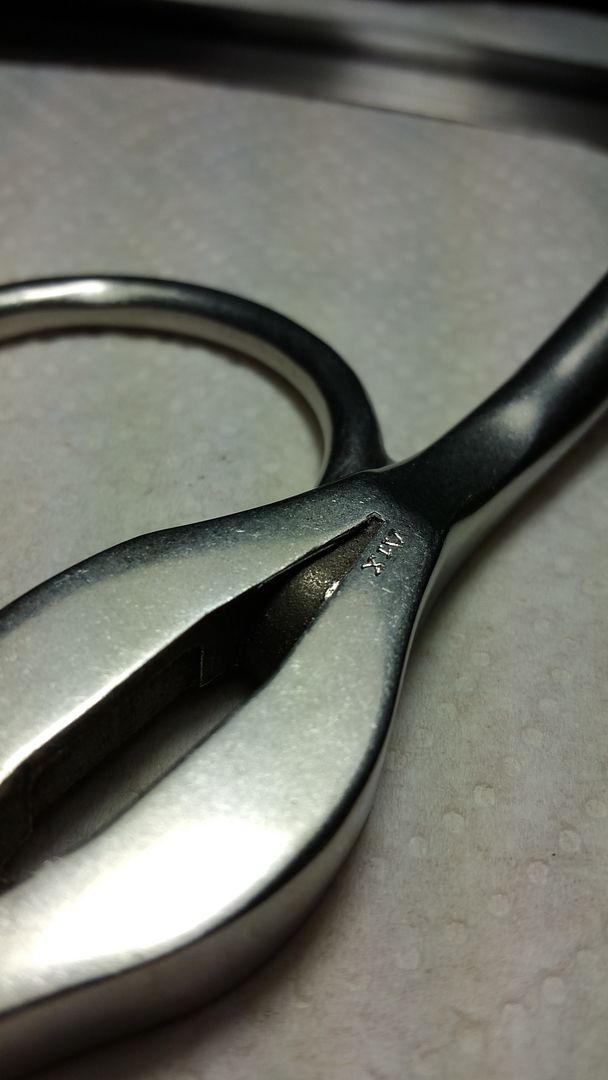 I'll probably have to file the guard very carefully until the blade sits all the way into the space. This feels very foreign to me, and tricky... But the blade is supposed to touch the bottom of that slot right? |
|
|
|
Post by dustinf11 on Sept 14, 2015 17:04:15 GMT
The slot was very narrow. I checked those places and found several more bumps holding the blade up.
The old dremel cutoff bit is genius. That was the tool I needed but couldn't think of.
Peening tomorrow.
|
|
|
|
Post by Huer-Ta on Sept 15, 2015 12:17:23 GMT
I just caught up on this thread and I have to say that you've done a remarkable job on this whole project. I can;t wait to see the total package presented!
|
|
|
|
Post by dustinf11 on Sept 15, 2015 22:45:01 GMT
So, didn't get to peen today. Somehow, I completely forgot about shimming the pommel and spent the day doing that. I made shims that fit into the slots in the pommel. That pommel really lends itself to shimming like that. Guards shimmed, pommel shimmed. Both are SOLID. I didn't get any pictures of the shims I made, it slipped my mind as I wanted to get to peening. I put epoxy on the core, lightly, and clamped it in place. 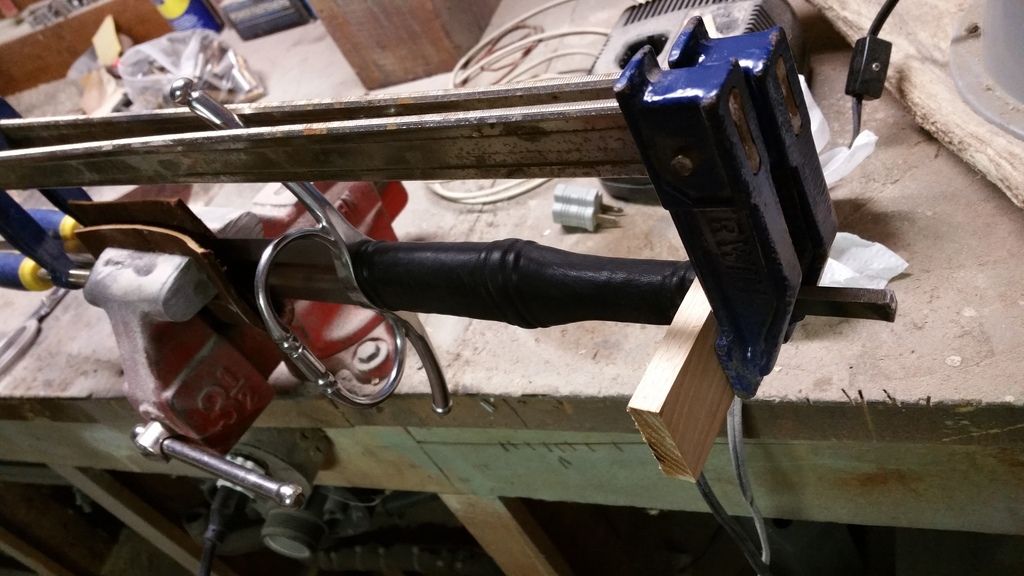 It's dry now, and held in place really well. The pommel is on and both vibrate with the blade. I have more tang than I need, so I'll have to file it down before I start. At least then I can start with a flat edge. 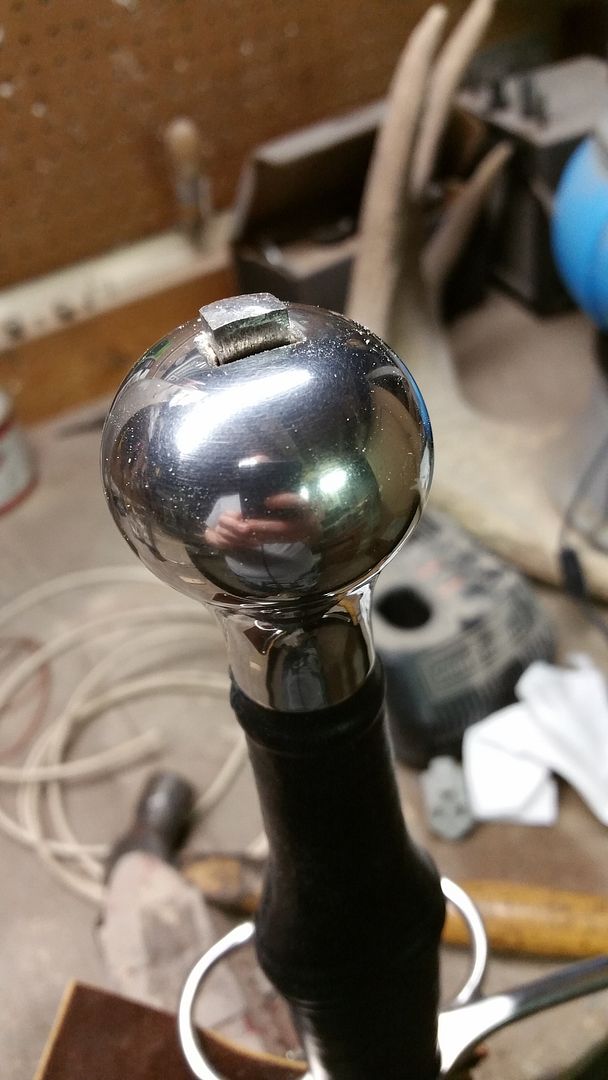 So peening will be Thursday, with any luck. |
|
|
|
Post by dustinf11 on Sept 16, 2015 3:56:39 GMT
Thanks so much guys, with a special thanks to findlithui for helping me all along the way.
It would have been a half assed grip job had he not helped and motivated me to do better.
It's much more rewarding having it sound and properly done, that's absolutely true.
One more step and onto the scabbard (maybe taking a break to finish this guy's bow).
Peening has always seemed like the hardest/scariest part of the project besides wrapping the core. But now that the guard, grip and pommel are all held in place on their own, and solid... it seems less severe. Like they all want to stay there and it's not a small lip of steel keeping the whole show intact, just helping it stay tight.
I tapped the peen 5 or 6 times (to see what kind of noise I would be working with) and already hit the pommel once. It's not too bad, but I can see why it came to me with a thousand dents.
I'm going to try and make something similar to what I used to clamp the core in place (just a piece of wood with a hole drilled in it.. really). That'll at least protect the pommel for a little while.
Gives me a whole new respect to you guys with perfect looking pommel/peens.. takes some serious will and concentration to not miss a single time.
|
|
|
|
Post by Huer-Ta on Sept 16, 2015 5:06:13 GMT
I can't wait to see how your scabbard turns out. Your rebuild is absolute textbook perfection and you will now have a tank of a sword. Forget the bow, do the scabbard hahahaha.
|
|
|
|
Post by dustinf11 on Sept 17, 2015 22:44:23 GMT
The fun of peening begins. I had to file and start with less tang. Here is after several dozen light wacks. 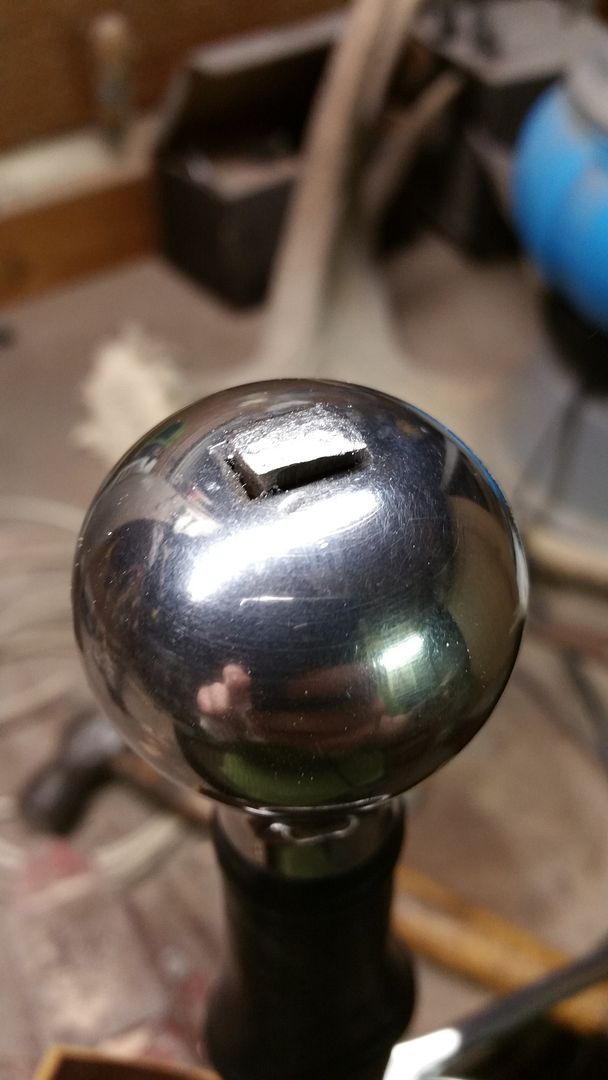 I used this to keep me from hitting the pommel. Since I spent so much time getting the stock hammer marks out (there was A LOT of them; ugliest part of the stock sword). It really helped, but got chewed up after awhile, so I kept using fresh ones. 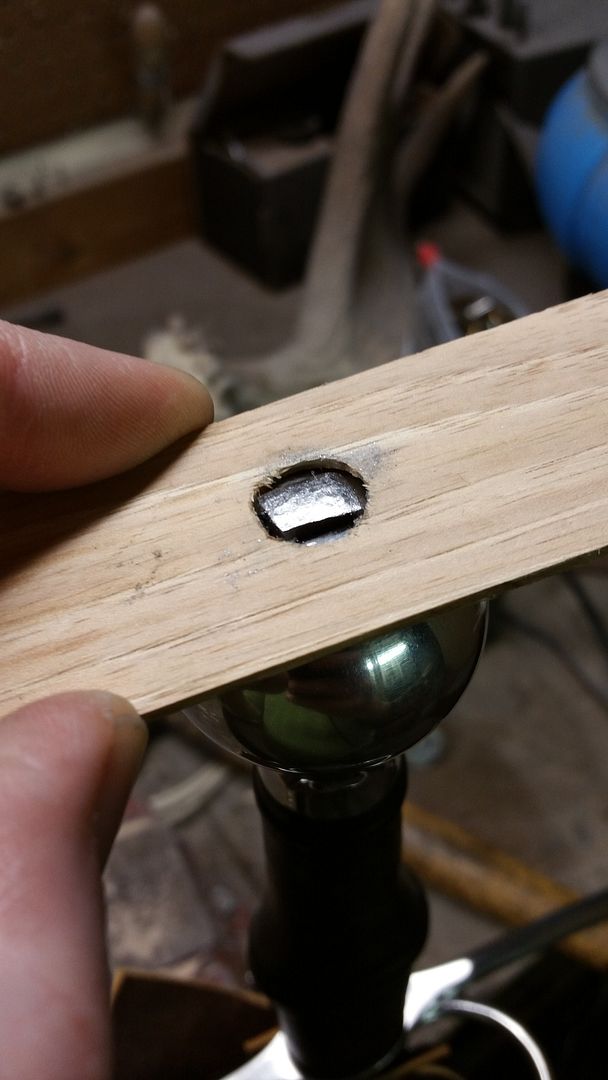 I had too much material (even though I was told several times that I wouldn't need that much. I was worried about not having enough. Won't make that mistake again). So half way through, I realized my edges were going to far and becoming too thin. So I cut them off and started new. Here is right after I cut them. 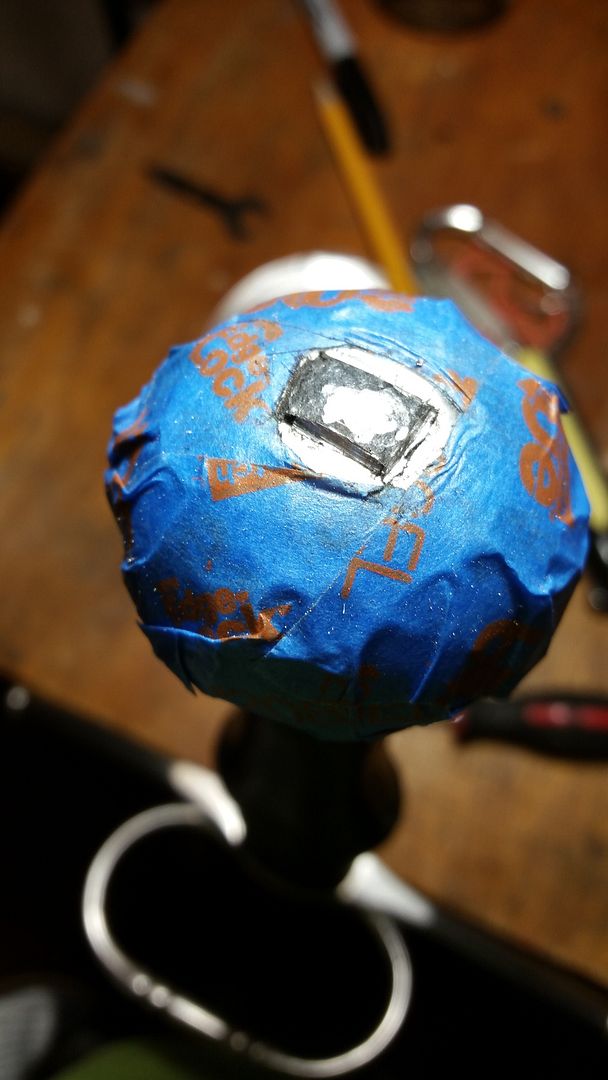 It worked, and I was able to get the peen spread like I wanted to. Finished- or "done wacking the peen" 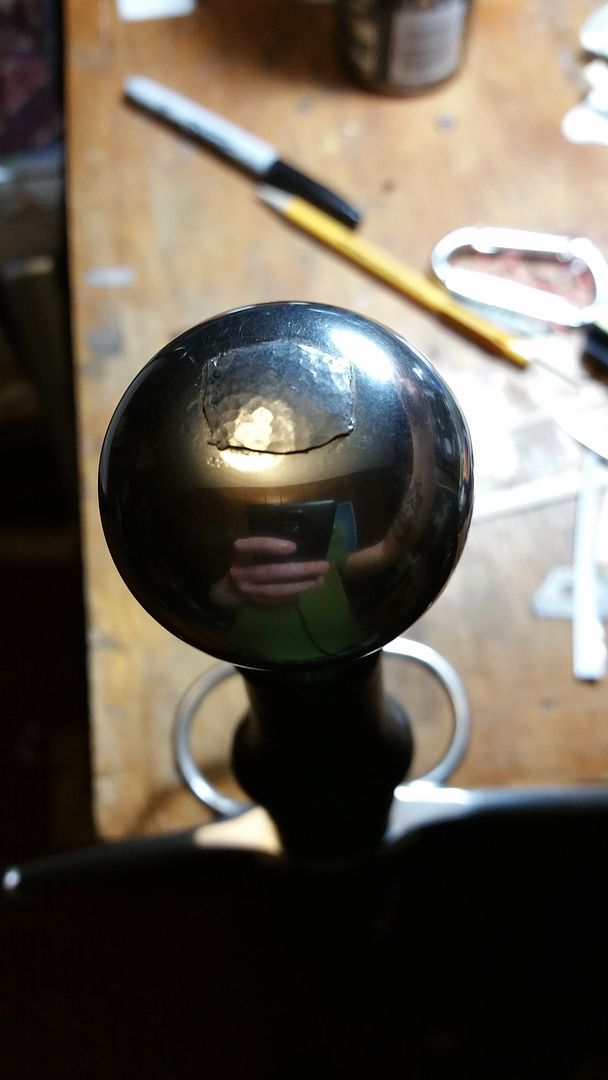 Now, I had originally planned on grinding it flush since I made a recess. But this worries me and seems like a gamble. Who knows if the recess is filled perfectly. The more I look at the peen.. the more I like the rough (but not ugly like the original) look. It shows how the sword was put together. And everything is solid and rings like a bell, which is a relief. It's not as pretty as most, if not every other peen I've seen. But it works and somewhat fits the sword. Still debating what I should do with it. |
|
|
|
Post by dustinf11 on Sept 17, 2015 23:22:31 GMT
I see, so you use the sanding wheels so you can go slow and leave some there if need be.
I may do that. To clean it up a bit.
|
|
|
|
Post by jwest on Sept 18, 2015 0:23:02 GMT
Only here can I say "damn thats a nice peen". Job well done Justin.
|
|
Scott
Member
Posts: 1,678
|
Post by Scott on Sept 18, 2015 4:18:51 GMT
Very nice work. Can't wait to see how the scabbard turns out. Thanks again for posting so many pictures of your progress, it's been a great thread to read.
|
|
|
|
Post by dustinf11 on Sept 19, 2015 13:22:49 GMT
Not problem. This has been a real pleasure to do and share with you guys.
I'll have final build pictures up soon and then I'll start a new thread for the scabbard. Even though the process has been very well documented by findlithui and others, I don't see the harm in one more, but from a beginners perspective.
What's the general consensus on metal throat vs no throat? Just cosmetic or preference?
|
|
|
|
Post by dustinf11 on Sept 21, 2015 1:40:36 GMT
I've brought the peen down. I tried leaving it raised, but could not get the edges perfect. So as I kept going I realized that bring it flush was the only option and took the plunge. I still need to polish a bit and then hit it with a grey scotch brite pad. But this is as far as I dare go. It's not perfect, and I could probably get away with bringing down to the recess, but I'm worried about cutting through the pommel shell.  It may have to do. Still deciding. 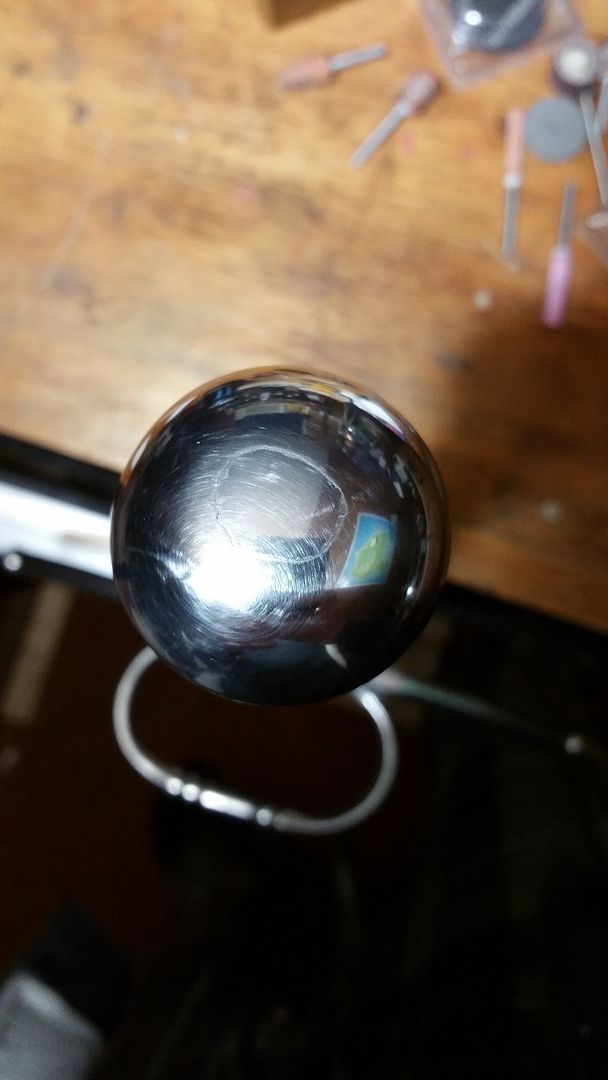 I think that in the future, I won't hammer it so flat. That way I'm able to leave it showing, like a button. I got so carried away peening (I found it to be strangle enjoyable and relaxing) that it went almost completely flat. |
|
|
|
Post by dustinf11 on Sept 21, 2015 2:14:33 GMT
Thanks! I can't wait to help someone as you've helped me @findlithui.
I'm going to schedule a bit of a photo shoot and post the completed sword pictures as my last picture post. Should be within the next couple days. I'm sure you all have an idea what the finished sword looks like. But every construction thread needs a "finished project" set of pictures.
I'd also like to sharpen the blade and get it to a satin polish. But that's for a whole other topic/thread.
|
|
|
|
Post by Huer-Ta on Sept 21, 2015 13:34:11 GMT
Wow, that is a flawless peen. You should be very proud of what you've done here man, this is just spectacular. I can't wait to see the finished pics  |
|
|
|
Post by dustinf11 on Sept 22, 2015 21:51:05 GMT
Final build pictures. And a chance to shamelessly show off the armor I made a few years back. It also explains why I stuck with plain black.  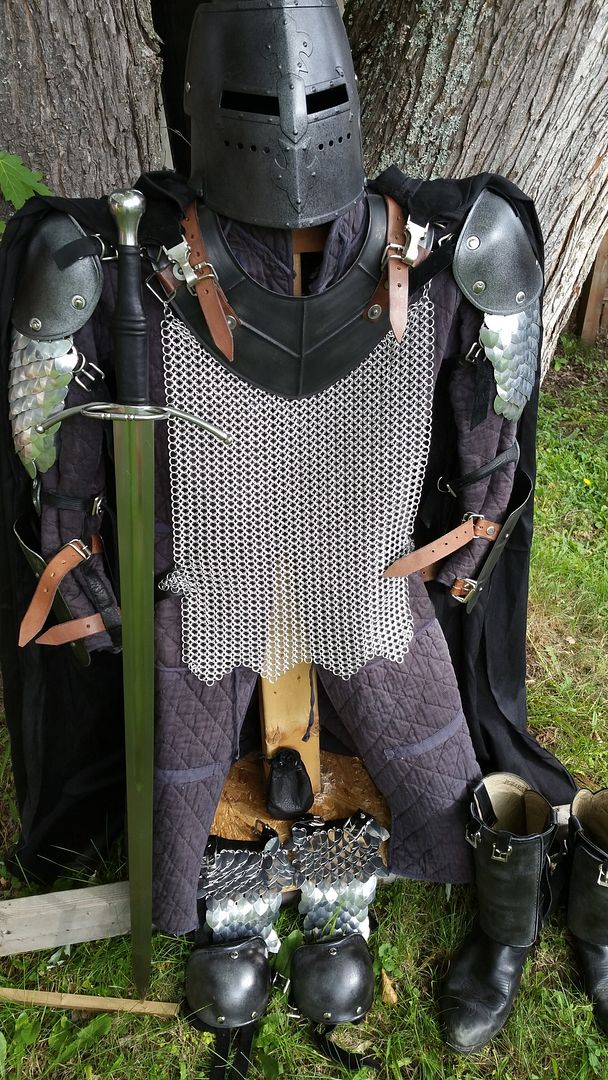 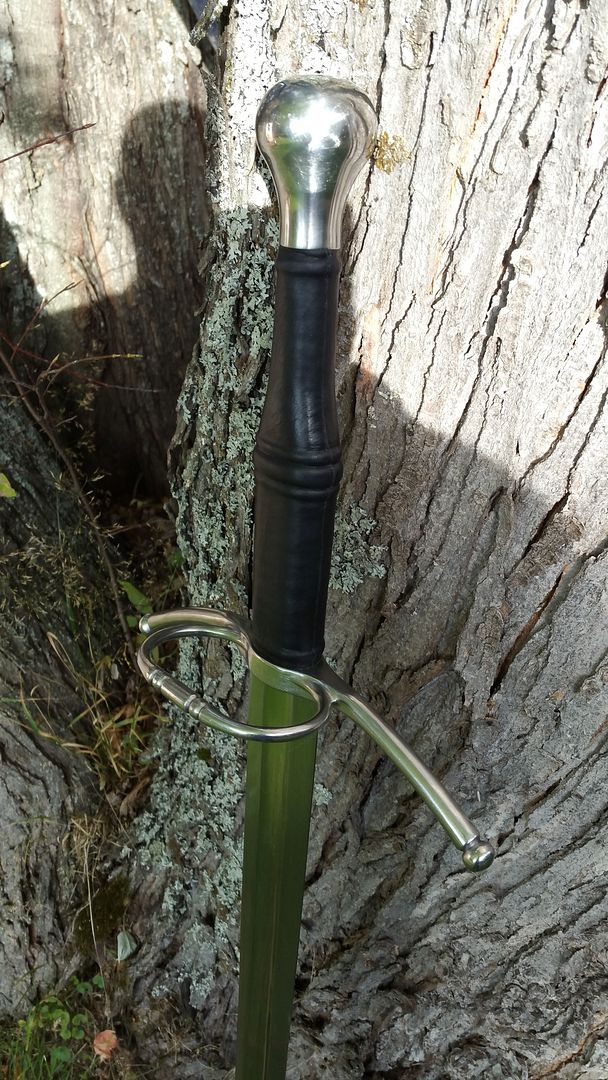 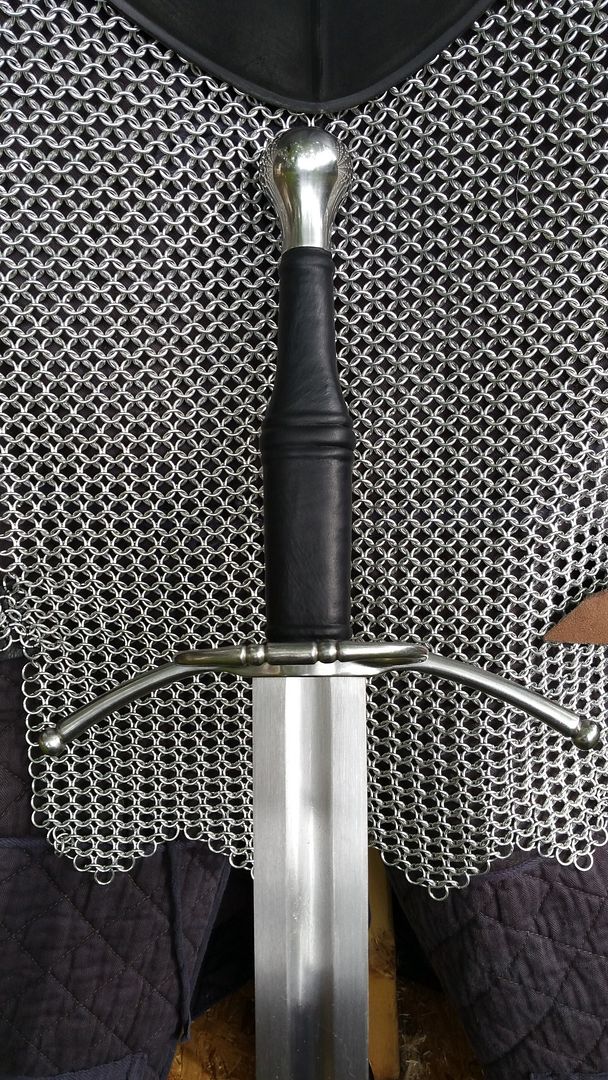 I'm really pleased with the final results. It's not perfect, but it's a major improvement from the stock sword and now fits my grip precisely. It's also solid, and that's a big relief. Thanks for everyone who followed and commented. And thanks for all the help. I'll always be willing to share what I've learned. So new comers; feel free to pm me with questions. |
|
Scott
Member
Posts: 1,678
|
Post by Scott on Sept 24, 2015 4:05:37 GMT
Great work. I've really enjoyed following this build. Thank you.
So, what are you planning to do for the scabbard?
|
|
|
|
Post by dustinf11 on Sept 25, 2015 4:11:11 GMT
Thanks again. I'm thinking I'll do a poplar core, black leather. I'll leave it without a metal throat, since they seem hard to find. Maybe I'll reuse the throat and chape from the original scabbard, but they may be too small. I'd really like to do something fancy, like this: Geralt has the nicest swords/scabbards. 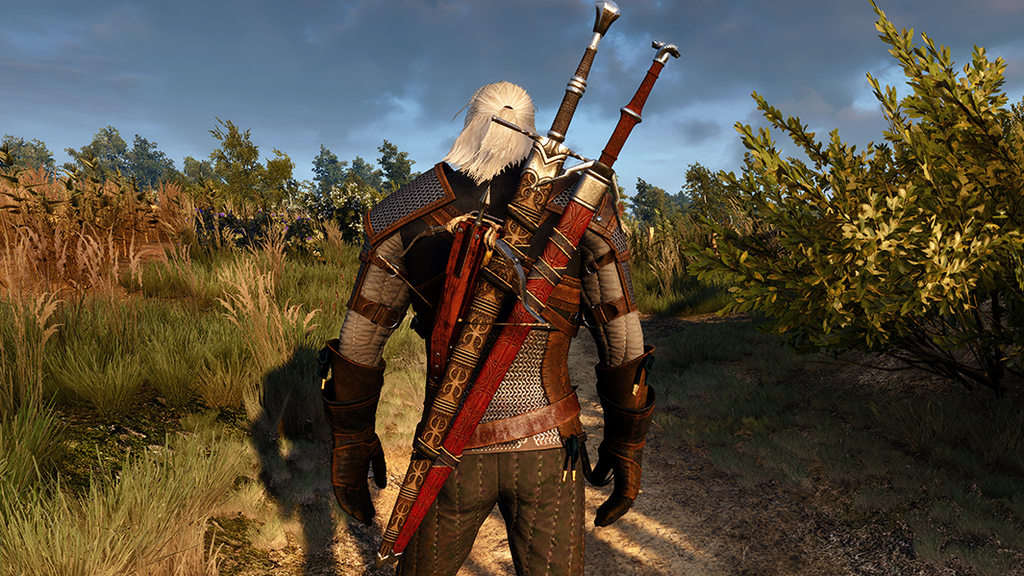 Do you think that's tooling or sewing? |
|
|
|
Post by dustinf11 on Sept 25, 2015 16:30:45 GMT
I was wondering about that. It wouldn't be too bad to get some normal sheet steel and bend it, weld it and sand it.
What guage would you use?
I've been thinking of getting an anvil. So I can do slight forging.
|
|
|
|
Post by Huer-Ta on Sept 28, 2015 15:23:54 GMT
|
|


