|
|
Post by Bryan Heff on Jun 12, 2014 17:43:23 GMT
I decided to try my hand at fittings again after several years of steering clear. I pulled off a hack job a while back that for my first go at making fittings with minimal tools, proved to be moderately successful. Here is that old project. viewtopic.php?f=18&t=13848Here is my newest attempt. The (original) basic idea in real proportions- 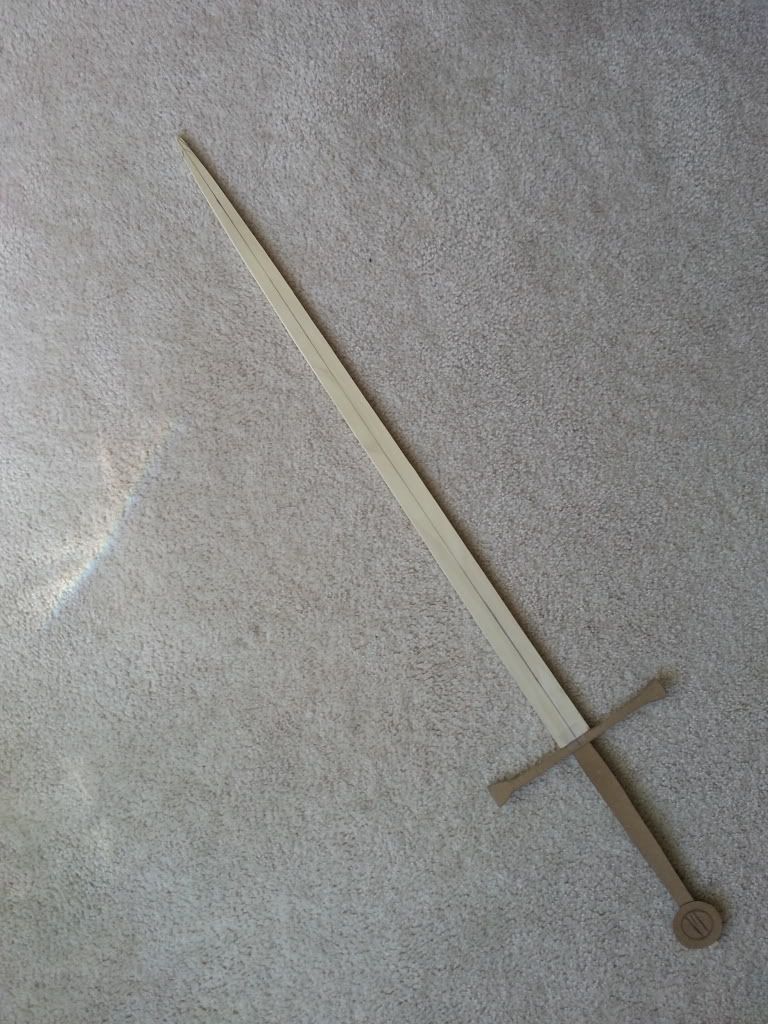 1 3/4 diameter pommel with a peen block. The pommel is pretty much roughed out and fitted about where I want it, just needs all sorts of clean up. The guard is the problem. I WAS going to try for this basic shape, but I ordered the wrong steel, plus...I don't know if I would have been able to pull it off anyway. So now I am going to go for a basic straight cross. Although I may still try to get this shape...I think with my tools it will be very difficult to pull off, so just a straight cross may be the way to go. I just don't have all the equipment...I'm a programmer not a sword smith damn it!!! 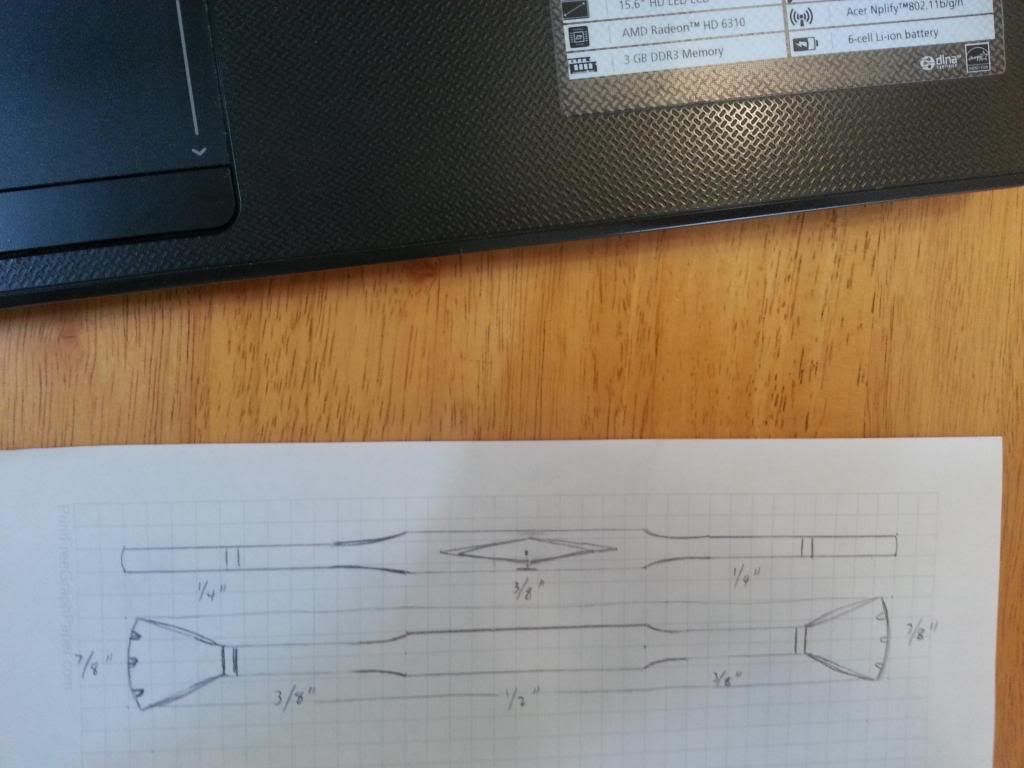 Progress pics 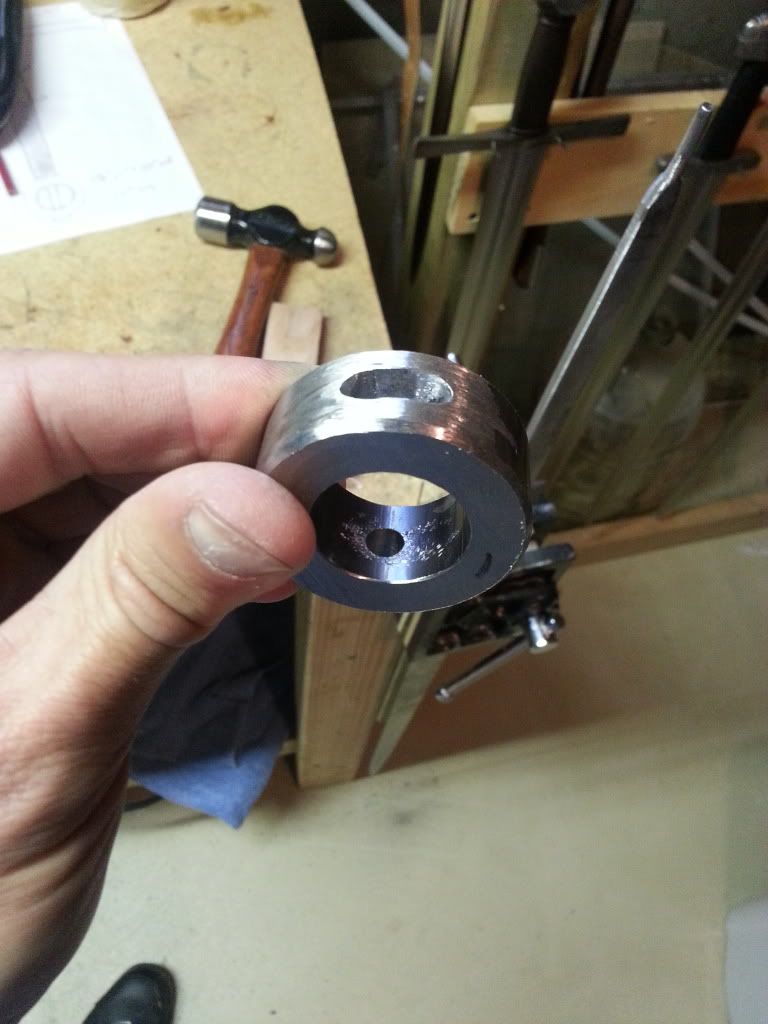 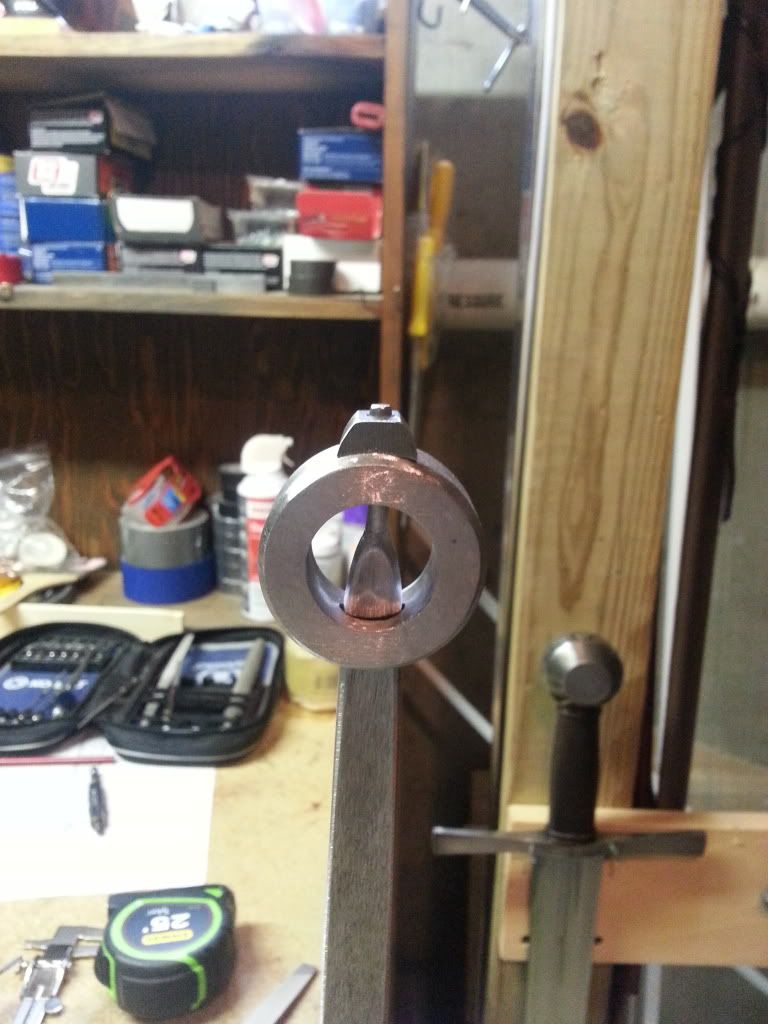 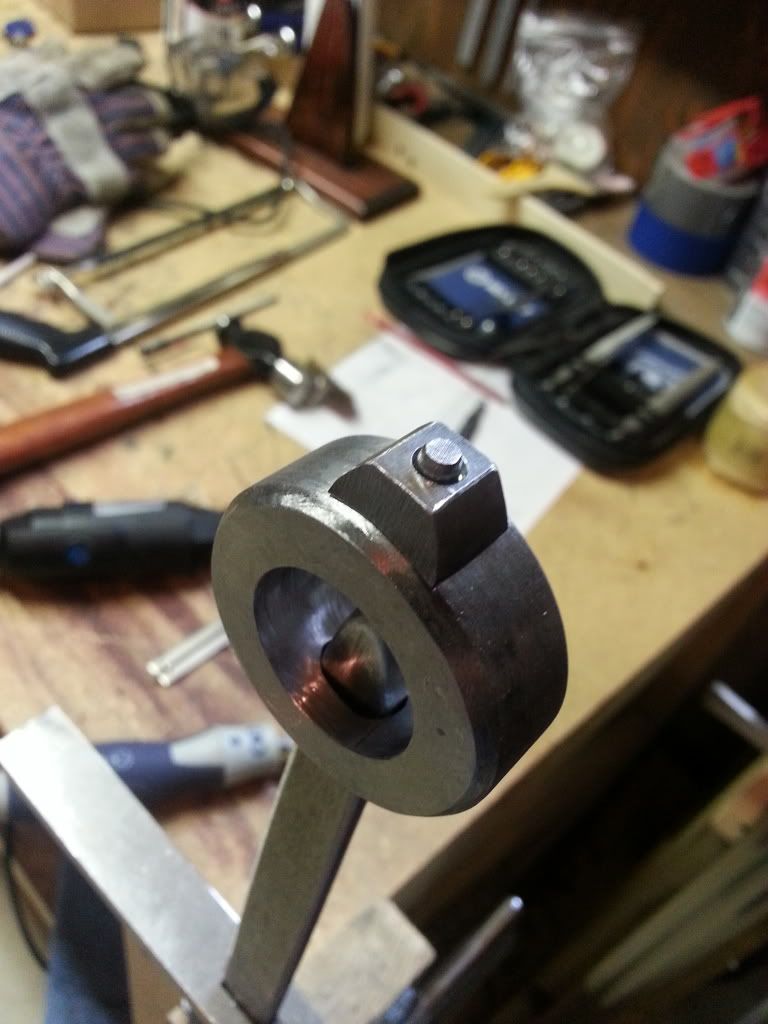 This would be the basic shape of guard I think at this point 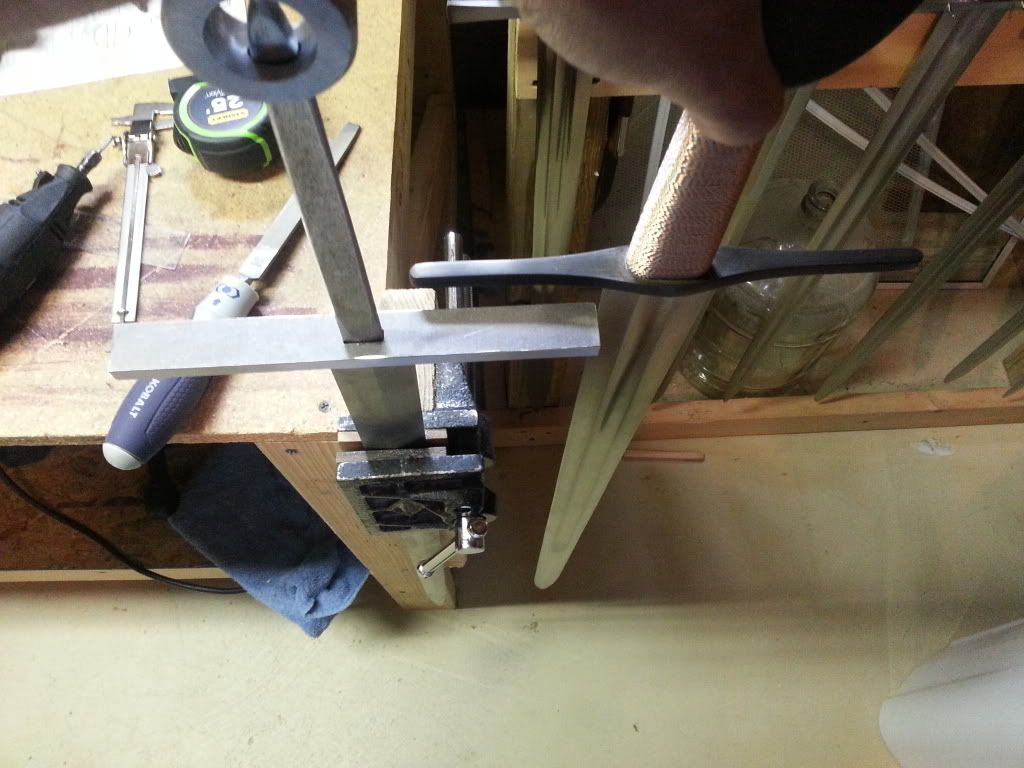 Question to the real smiths out there. Is there ANY way I could "forge in" the spatulate ends , assuming I get the basic straight guard shape like in the above picture for starters? I have no anvil, no forge. Just a propane torch....any kind of "flattening the ends to give it some semblance of that original "Irish" cross guard shape, they don't need to be quite that high. Basically I am asking if there is anyway I can flatten out the last inch or so of the guard on either side...with no forging equipment, I think I know the answer. :cry: |
|
|
|
Post by Bryan Heff on Jun 13, 2014 19:26:26 GMT
Progress pics Guard is roughed out and fitted. Pommel is the same. Both need considerable refinement and clean up. 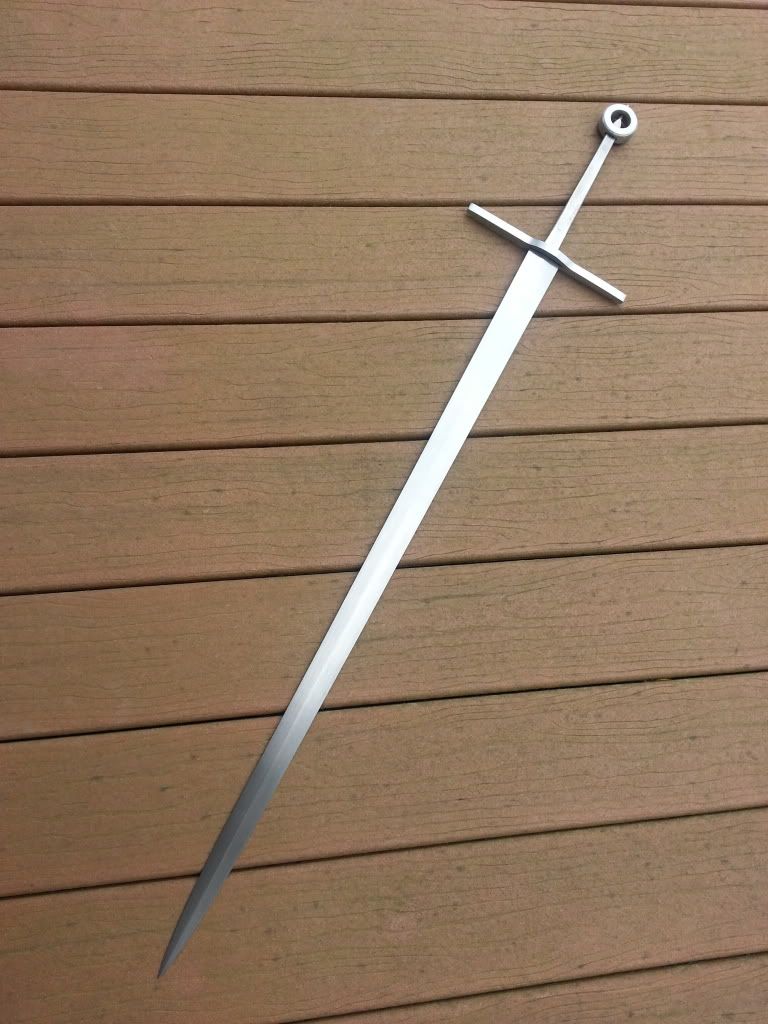 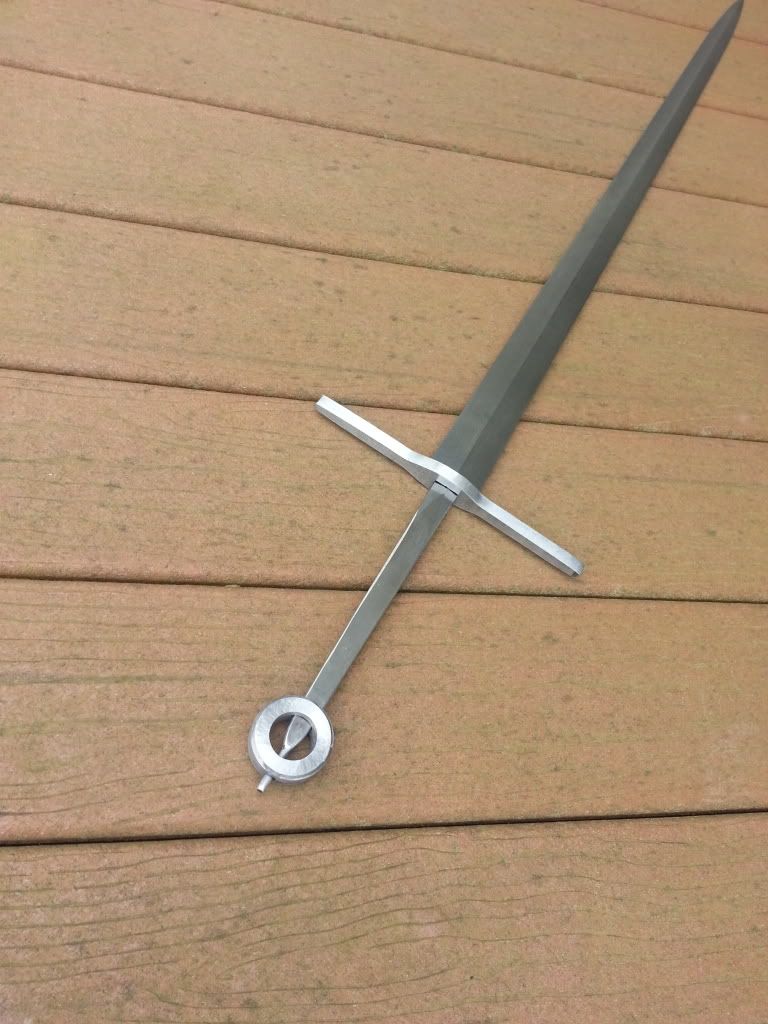 These H/T bastard blades are really neat little blades. I was surprised at how "petite" they are overall, thin profile, light.... but really really nice. I like it. |
|
Sean (Shadowhowler)
VIP Reviewer
Retired Moderator
No matter where you go, there you are.
Posts: 8,828
|
Post by Sean (Shadowhowler) on Jun 13, 2014 19:50:40 GMT
Looking very good...
|
|
|
|
Post by frankthebunny on Jun 13, 2014 20:06:03 GMT
I've said it before but I'll likely say it again many more times, These H/T swords are some of the best basic models around anywhere and are the perfect platform to build on. The bastard was so much fun to cut with and I love my emshs. I didn't like the viking so much but that was because of the pommel, not the blade. Only reason I haven't picked up one of the bastards recently is because I've been severely spoiled and can't get over that I paid $80 per sword back in the day. One of my biggest sword regrets ever was not to have picked up many more when I had the chance  Great work so far Bryan  |
|
|
|
Post by Voltan on Jun 13, 2014 20:15:09 GMT
Seconded!
|
|
|
|
Post by William Swiger on Jun 13, 2014 21:10:29 GMT
Great progress man!
|
|
Uhlan
Member
Posts: 3,121
|
Post by Uhlan on Jun 14, 2014 5:22:41 GMT
Ever seen antique Amish chairs and other furniture?
There one sees the power of plainness.
This work has that same strength. No hiding behind baroque curly wurlies.
Very nice and thanks for sharing.
|
|
|
|
Post by Lukas MG (chenessfan) on Jun 14, 2014 6:36:40 GMT
That's looking great.
Regarding forging the cross: From the looks of it, the cross is still quite thick at the ends, you could easily forge it out. Not as extreme as shown in the drawing but still quite a bit. If your torch has enough kick, no reason you couldn't do it, you do need a smooth metal surface to do it on though, the more massive, the better.
One thing: The part of the tang that is visible through the pommel doesn't sit right with me... I'd move the pommel down a bit so that you have a straight rectangular piece going through the ring. If you want to keep the round hole on top, I'd give the tang end shoulders like on the blade/tang transition so that the upper part of the pommel can be seated onto the tang... am I making sense?
|
|
|
|
Post by Bryan Heff on Jun 14, 2014 11:00:07 GMT
I don't love it either. It's the threaded part of the h/t blade...much thinner than the rest of the tang. I may move the pommel further up/down? The tang....move it closer to the blade and eliminate that thinner rod part. Only thing with that is I steal from my grip length which is right around 7" at the moment. I may do some additional file work on that tang transition where it suddenly gets thinner, to make it less abrupt. That may help. I know right now it doesn't really look exactly right. However I will trade function over looks though if I have to make a choice.
|
|
|
|
Post by Bryan Heff on Jun 14, 2014 11:01:57 GMT
Thanks all for the words of encouragement.
|
|
|
|
Post by Bryan Heff on Jun 22, 2014 20:14:13 GMT
Peened. I am very happy the way this turned out. I need to do some cleanup work but I feel the peen is very strong. I countersunk the peen, so the very top of the hole I widened slightly with a slightly larger drillbit. Plus I had enough tang left over so that it went over that portion plus on the peen block proper. The whole sword right now is tight and right and rings like a bell. The grip core is drying on the Tang as I type this. Oh, I used much more propane torch this time around instead of cold peening the entire thing. What a huge difference that heat makes. Duh.  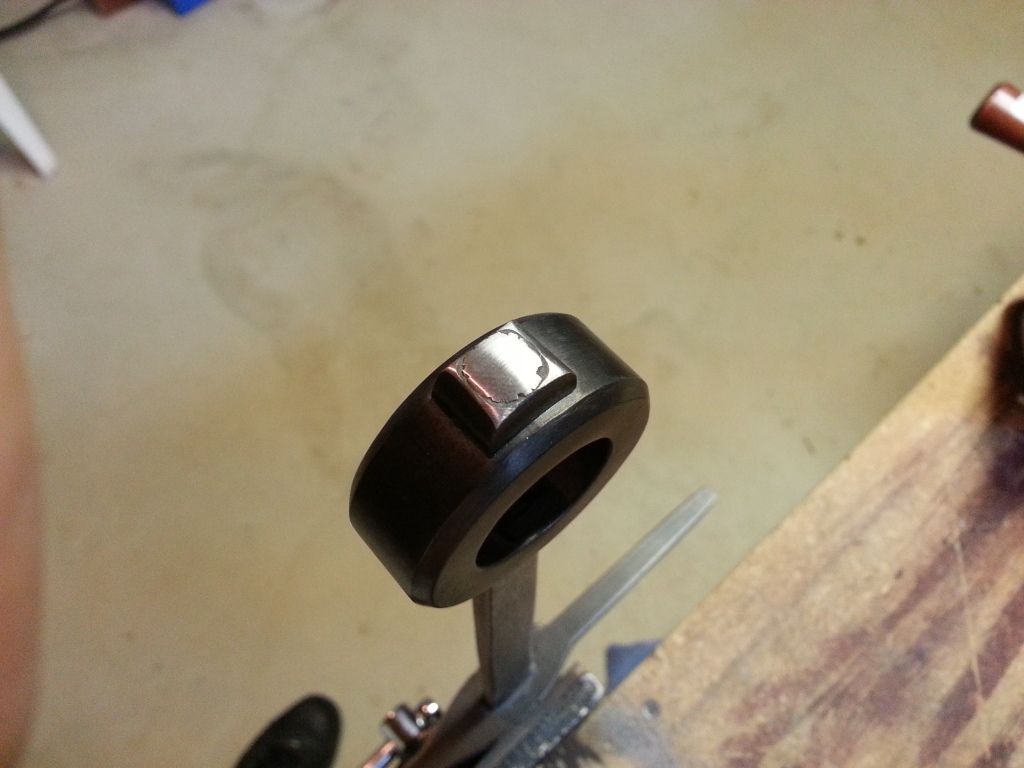 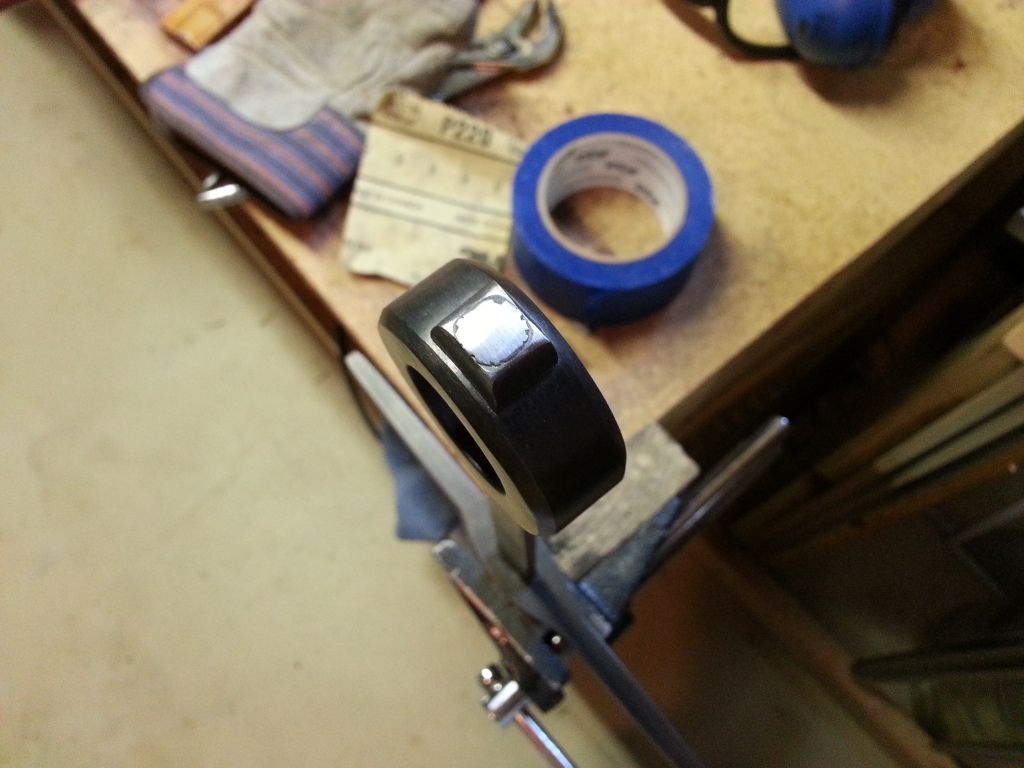 |
|
|
|
Post by Bryan Heff on Jun 22, 2014 21:28:55 GMT
There is a lot of heat transfer. The pommel was steaming hot as was a fair portion of tang. The only other time I did a peen I had the grip in place and epoxied, it melted the epoxy as I was peening... and if I recall I ended up breaking off the grip and doing it without a grip on. Having the grip in place prior to doing the peen seems to me to be pretty problematic. If you are going to use heat. Thank you for the words Findlithui. I will say this, having a much smaller peen in both diameter as well as height was a huge difference. My first peen was a very thick and wide rectangular piece that was too long to begin with. It took me I think about 3 to 3 1/2 hours of constant hammering, Cold peening to finally get it squared away. This took maybe 30 to 40 minutes. And as I think about it once I started hitting it with the heat it sped up dramatically. Had I use the propane torch the entire time, probably 15 minutes... Give or take, but I was being cautious and going slow.
|
|
|
|
Post by Lukas MG (chenessfan) on Jun 22, 2014 22:23:55 GMT
Good job! How much tang did you end up with sticking out before peening?
.
|
|
|
|
Post by Bryan Heff on Jun 22, 2014 23:29:33 GMT
I wish I measured...but guess is between 2 and 3 millimeters, probably a bit closer to 3quote="chenessfan"]Good job! How much tang did you end up with sticking out before peening?
.[/quote]
I wish I measured...but guess is between 2 and 3 millimeters, probably a bit closer to 3
|
|
|
|
Post by Jim West on Jun 23, 2014 4:10:45 GMT
Mr Heff that is one fine peen. Is the color of the pommel the result of the heat? It looks kind of blue in spots.
Also a ring pommel is a less efficient heat sink than a solid pommel.So the amount of heat going to the tang will be more.
|
|
|
|
Post by Bryan Heff on Jun 23, 2014 11:52:03 GMT
That makes perfect sense Jim that the ring would steal less heat. I recall with my first peen on a solid disk pommel...it just seemed like the tang would not get hot enough.
The bluing you see is b/c I blued the fittings prior to assembly and during cleanup of the peen it was grinded off in spots. I will re-touch the parts up as I am finishing and make the pommel and peen all the same color.
|
|
|
|
Post by Bryan Heff on Jun 24, 2014 19:32:39 GMT
|
|
|
|
Post by William Swiger on Jun 24, 2014 19:40:48 GMT
Nice work.
|
|
|
|
Post by Bryan Heff on Jun 24, 2014 22:23:02 GMT
It is a wood core, clamshell that has been epoxied to the tang...I use wood glue however for the wood on wood outer perimeter. It's thick cord under wrap in a spiral pattern with a small space between each turn. Once covered in 1.5 oz veg tanned goat skin (excellent btw) I spiral wrapped smaller diameter string following the gaps in the original under cord to bring out the texture. The leather was applied damp so it has some nice pliability to it.
Thanks for the words. I like the way it turned out but I lost some taper it seems to the grip...or it's a bit of a optical illusion since the leather sort of lays on the upper/lower? Part of the pommel...it's bugging me, I may trim it back some. Applying the leather to an already in place grip is not hard, except getting the top and bottom to look good is tricky and I still can't quite get it right...a few have looked great but it's more luck then any technique I am doing.
|
|
|
|
Post by Bryan Heff on Jun 25, 2014 14:10:28 GMT
For this grip I start with 1/4" poplar slats that I cut a bit bigger than the tang. Now for this the ring is obviously a circle...I don't grind in a flat part on the pommel where it meets the tang, so my wood has to have a semi circle of sorts cut in or sanded in so it hugs the contour of the pommel. So once the pieces are cut a bit long I use a sanding drum on my drill press to slowly sand in the contour of the pommel, keep checking the fit till it squeezes in onto the tang basically pressing against the pommel and the guard, tight. I want it tight so it keeps force pushing the grip and pommel away from each other. Then, for this grip I made a 4 piece by gluing in the front and back sides (edge side), I then fit the other side piece the same way by sanding in the countour...so at this point I have 2 pieces (3 pieces glued and a 4th piece). You could of course go with just 2 pieces and route or chisel out the tang slot but I find with certain tangs, like this one I get a tighter and better fit by piecing it together and with the wood glue I find the final grip very strong. Once I am happy with the fit of the basic grip I remove the 2 parts and very lightly glue (just a few dabs of normal elmers glue) the 2 parts together. At this point I have a really well fitted completely unfinished rectangle NOT attached to the tang. I then use my plan, rasp etc to shape the core and taper it etc etc, making it fairly thin to where I am pretty happy with the shape. Then I break the 2 pieces apart (pretty easy with the few spots of elmers and epoxy etc the 2 parts to the tang. Any final shape refinements I make while attached to the tang. That's it basically. Most of this is based on Chrisperoni's excellent tutorial.
|
|
