White (sigh) Art Deco-ish Iaito
Mar 14, 2022 0:11:59 GMT
Post by steveboy on Mar 14, 2022 0:11:59 GMT

There's a bit of a story here, so if you just want to follow the restore & customize process, I'll set off my asides with lines (========) so you can skip over 'em.
==============
One of my fellow students was a kid a who was just getting big enough for a full iaito but couldn't afford one. So I repaired the cracked saya, repainted it black with India red on the ends & kurigata, and gave it to him.
It was the first sword repair or customizing I ever did -- so this particular iaito was my gateway drug.

Cut to nearly two years later: The kid tests for his shodan. That iaito is thrashed. I had earlier refused to repair it because I felt I'd just be enabling his disregard for the sword. It's a lot of work to fix & customize these things, and I wasn't going to do it, for free, for someone who didn't respect the very thing he was about to get his black belt for.
I was told his family didn't have the money to buy him a new one. All the more reason to take care of the one you have, I said, and dug in.
But when I saw the state of the sword at his testing, I took pity on him. I thought maybe I could turn this into a Teaching Moment, or whatever. So I told him I'd fix it for him, as a present for his test. And since I'd have to repaint it, he might as well tell me what color or design he'd like on it.
"Can you make it white?" he asked.
Oh, man. A white katana. A friggin' Michonne katana. Oh, man.
Trying to salvage what I could here, I told him that an all-white katana was gonna look like he was wearing a piece of PVC pipe, and I talked him into at least having a dark-blue contrast color.
Then I had to figure out howinthehell I was gonna paint a white katana that I could live with. Cue music.
==============
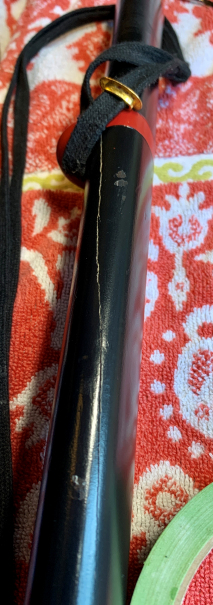
The saya was badly cracked at the kurigata:

And pretty harshed in general:
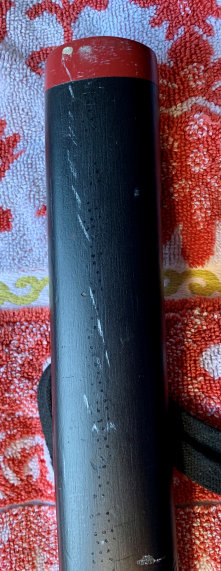
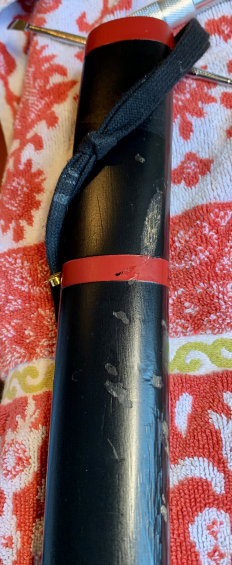
The blade had clearly never been cleaned (he didn't know you were supposed to), and had a lot of edge rust.

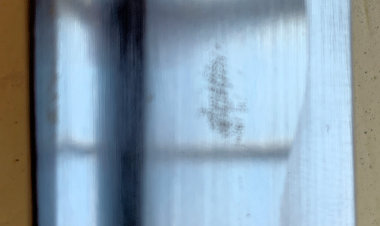
It even had a rust fingerprint, which I've never acatually seen before:
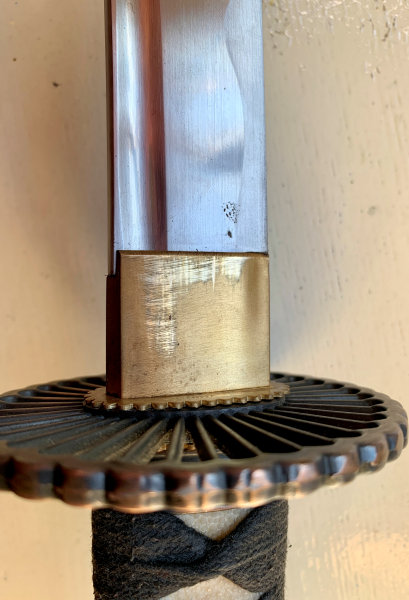
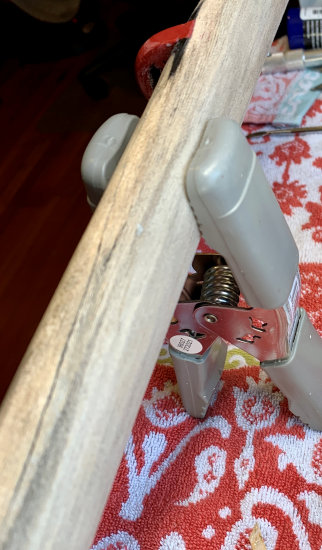
Well, okay. The first thing was to take the saya down to the wood, glue the cracks, and clamp it overnight:
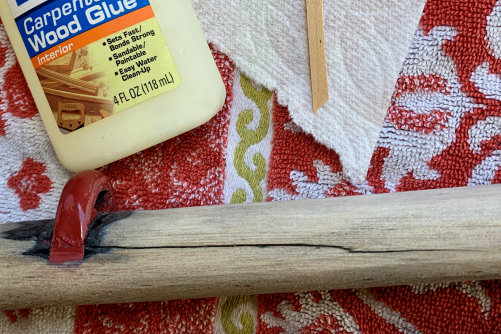
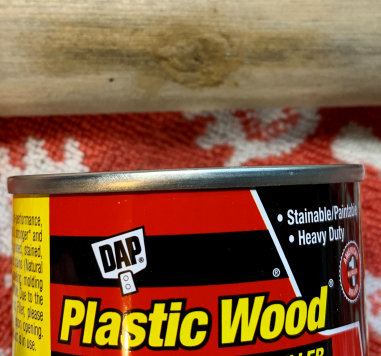
I filled the gouges with plastic wood and sanded it all smooth with 220 grit

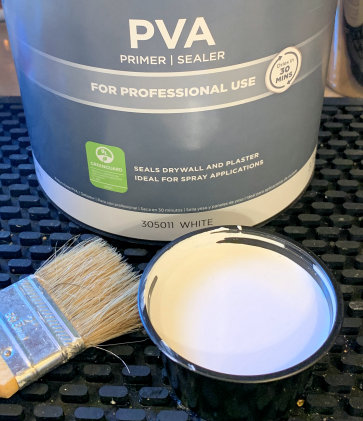
Then brushed on two coats of PVA glue (watered down 1:1):


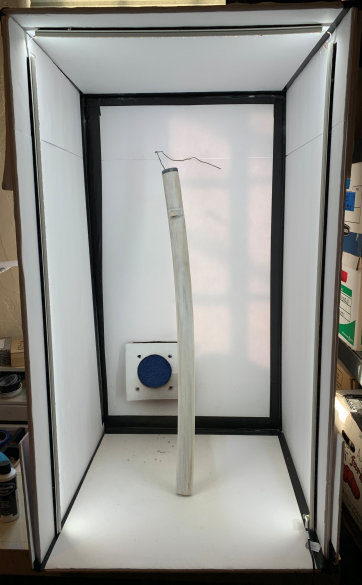
I sanded down the PVA, then airbrushed the saya with two coats of Autoborne Sealer White in my homemade collapsible paint box.
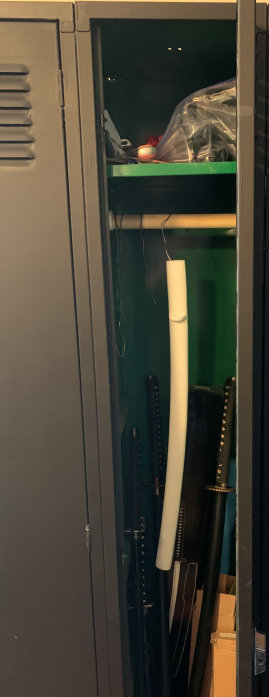
Then hung it overnight in my customized gym locker (it's perfect for storing & drying sword stuff):
I went at the blade rust with Naval Jelly -- a sacrilege I normally wouldn't commit, but this wasn't exactly a nihonto, and it was pretty ganked.
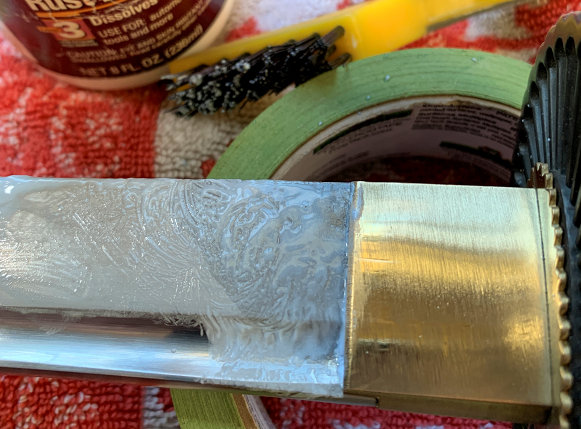
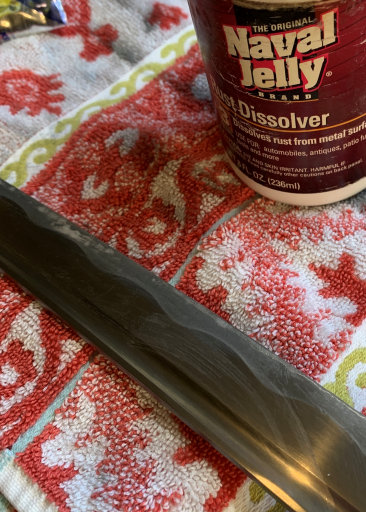
I was amazed how well it removed the rust.


The problem with Naval Jelly is that it leaves a fairly dark patina, and you have to polish out the whole blade to even things up. But heck, I was gonna have to do that anyway, big-time.
I didn't want to sand it because I wanted to keep the fake hamon if I could. So next up was Peek metal polish:

Then Mother's Aluminum Polish:
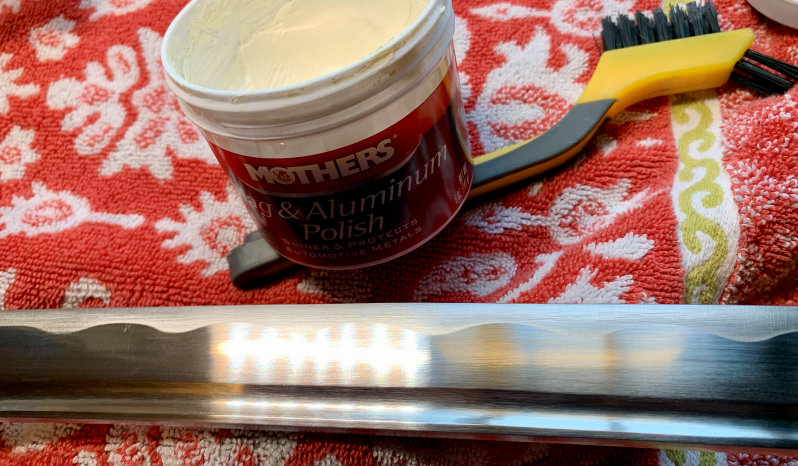
I used the Peek & Mother's on the habaki, too. It all turned out better than I expected. (I had some problems taking it apart, so I polished before I disassembled.)
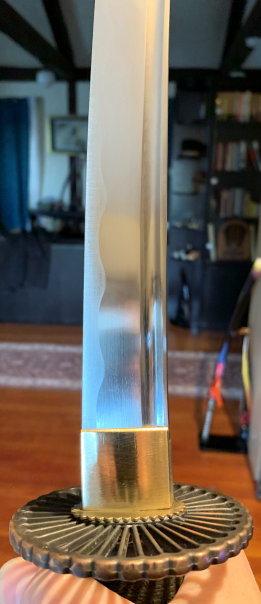
I oiled the blade and put it in a golf-club tube and put it in the locker:
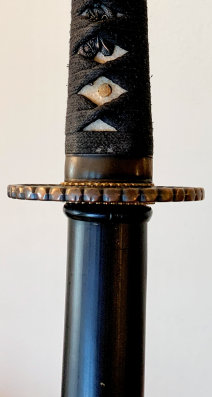
The shitodome didn't match and looked kind of crappy:
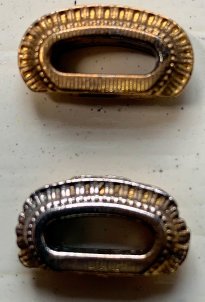
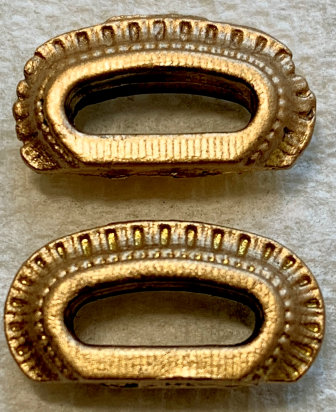
I knew the overall color scheme and paints I wanted, and I wanted a less shiny gold for shitodome & menuki, so I painted them with Liquid Leaf Classic Gold:
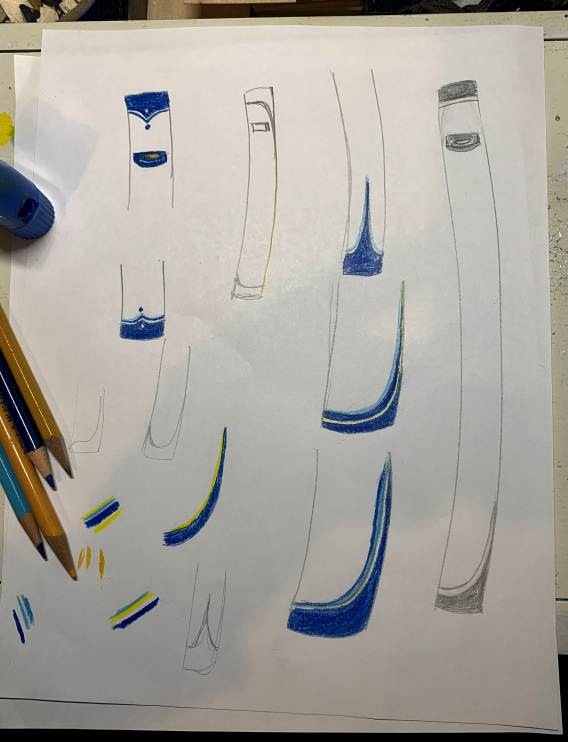
Time to get to work on that saya. Here's a sketch I did, playing with colors & designs. Man, I really can't draw.
==============
Let me reiterate that I really-super-did-not want to make a friggin white katana. To me it just screamed WALL HANGER. Plus, giving a white sword to a 14-year-old seemed like handing my car keys to a speedfreak.
Whenever I have to do a job I really don't want to, I try to figure out how to turn liabilities into assets -- partly because I like challenges, partly to make things more interesting than frustrating, and partly so I can live with the result. In this case, I was counting on two things to make it worth the going: A fairly Art Deco design, and Createx Metallics, Pearls, and Hi Lite airbrush paints.
==============
I airbrushed the saya with three coats of Metallic White (Fine). It has a pearlescent luster and nice depth.

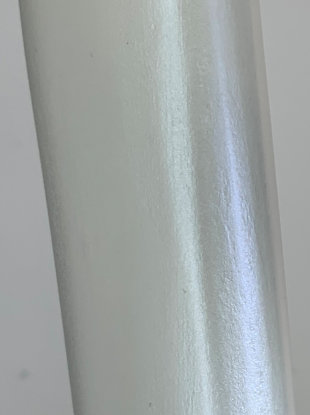
Next I sprayed the saya with Createx Hi Lite Blue. You can't really see it in any of the pictures, but in sunlight it gives a faint blue shimmer at edges and curves. Because I'd be trimming in dark blue, I wanted it to look as if that color were being reflected in the white.
I X-acto'd a stencil using a 5 mil Overhead Transparency sheet (what else am I gonna do with those things here in the Year of Our Lord 2022?)
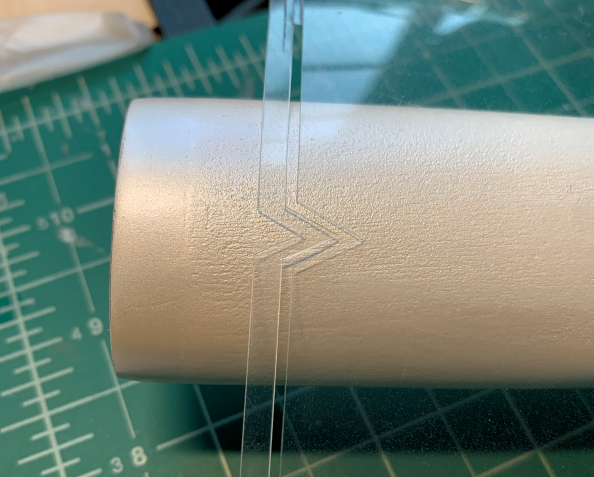
But I didn't trust the stencil to give me the hard line I wanted (stencils are no fun on curved, tapering surfaces), so instead I vinyl-taped the design:
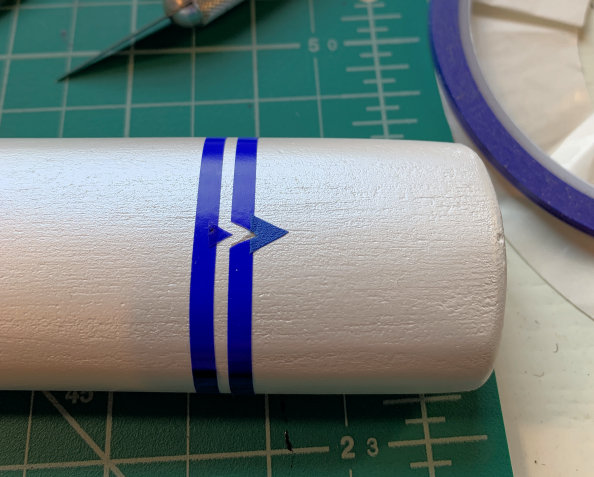
I mixed Metallic Midnight Blue and Pearl Brite Blue to get the trim color I wanted, and also because it would give a beautiful metallic pearl depth & motion to the trim.
So after taping off--

--it was time to spray the trim:
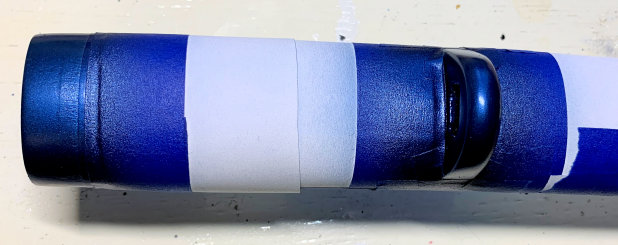
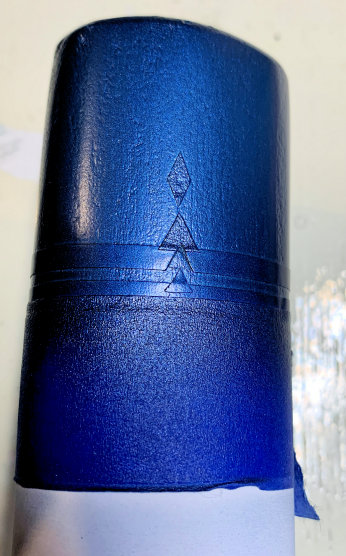
And then pull the tape:

I went with a more angular design than my drawings showed. I realized that I had a fairly Art Deco design going, and I decided to push it more in that direction with harder angles and the "drop diamonds."
White katana or not, I was starting to like the design.
I cleaned up line edges with an X-Acto:
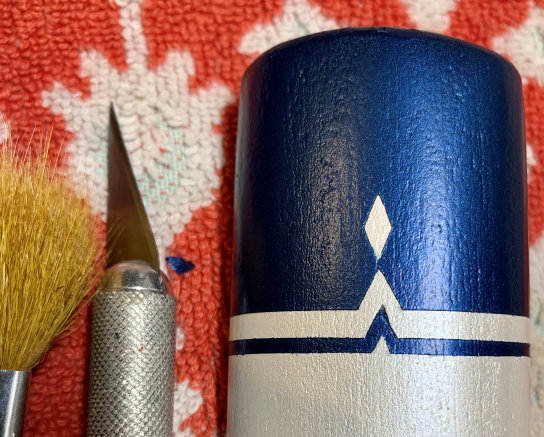
Taped off near the koiguchi to get a drop-triangle
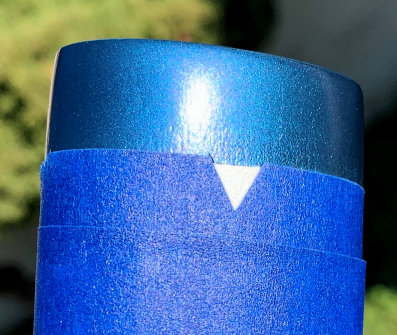
And used my stencil to get the corresponding key line:
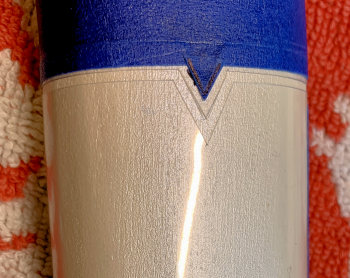
Tape on, tape off, Daniel-san:
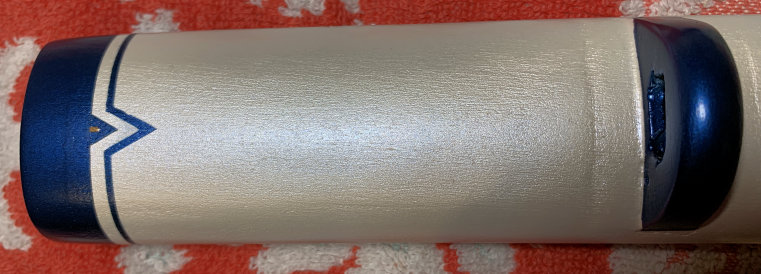
I brush-painted the diamonds with the Classic Gold:
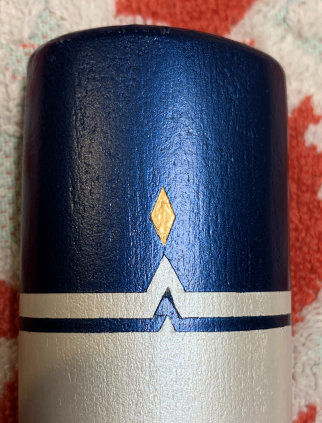
Then clear-coated with high-gloss polyurethane (I use a supercheap Harbor Freight airbrush for this. It's a crappy airbrush, but works great as a kind of mini paint gun for clearcoating). I hung the saya in the locker to cure.
Time for the tsuka! I banged the damn thing off using my indispensible home-made tsuka-nuki (yep, that's a thing):
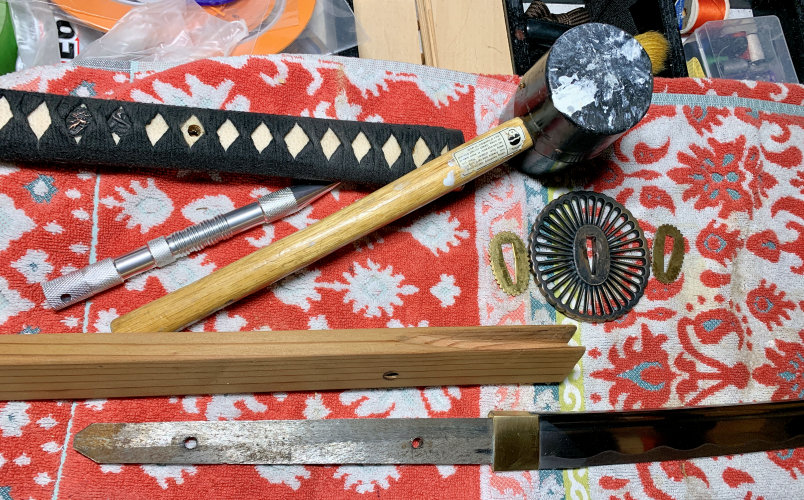
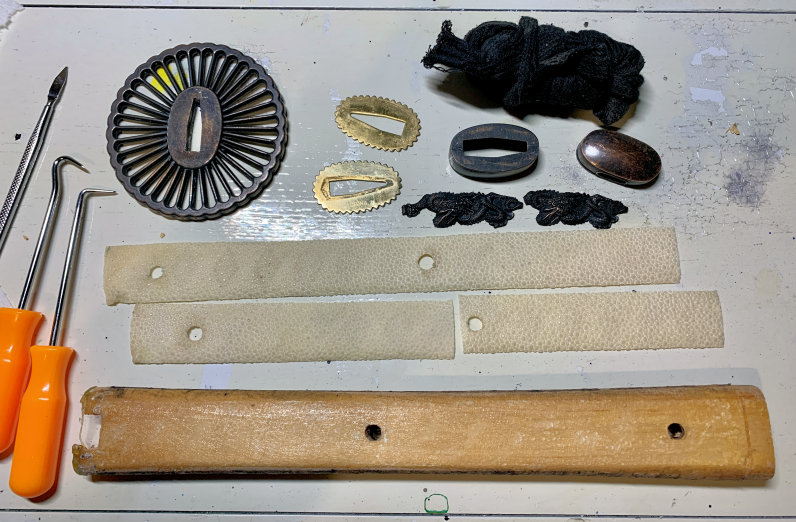
--and put the blade back in the golf-club tube with a piece of coat hanger through the mekugi-ana:

Hey, what a surprise, the tsuka was cracked, too!
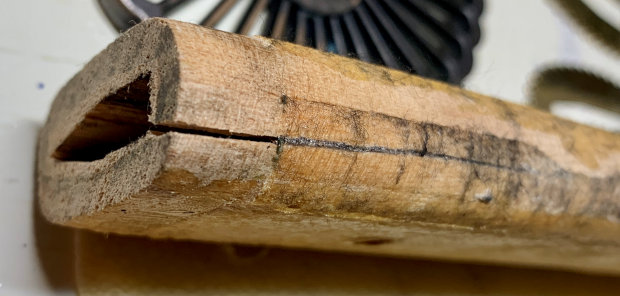
The kashira end had been filled with some kind of rubber cement as a spacer:
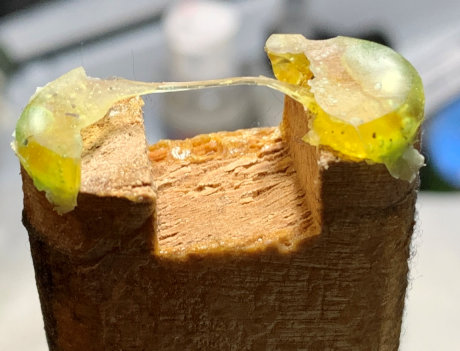
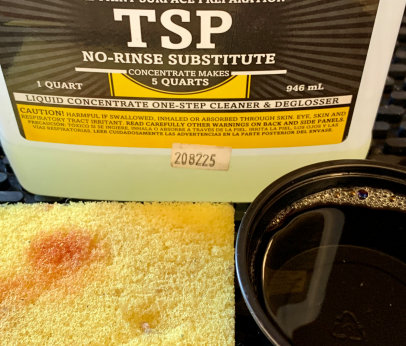
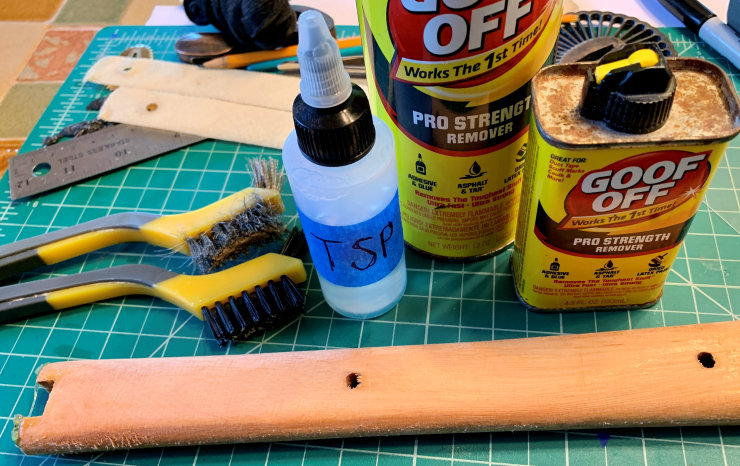
The wood was gummy from taped & glued ito & (and, surprisingly, real) samegawa. I cleaned it off with Goof Off, TSP, and brushes:
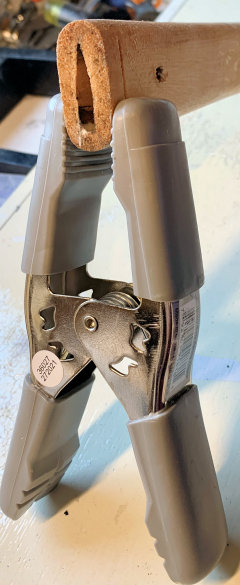
I pried the crack a little wider and used a length of wood veneer as a spatula to spread wood glue into the crack. I also flossed the crack with a glue-saturated length of dental floss to really get it in there.
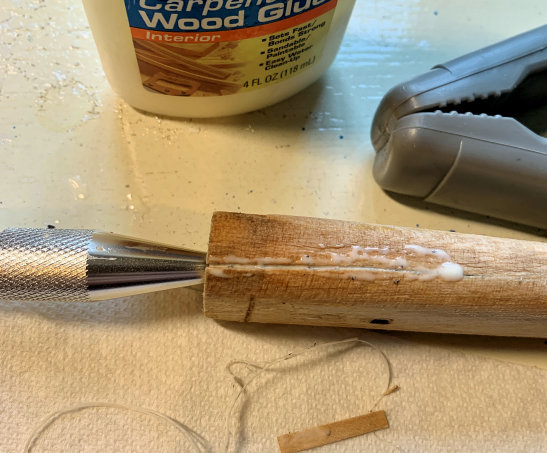
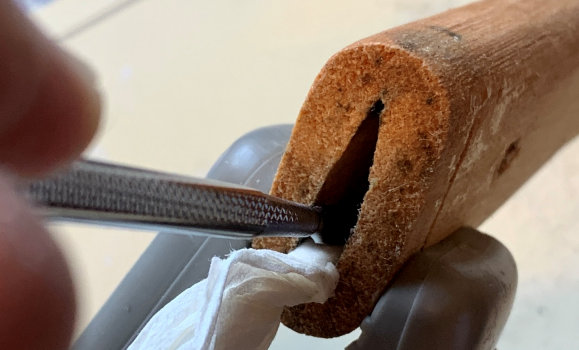
I clamped it, rolled a paper towel tight, pushed it into the tsuka, and used a knotting tool and the paper towel to swab out any glue that had squeezed out into the inside of the tsuka. I let it dry overnight.
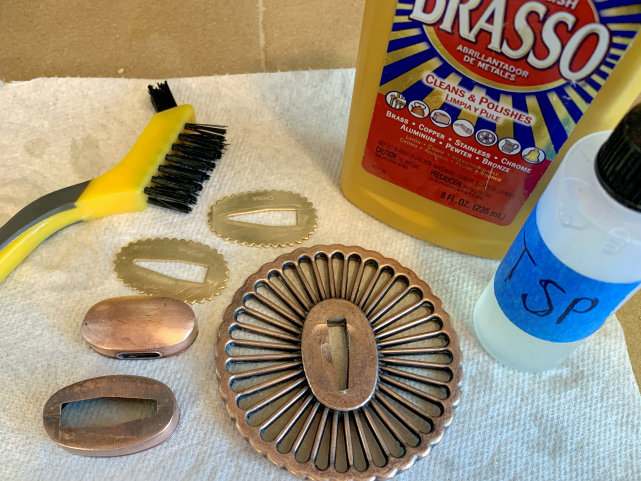
I cleaned all the fittings with Brasso, washed them off, then wiped them down with TSP:
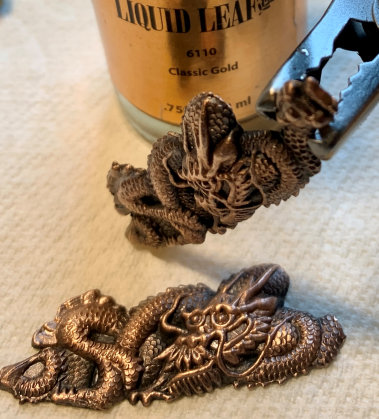
Painted the menuki & seppa with Liquid Leaf Classic Gold (which for some reason looks coppery in the shot):
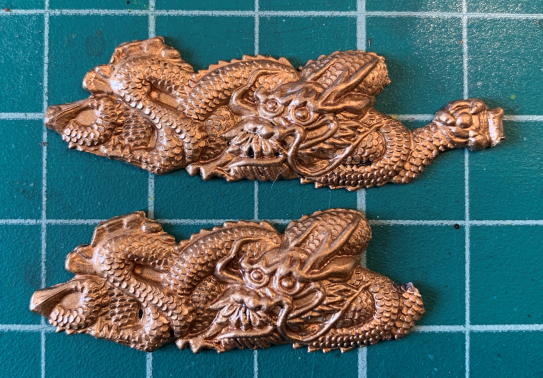
I painted the trim on the kashira & fuchi with Classic Gold, too. Forgot to get a shot of that.
I washed & scrubbed the samegawa, then unclamped the tsuka and glued the samegawa back. I wrapped it tight with the shoelace ito and left it overnight, then brushed the samegawa with a layer of clearcoat.
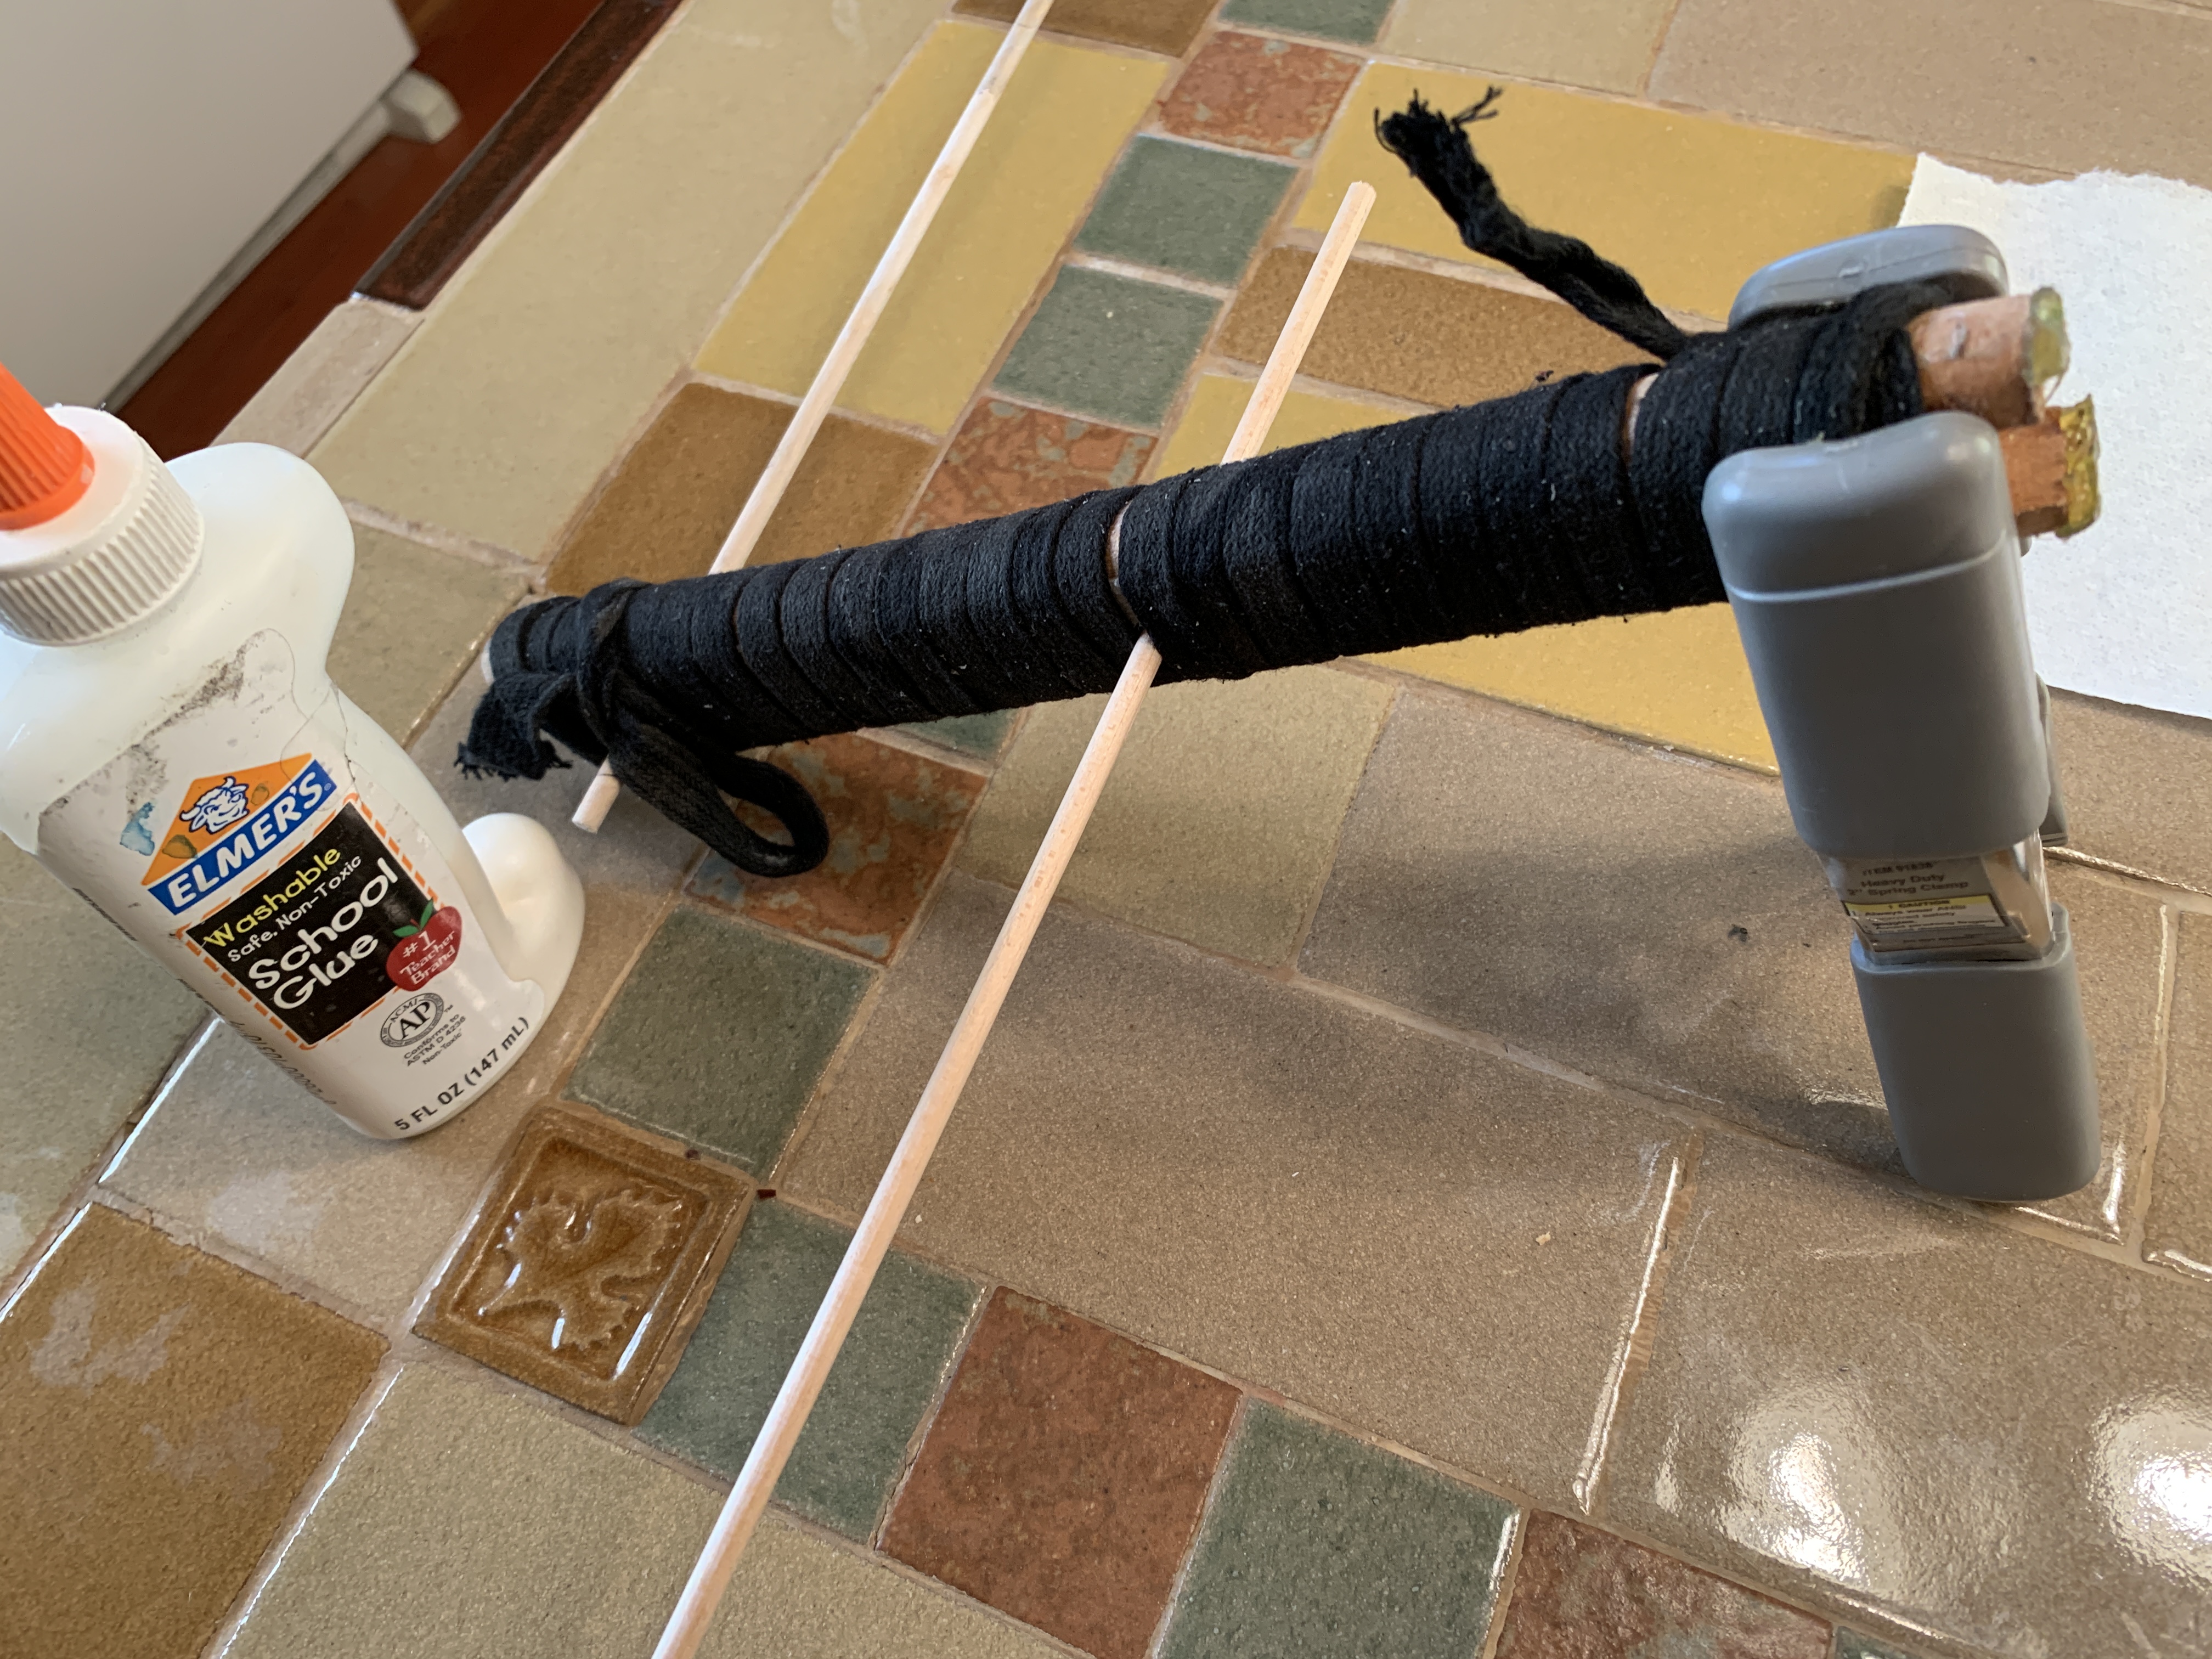

I taped off the fuchi & kashira trim, then painted them and the tsuba with the metallic pearl blue. I clearcoated all the fittings and shelved them to dry. (Don't buy those expensive part-holders for airbrushing; for five bucks you can make a dozen of them yourself with Dollar Store skewers and Harbor Freight alligator clamps.)

Tsuka-maki time! (The homemade kusune-glue lollipop was a bust, btw. I have to learn to make it right.)
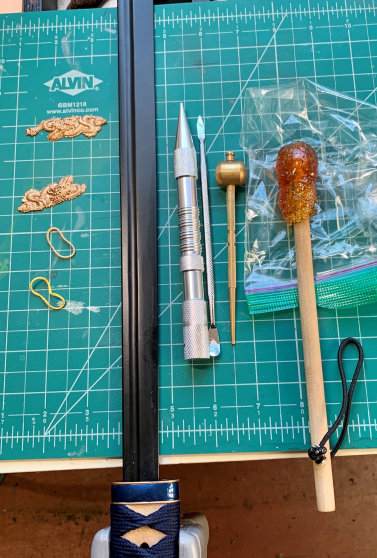
I bought a $10 navy-blue ito that was way more stretchy than I'd've liked. But since I was doing this for free and the out-of-pocket was all mine, this was by-god the ito that was gonna go on this thing. (Note the sacrilegeous Glue Stic in the background. Take that, kisune lollipop.)
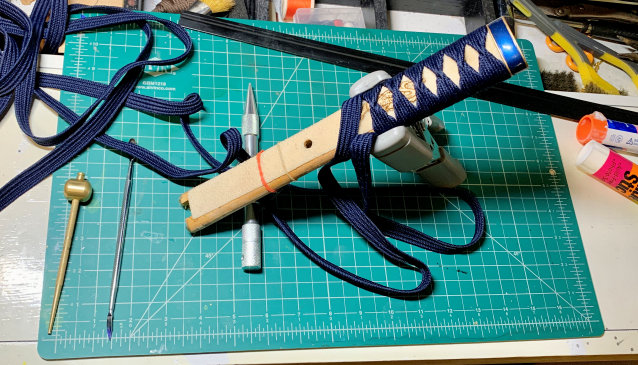
I brushed two coats of lacquer on the finished ito.
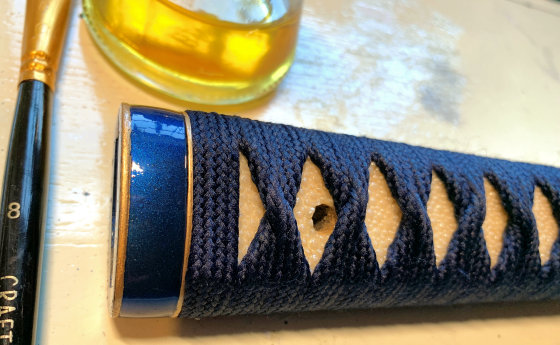
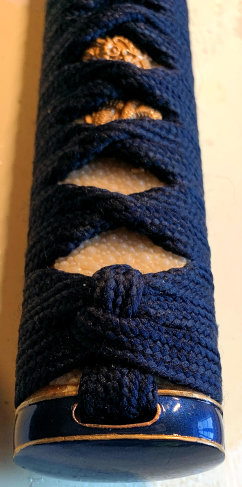

I couldn't stand the thought of reusing the original black shoelace sageo, but I wasn't about to fork over for a new color-coordinated one. I had an idea: The tsuka-ito had about a yard left on either side, giving me six feet of cord. Being cheap, it was synthetic. So I took a chef's torch to an end of each length until they melted, and then I clamped them together and water-quenched them. They fused, and I had me a length of color-matching sageo with an ugly two-inch melty section in the middle. Deal with it, perfectionistas.
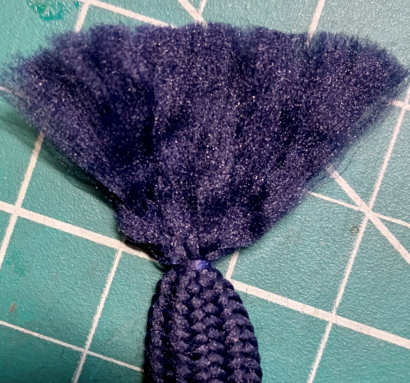
The synthetics tend to unravel at the ends, which is actually helpful for making tassels.
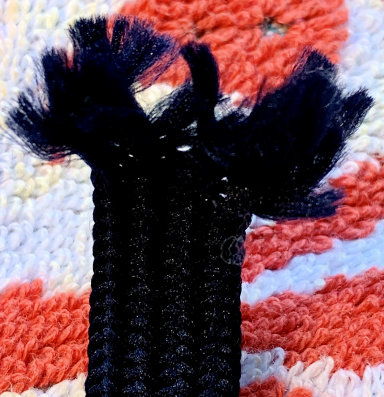
I brushed the loose strands with a wire brush to unravel them and comb them fairly even.
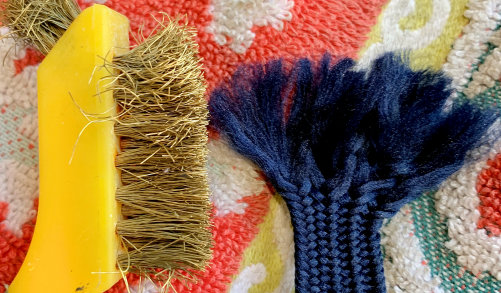
Then I knotted blue thread at the base to pinch the tassels off, and sealed the knots with a drop of clear nail polish. I cut the tassel ends even with scissors.
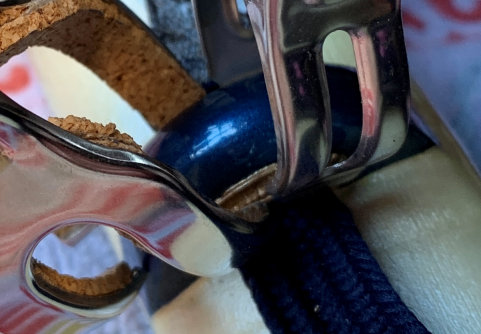
I glued the shitodome into the kurigata with E6000 glue and secured them with clamps I'd lined with cork (confusing picture, I know)
All the pieces were finished -- time to reassemble. Everything went back together smoothly (whew). That's always an exciting & nerve-wracking moment.
I buffed & polished the saya & fittings--

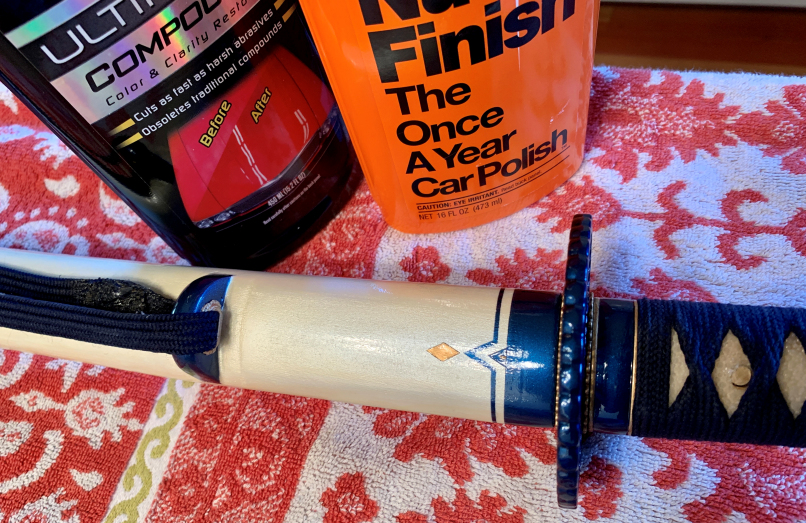
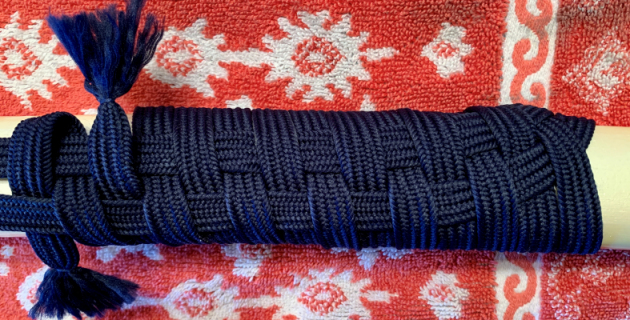
--and tied the sageo in a waffleboard weave (that's what I call it, anyway)
Done done done!
I took a lot of pix in sunlight, but it really didn't capture the depth & motion of the paint. The trim color is deep, with a lot of sparkle, and the white has a beautiful pearl luster.


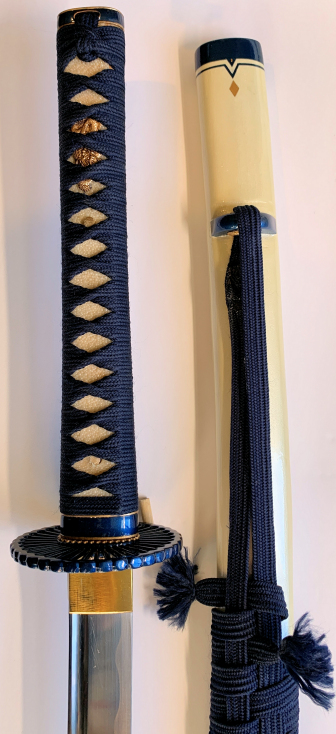

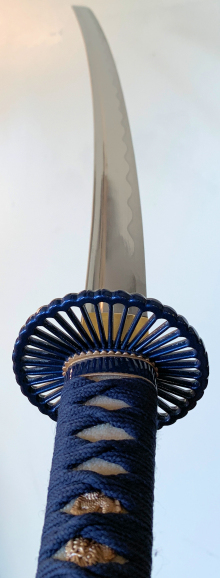
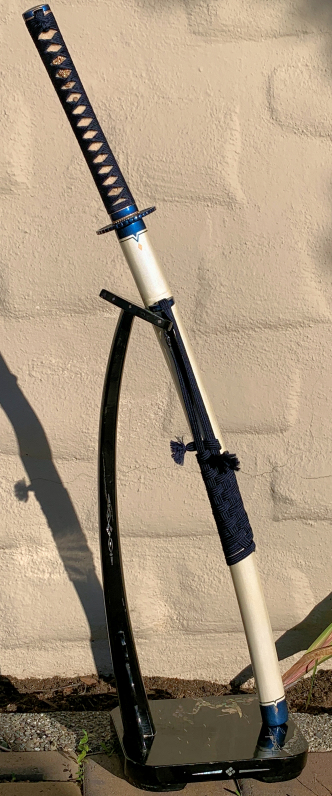
One thing I didn't count on: Oil-based polyurethane clear-coat yellows a bit on drying. That's never been an issue because I've mostly coated blacks and solid colors. This was the first time I've used it over white, and I forgot about the yellowing.
It was a beneficial mistake, because the slight yellowing actually enhanced the mother-of-pearl vibe and made the sword even less startlingly white. Do you hear me complaining? You do not.
So even though it isn't a sword I'd necessarily want for myself, I was very happy with how it turned out. I formally presented it to its owner in class, and he loved it, which makes me happy.
===============
Teaching Moment Time! I also gave the kid a cheap polishing kit and showed him how to clean the sword. It turned into me leading a class demo on sword maintenance, so that was good.
I enjoy how much he seems to enjoy using the sword in class. (Plus, okay, I think it looks pretty cool.) Will he treat it well over time? Honestly, I have to shrug and be like those Buddhist monks who spend months on intricate colored-sand mandalas and then joyously broom them away when they're done: The joy of making, and satisfaction of responding to a challenge, and the pleasure of giving exist apart from all the rest.
Thanks for walking through this with me!


