Deleted
Deleted Member
Posts: 0
|
Post by Deleted on Aug 26, 2008 13:55:51 GMT
Does anyone know how to solder sword parts? I want to make a koiguchi for my shirasaya with brass (I don't have copper...) and i have done most of the part for it but now have to solder it which i'm having quite some difficulties with... Any advice?
Edit:
I'm starting on a project on my shirasaya's saya. I'm gonna try my hand on samemaki and rattan wrapping. Thanks to HR's advice, i managed to solder most of my koiguchi. Thanks HR!! Updates will soon be posted. 1 more thing, my parents are out of town and they took their cameras with them so i had to use my phone camera which means that pics arent so clear...
|
|
Deleted
Deleted Member
Posts: 0
|
Post by Deleted on Aug 26, 2008 14:56:08 GMT
well with soldering the metal that the soldering wire has to touch has to be hot. so the koiguchi has to be hot while on the sword then u rub the solder coil on it. im not too sure if soldering is a good idea. maybe some wood glue to get it on. btw whered did u get the koiguchi cos i wanna do that too but for my katana.
|
|
Deleted
Deleted Member
Posts: 0
|
Post by Deleted on Aug 26, 2008 17:02:58 GMT
well with soldering the metal that the soldering wire has to touch has to be hot. so the koiguchi has to be hot while on the sword then u rub the solder coil on it. im not too sure if soldering is a good idea. maybe some wood glue to get it on. btw whered did u get the koiguchi cos i wanna do that too but for my katana. Do you even know what a Koiguchi is? Anyway... Soldering thin brass like that should just require a small, propane bottle-torch, or possibly just a butane pencil-torch. I'm assuming you're making a simple one, that is just a flat ring around the mouth of the Saya, or otherwise you risk scratching the Habaki, Seppa, and Tsuba(which is why horn is most often used). Clamp the joint closed and heat with the torch. DO NOT OVERHEAT. Heat a little bit at a time, testing to see if the hot metal melts the solder each time. Once the solder begins to melt, apply a small amount of soldering flux to the seam, and just run the tip of the soler-wire down the seam and it will flow in. Let the piece cool on its own. Once cooled, remove the clamps and file/sand off any excess solder. If done right, the seam will hardly be visible. Though a lap joint is stronger, a butt joint is acceptable in this case as the joint won't really be stressed. Also, a lap joint would stick out and look ugly. This takes practice. Try it on scrap first so you understand what you're doing. |
|
Deleted
Deleted Member
Posts: 0
|
Post by Deleted on Sept 1, 2008 13:19:33 GMT
Ok, started my project couple days ago. I've tried my hand at koiguchi making, same'maki and rattanmaki (?) all on my saya. Not many pics and pics are kinda blur but what the heck. Materials: Percussion plate = $20+ Rattan = $1.5 Same' = $8 Day 1; Started with a thin sheet of brass about 3-5mm think and cut out a sufficient amount to fit my saya. FYI, i used percussion plate (The ones they used with drums) since they don't sell bare brass plates (Luckily it has no brand name)... At this stage, i have yet to polish the koiguchi. 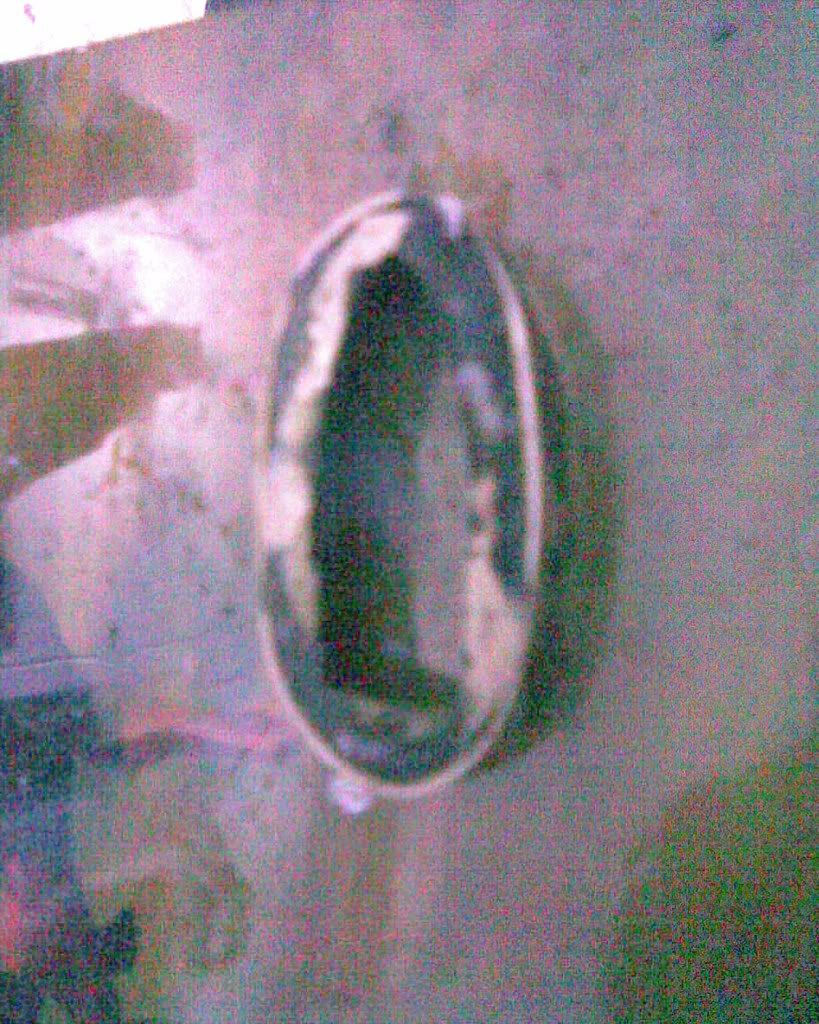 Fits right there. 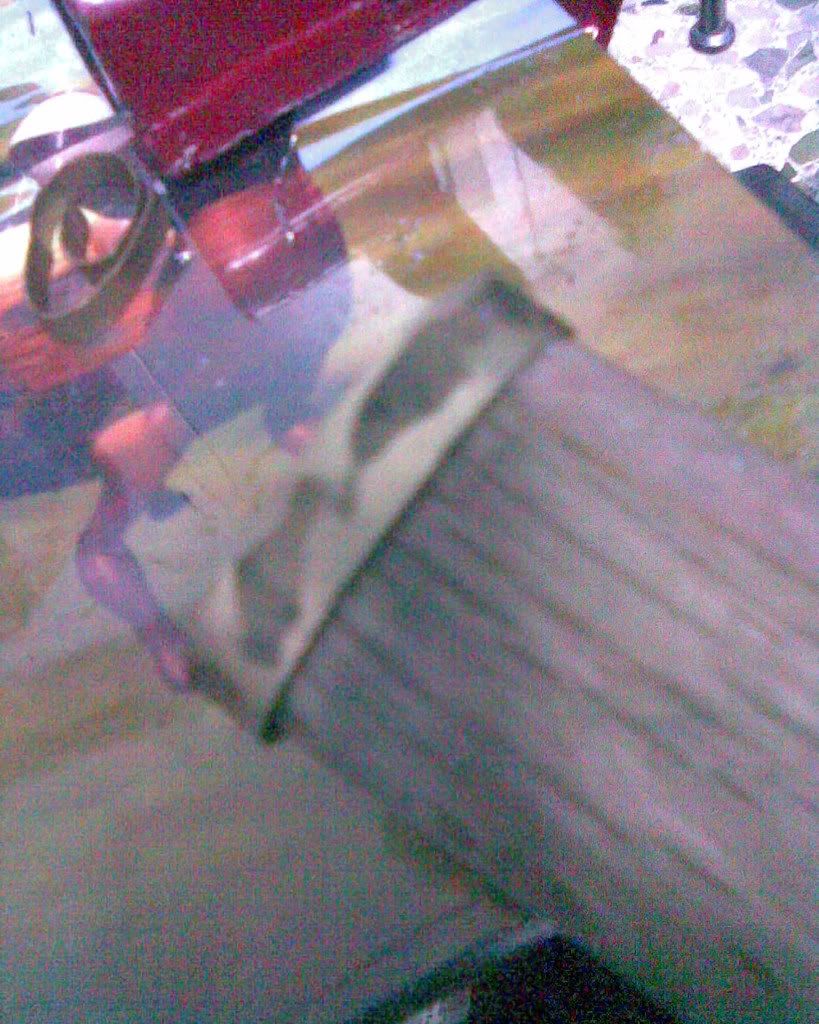 Bought rattan from a local rattan furniture store. 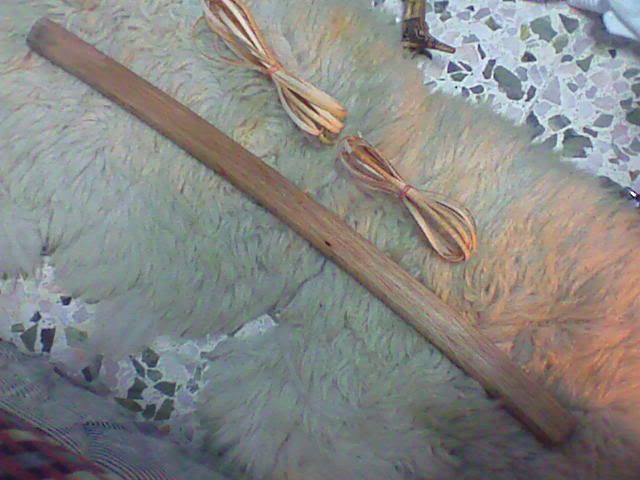 Sorry but i didn't take any pics on the same'maki. In case your wondering why my same' costs 8 bucks is because i buy them at the local fish market (Choosing only the biggest hide) and skin them myself. Its a dirty job with all the blood and guts but well worth it. Plus i get lunch on the table. Cooked in curry is the best. In the end it came out quite nicely Though a little short on the measurements which is eaesily covered up by scrap hides. After 7 hours under the sun. 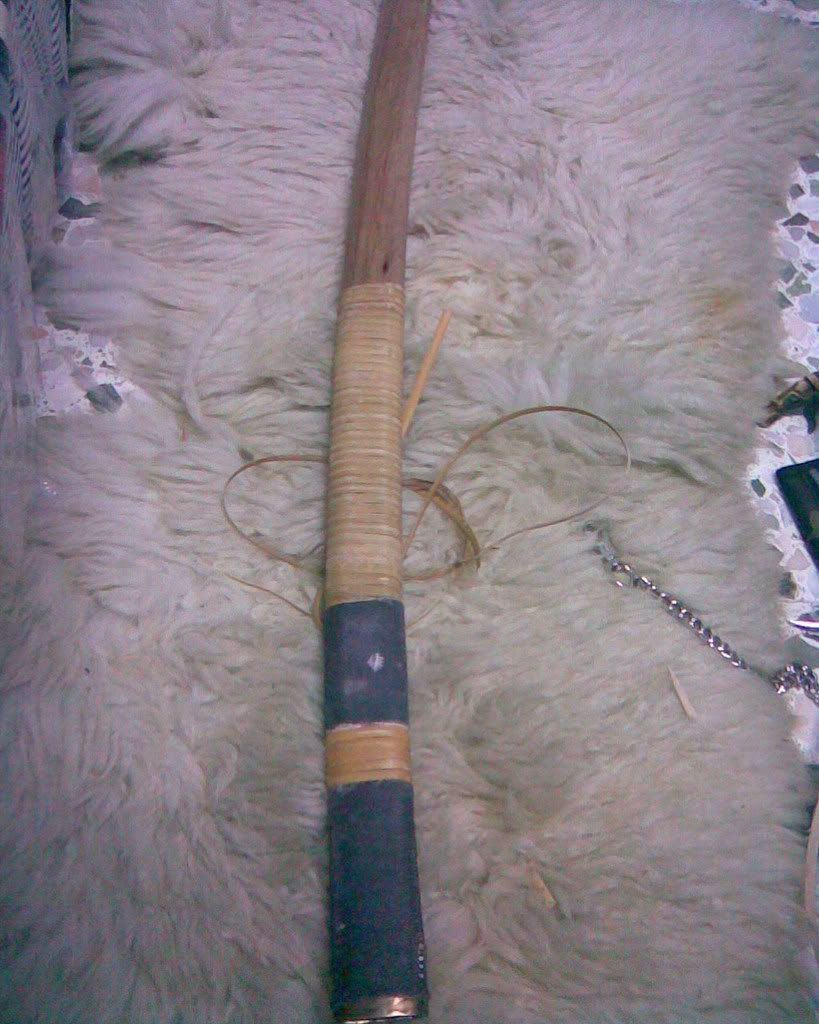 Before its sanded.  After.  Laquered with black gloss paint. Gonna have 3 layers of paint on the rattan.  Oh, i redid my tsuka since the tsukamaki was a little loose. Since i had an extra tsuba lying around i thought i might aswell use it and so i shortened my tsuka by a few centimetres and poof a tight fit. My original thought for this sword was a tsuba'less sword but since there were so many dangers without one i decided to add a tsuba. Painted the same' black, original colour was grey, and has a double katatemaki.  Finally, the whole sword. 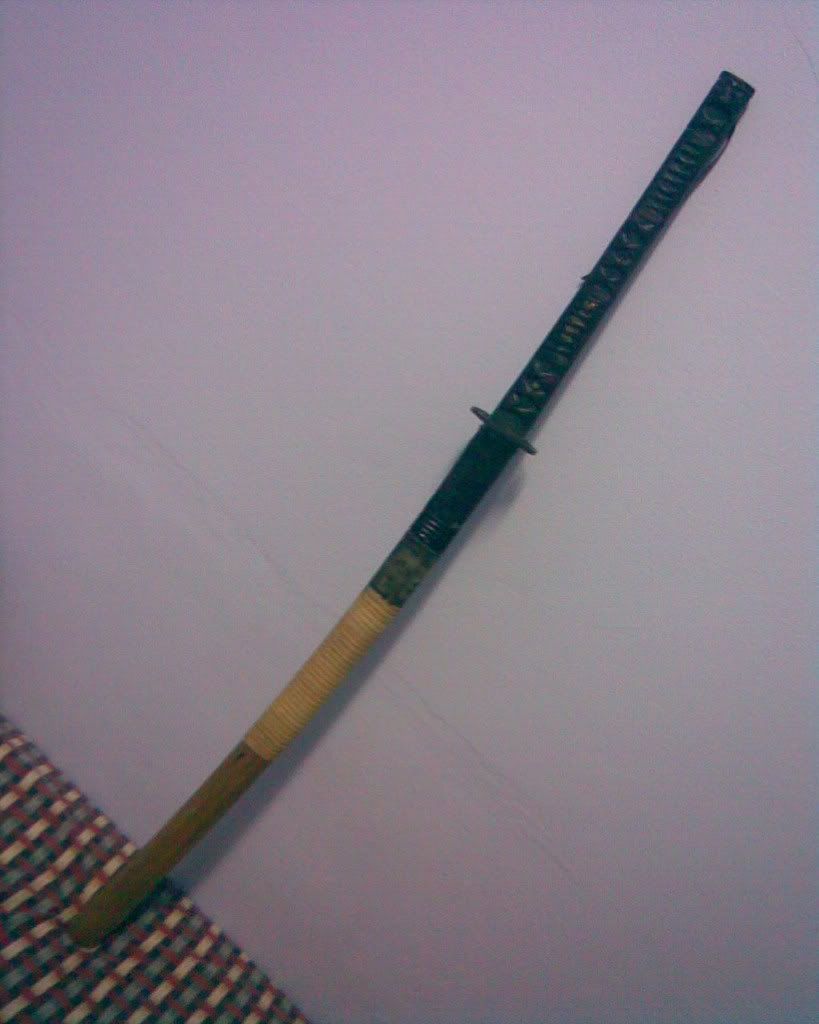 More updates soon!! Feel free to comment. Q: By using black gloss paint, do i still have to use gloss finish paint? Is it a good idea to add green flakes to mix with the saya? |
|
Deleted
Deleted Member
Posts: 0
|
Post by Deleted on Sept 1, 2008 13:31:30 GMT
Nice job wrapping that tsuka!
|
|
|
|
Post by 293master293 on Sept 1, 2008 23:03:51 GMT
I love the tsuka. Saya is nice too.
|
|
Deleted
Deleted Member
Posts: 0
|
Post by Deleted on Sept 3, 2008 10:13:28 GMT
Does anyone here knows how to laquer rattan...
/index.cgi?board=swordcustom&action=display&thread=1705
Or same' like the one in the url??
Need advice on laquering so that i can finish my project.
Thanks!!
|
|
Deleted
Deleted Member
Posts: 0
|
Post by Deleted on Sept 7, 2008 11:47:25 GMT
I tried laquering my rattan wrap black and here's the result. 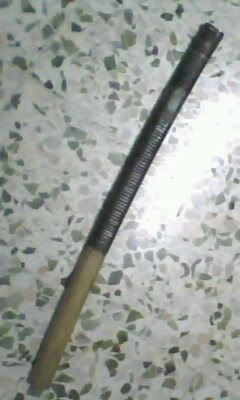 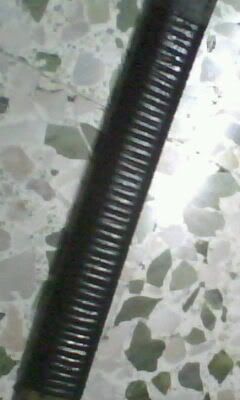 My first try was to messy so i sanded it down and redid it. 2 medium black gloss coats, 3 clear coats and finally a car polish wipe down to try to give it a glossy shine. Now i still have the same' left which i'm lost at. ADVISE, PPPLLLEEEAAASSSEEE!! |
|
Deleted
Deleted Member
Posts: 0
|
Post by Deleted on Sept 7, 2008 20:49:30 GMT
I don`t exactly understand your question.
Are you having trouble lacquering the Same?
If so, you should simply lacquer it with any automotive paint,
and if you want to sand off the nods with something flat,
like a sanding block carefully.
If the nods are uneven the result will be, too.
This makes it rather difficult, but hey I swear sometime I will do it myself. I love samegawa on a saya =)
After you sanded the nods down,
the former high spots will be white again,
and the area between the nods will be left black.
That´s why big nodes are rather recommandable.
Then you aply a very thick coat of clear lacquer and finished.
But be warned, sounds easier than it is.
You can check google
there are many who tried this before
|
|
Deleted
Deleted Member
Posts: 0
|
Post by Deleted on Sept 10, 2008 13:21:55 GMT
lesslemming, seems like you have worked with same' before. I'm having both laquering and sanding problems. Luckily, I have 2 same' portions to work with.
In the 4th and 9th picture, i have sanded them both differently and both were laquered black. The first portion of same' have been sanded using a triangular file to achieve the so called even feel leaving behind small taces of black laquer which is desired. In the end, it came out with some good results but still with a little uneven and bumpy feel.
The second portion of the same' on the other hand have been sanded with a 80 grit sand paper with a wooden block as support to even out the surface of the same' leaving behind almost no traces of black laquer behind. The same' felt even at every surface area.
After filing the first portion, i left it at that. The second portion was later laquered, wiping it before it dries to fill in the "cracks" between the nodes. After all that, it still felt bare... I will add pictures soon to show you what i mean.
|
|
Deleted
Deleted Member
Posts: 0
|
Post by Deleted on Sept 10, 2008 18:12:13 GMT
I think some pictures should help making clear what you mean  But as far as I understood, one of your concern is how to get that the same feels and looks like it was under a glass surface? After you sanded down the nods as desired, you have to aply thousands of clear coats, to fill up the spaces evenly and create an absolute even surface without any bumps. I only worked with same stripes so far |
|
Deleted
Deleted Member
Posts: 0
|
Post by Deleted on Sept 12, 2008 12:57:18 GMT
Well, here are the pictures. Not so clear though... The upper portion of the same' with one coat of clear coat just to see if it has the desired look. Half bumpy and half smooth  The lower portion of the same'. I sanded the nodes until they were mostly even. The black spots are small patches of nodes. Flat and smooth.  |
|
Deleted
Deleted Member
Posts: 0
|
Post by Deleted on Sept 12, 2008 19:16:31 GMT
Did you really sand the nodes down?
I think they should rather be sanded a little,
not to total flatness!
I wondered why there where no nodes visable at all...
The same should of course still be bumpy,
but tons of clear coat would even it out
|
|
Deleted
Deleted Member
Posts: 0
|
Post by Deleted on Sept 13, 2008 4:01:05 GMT
Ooooooooooooooohhhhhhhhhhhhhhh!!!!!!!!!!!! So that's how it is.
Damn... I sanded the lower portion almost totally flat... Lucky i still have the upper portion. Now how am i gonna deal with the lower portion...?
|
|
Deleted
Deleted Member
Posts: 0
|
Post by Deleted on Sept 13, 2008 10:57:23 GMT
that explaines much ;D
alright, judging from the pictures you have many but small nodes,
right?
This is rather bad.
The bigger the nodes the more even it will look.
But you should give it a try.
Once you painted the same, which you already did,
you should sand the nodes with a sandingblock.
I don`t know who resistant these nodes are,
but I think you should not go under 240 grit.
But you will need to figure out yourself.
What you want to do, is sand the top of the nodes flat.
Only to expose some nice white circles.
The more you sand the bigger the circles are going to be.
You can decide if you chose to sand only a little, or much.
What you do can be described as cutting off the peak of a mountain.
When you get to a finish that you like,
you will probably have these nice white circles,
where you cut off the peak
and the rest, as well as the spaces between the nodes
will remain black.
Of course this will still feel very bumpy.
That`s why you will spray tons of clear coat on it.
You must work in small coats here.
If you aply three or four coats at a time to speed it up,
you will end up waiting hours for it to dry.
You should aply only two, to three thin coats.
Then wait until it is dry and probably sand down until you are on the nodes again.
This way the clear coat stays in the spaces.
You will have to do this over and over again.
Until you filled up all the spaces between the nodes
and have enough coats to be thick enough
to be on one level with the nodes.
Than you aply the last two coats and have an absolute even surface
with the same beneath it like it was under thick glass.
What you could do with the same you already messed up,
repaint it in black and clear coat it.
|
|


 Unfortunately I'm an edge-perfectionist. Also one wrong move when unsheathing and the throat nicks the edge on either side.