|
|
Post by L Driggers (fallen) on Nov 9, 2014 5:17:03 GMT
Here is one I am forging out of 1060 round shaft steel 1in dia. This is the piece I'll be starting with 4 1/2in long. 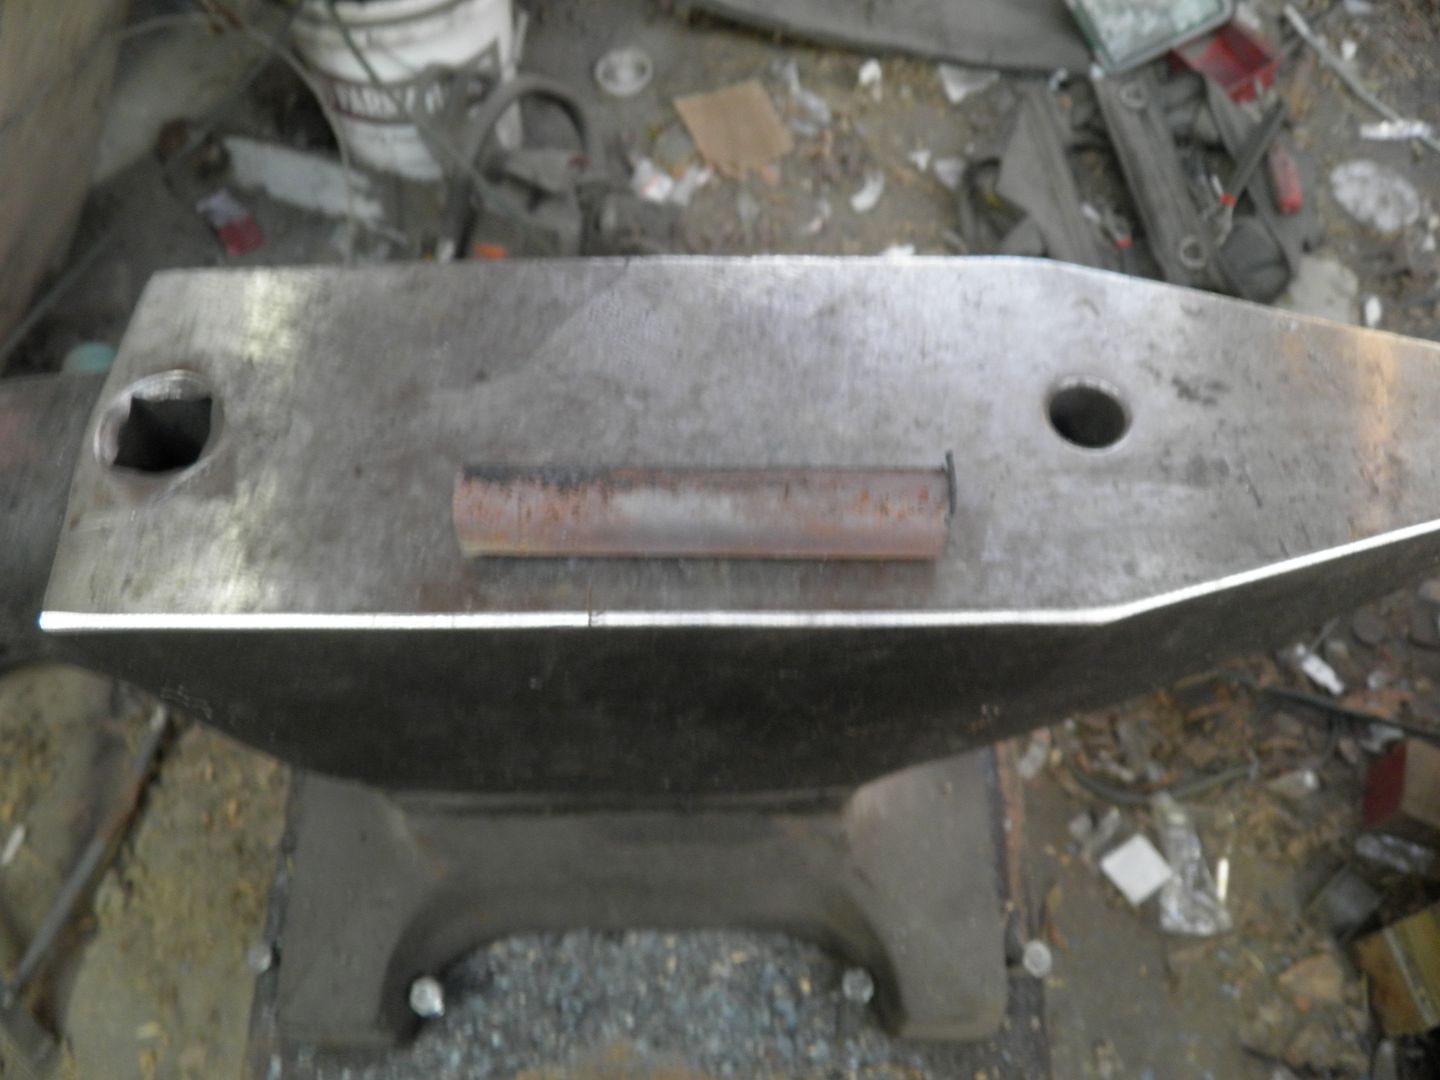 In the forge, a home make forge using a freon tank, and made propane burner. 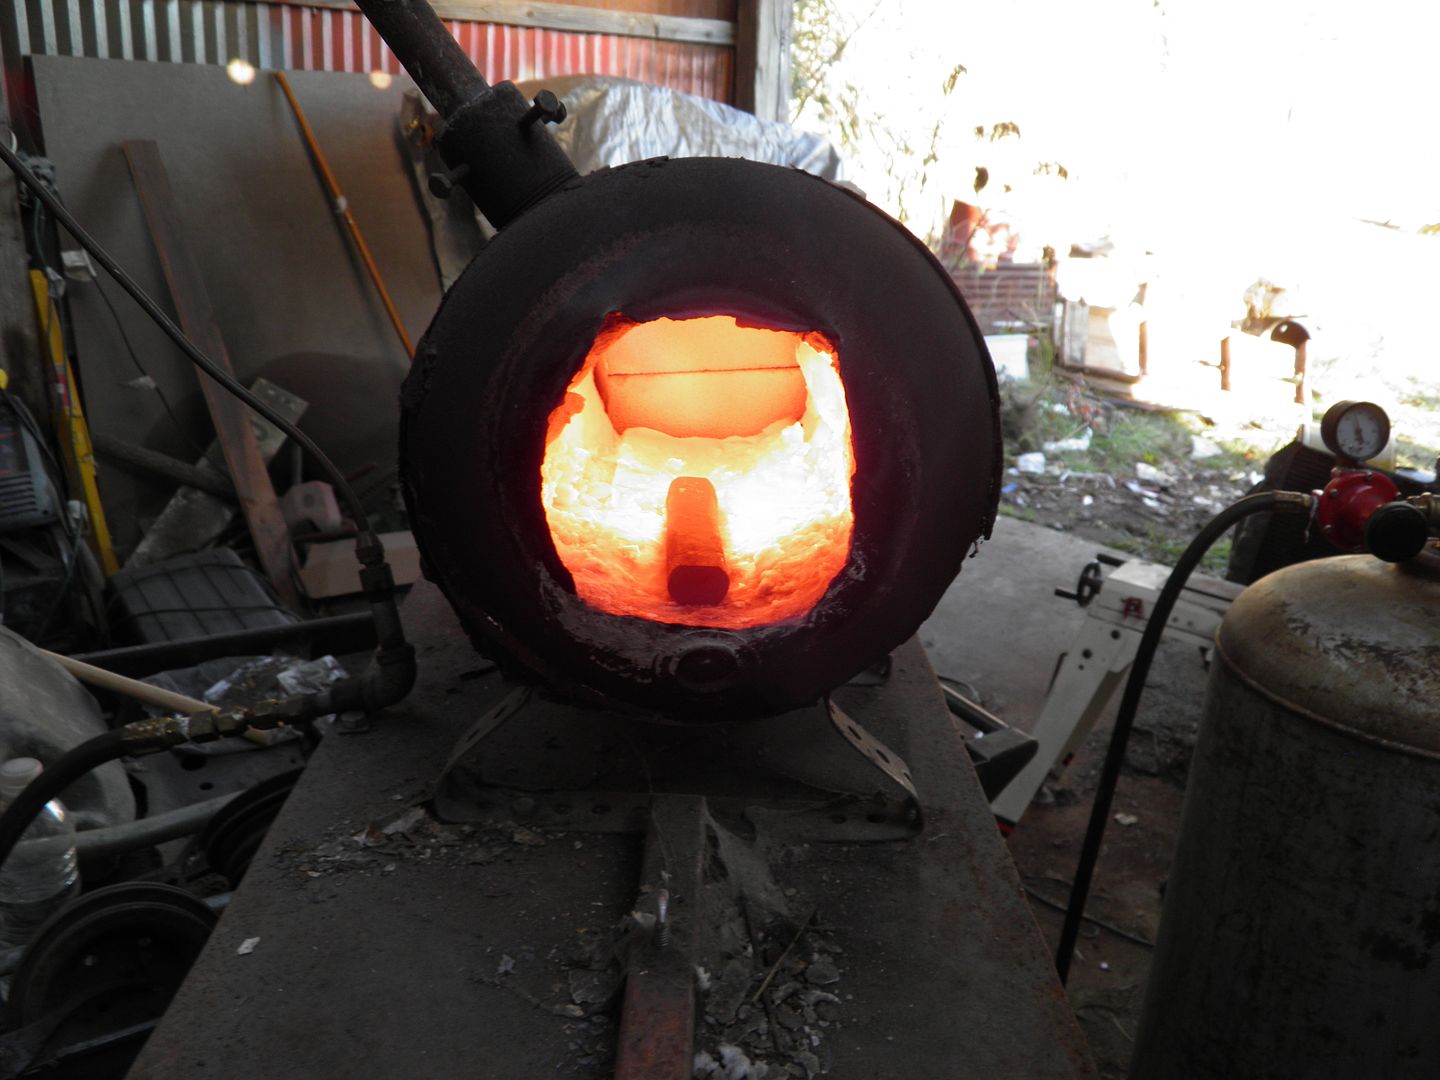 Flatted out the sides. 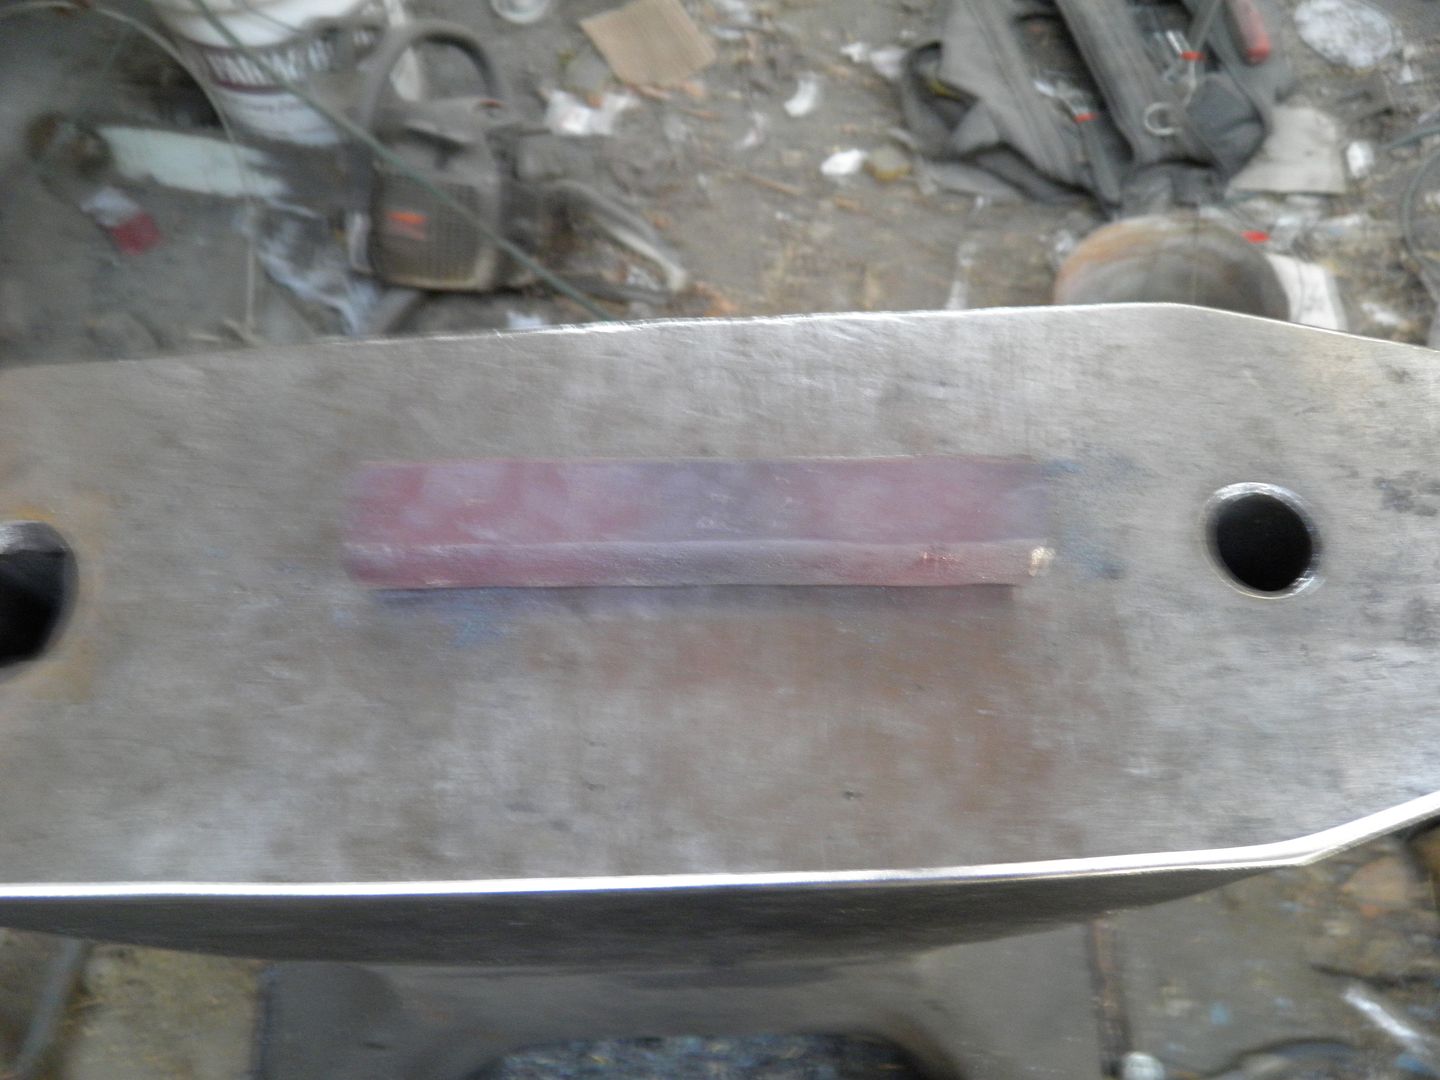 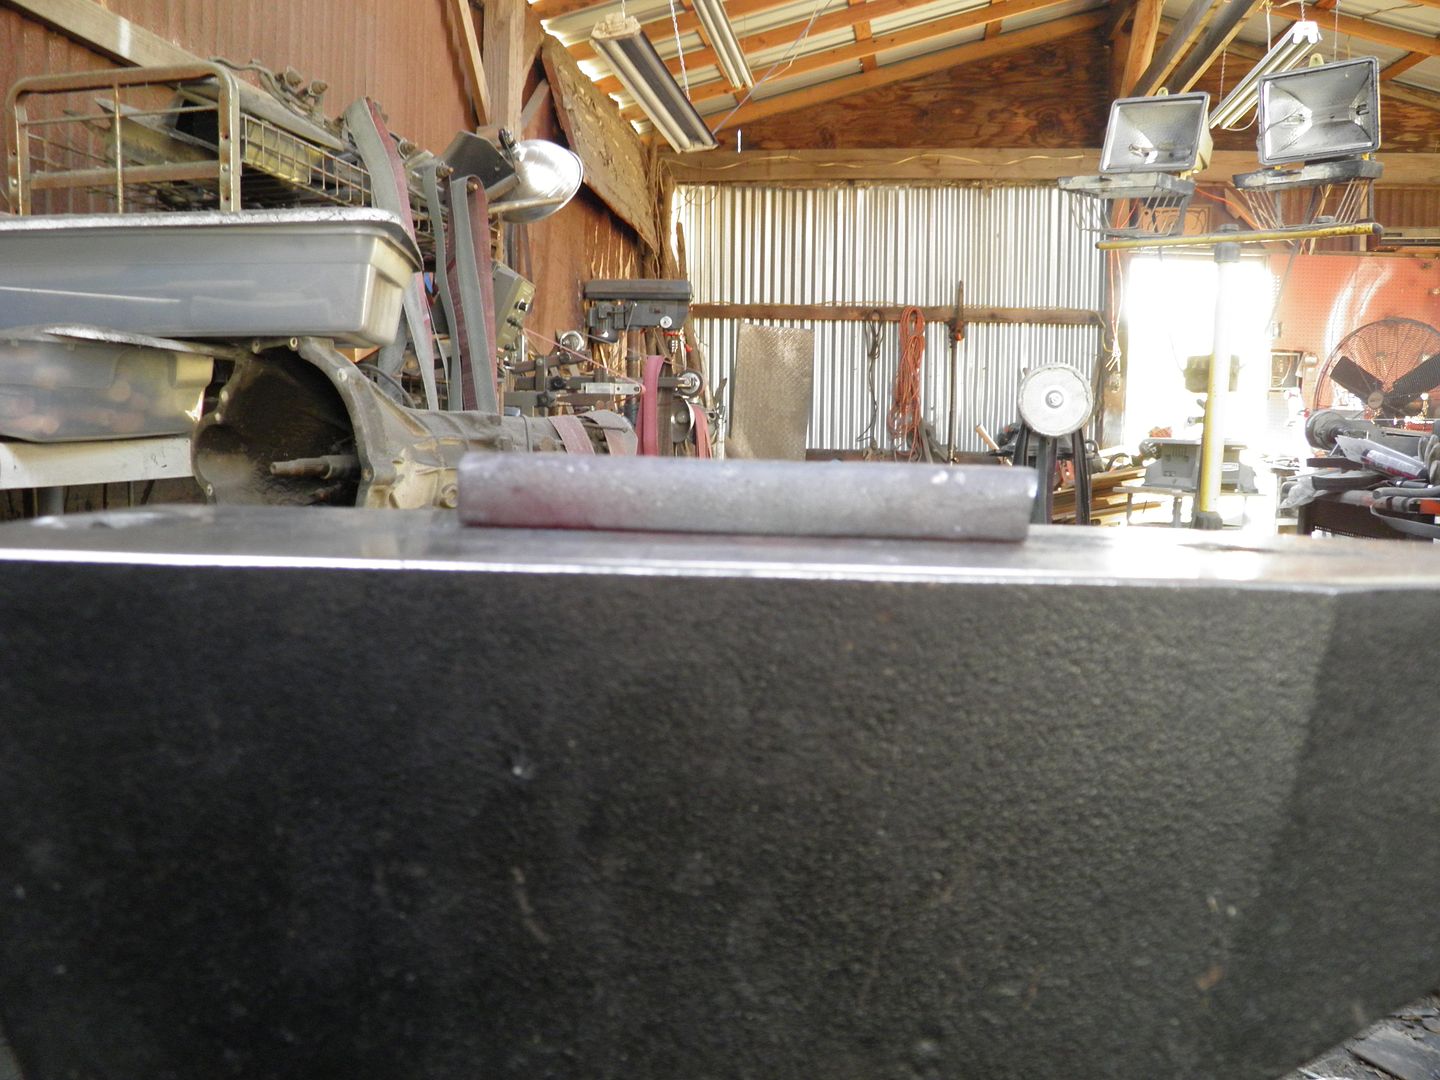 Here I've upsetted one end of the bar. 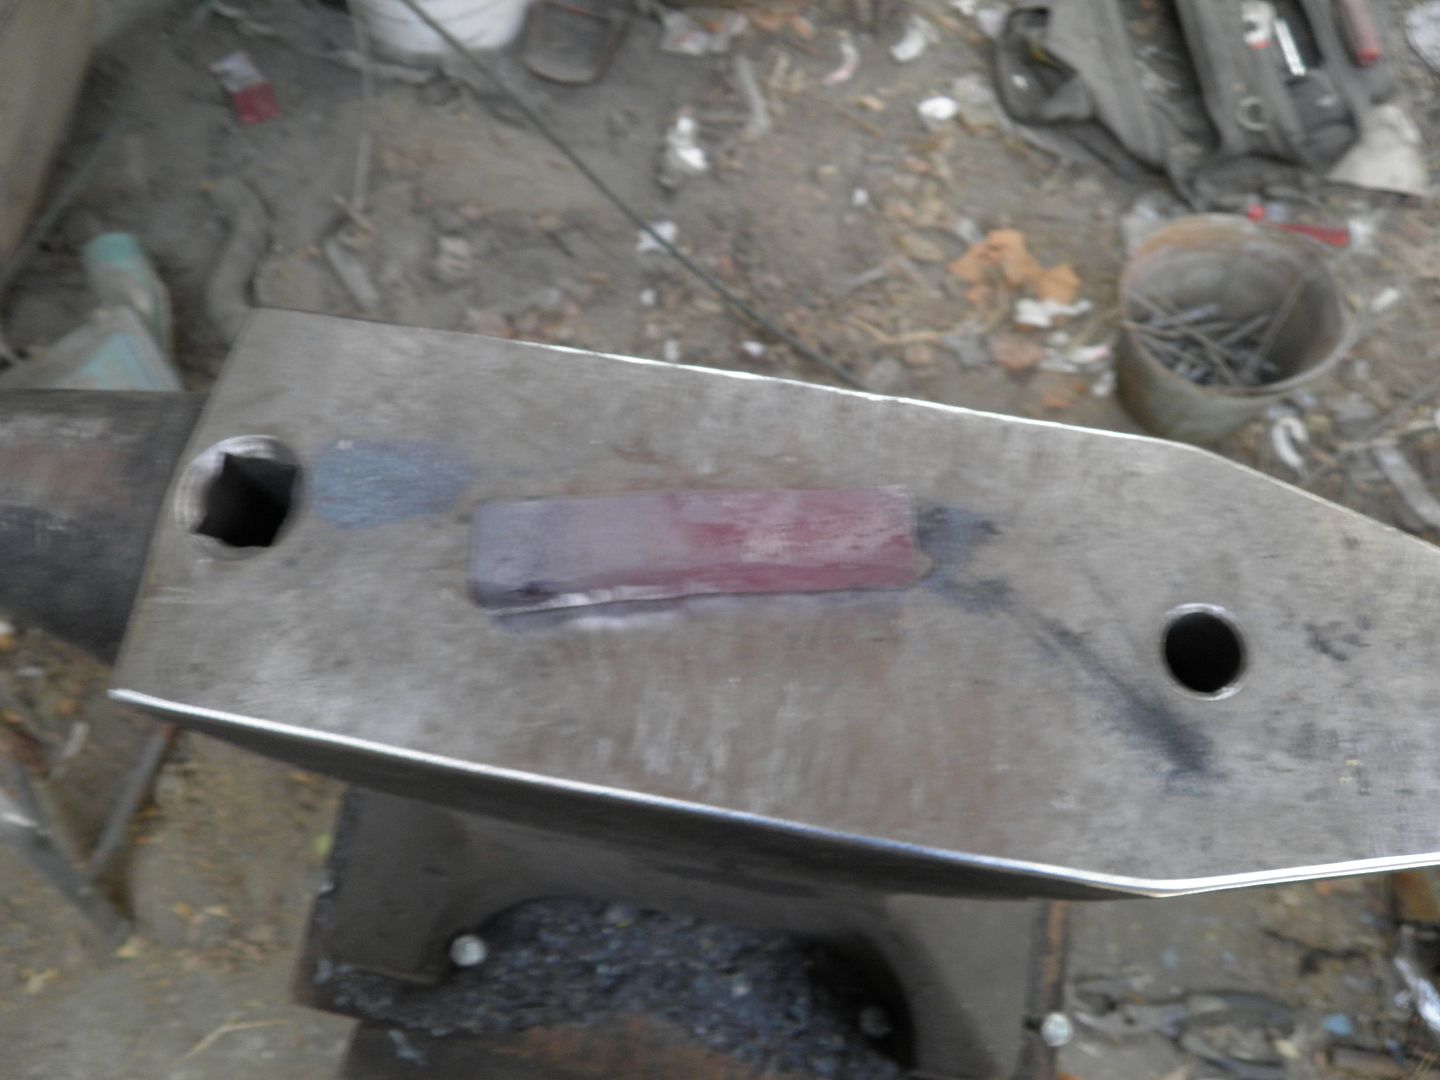 Having a hard time getting my new camera to focus. Sqaured up the end that was not upsetted, it's 1X1in now. 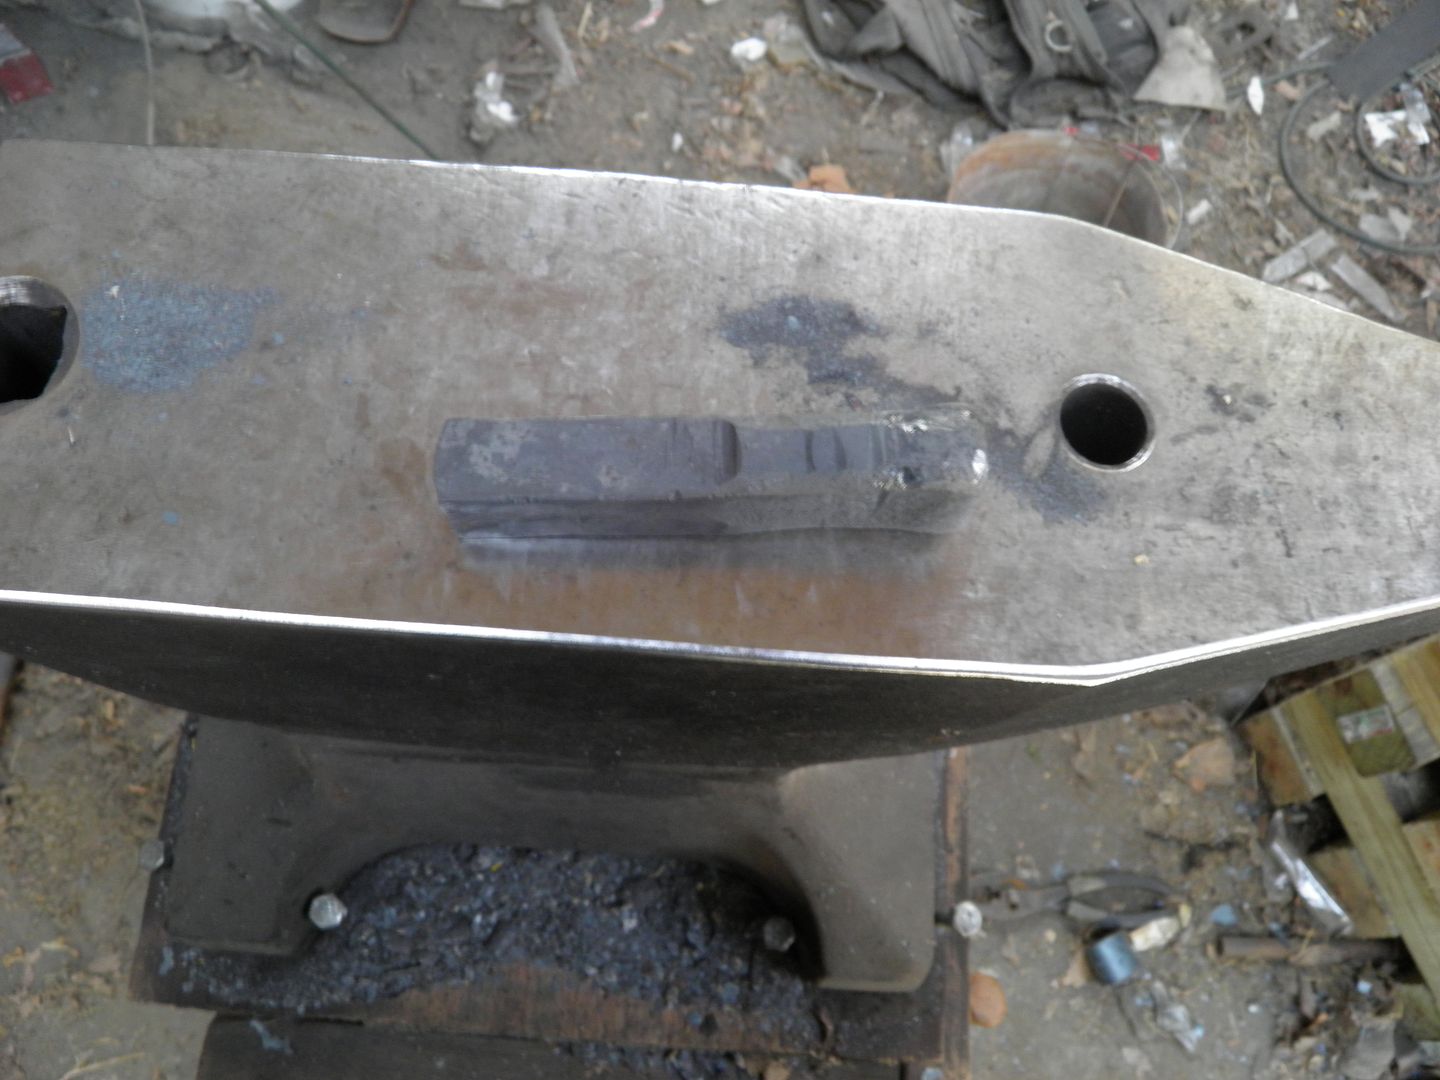 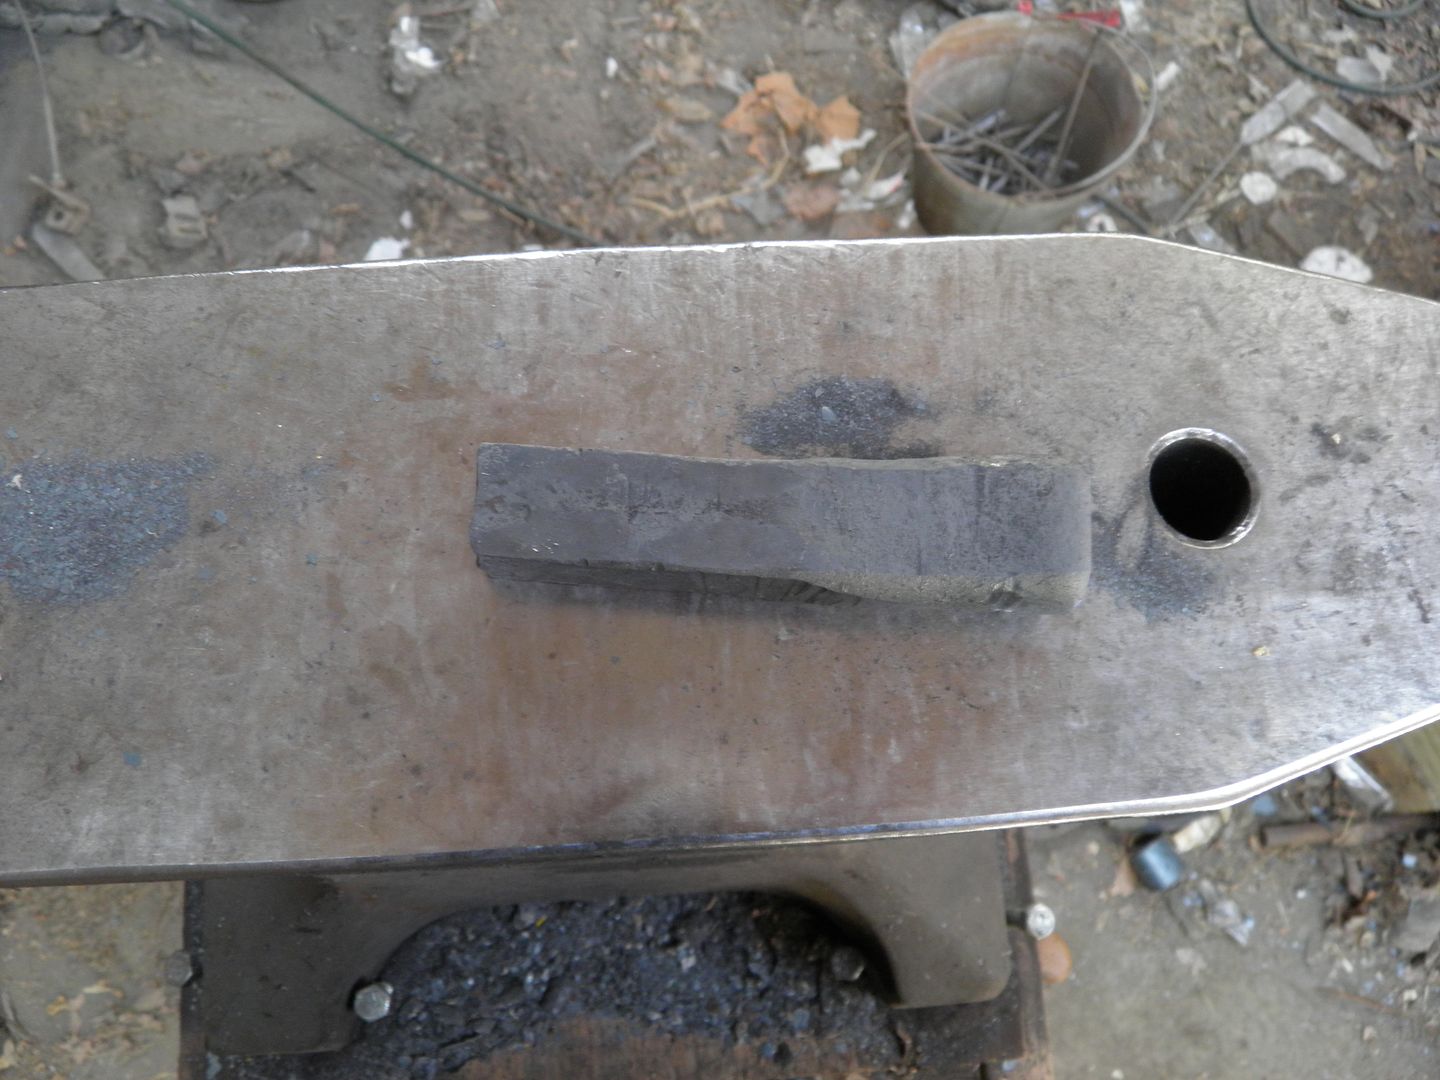 After I cooled it off marked where I will be cutting in the slot and punching out the eye poll. 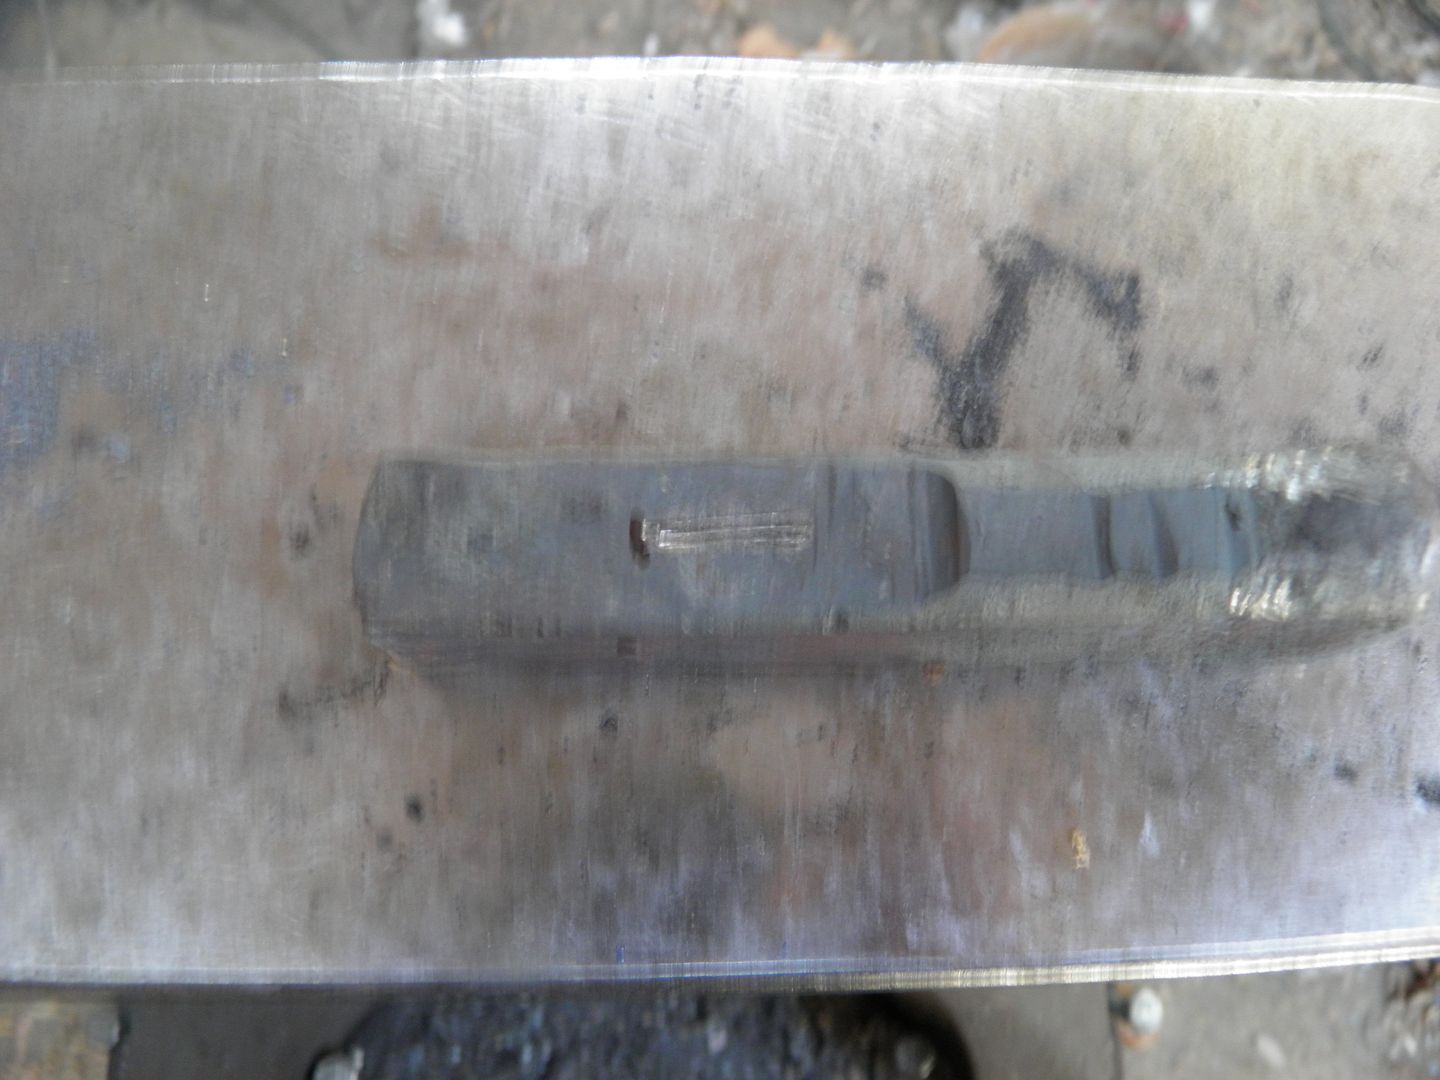 |
|
|
|
Post by L Driggers (fallen) on Nov 9, 2014 17:31:34 GMT
Cut the slot in the steel today. 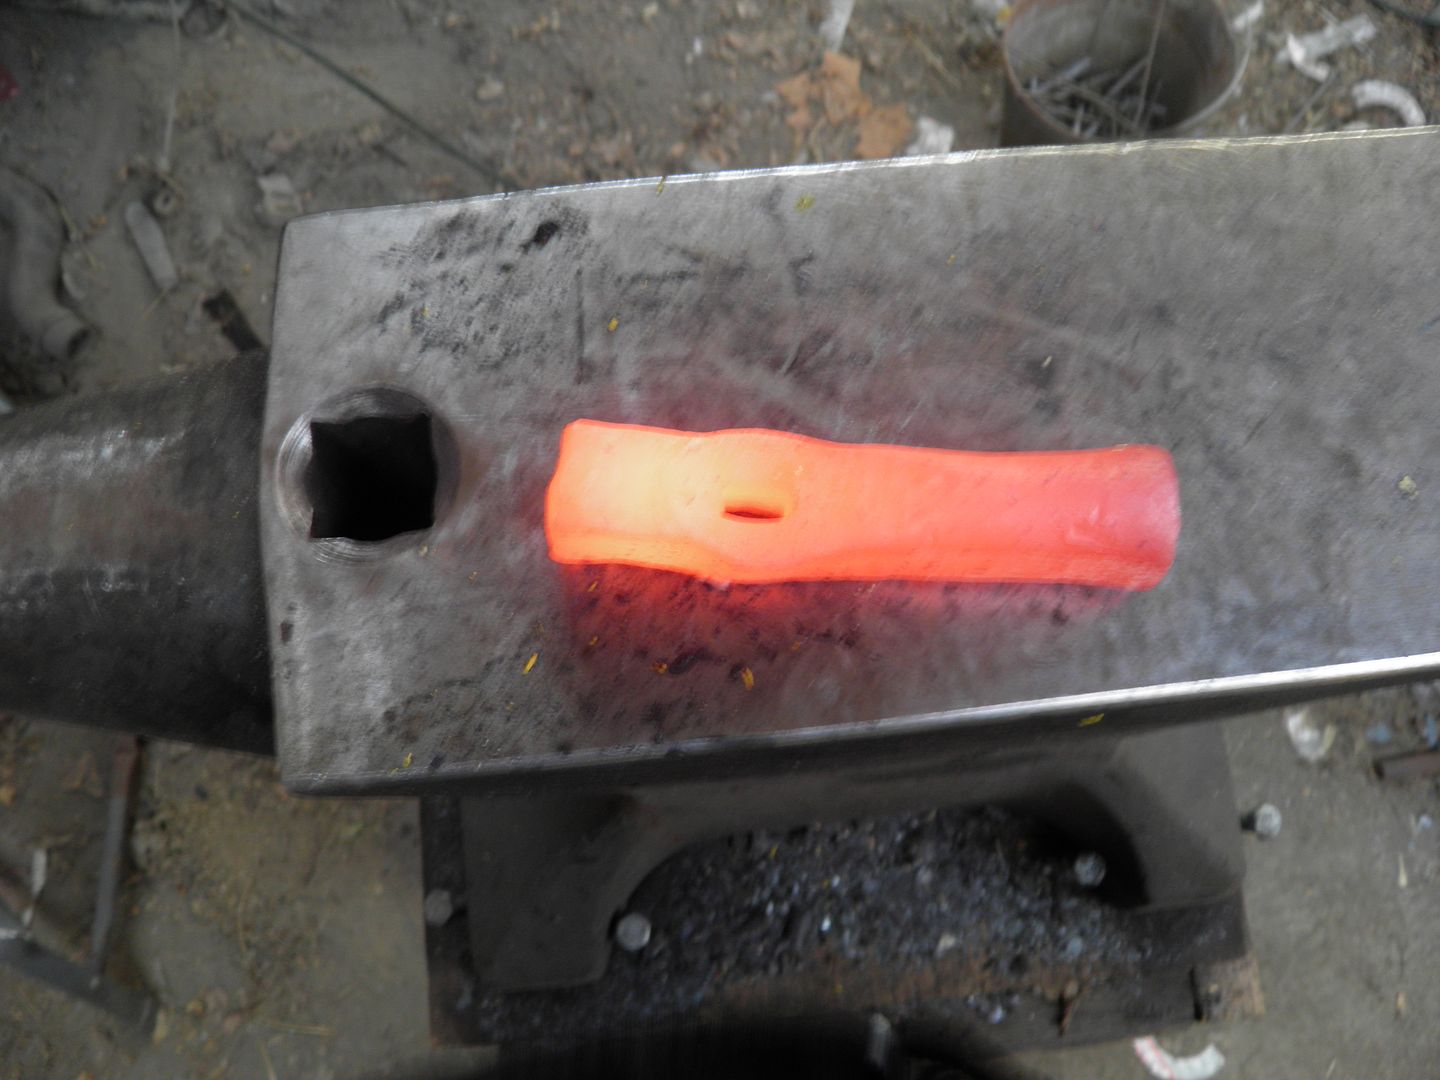 Punching out the poll hole with the small punch 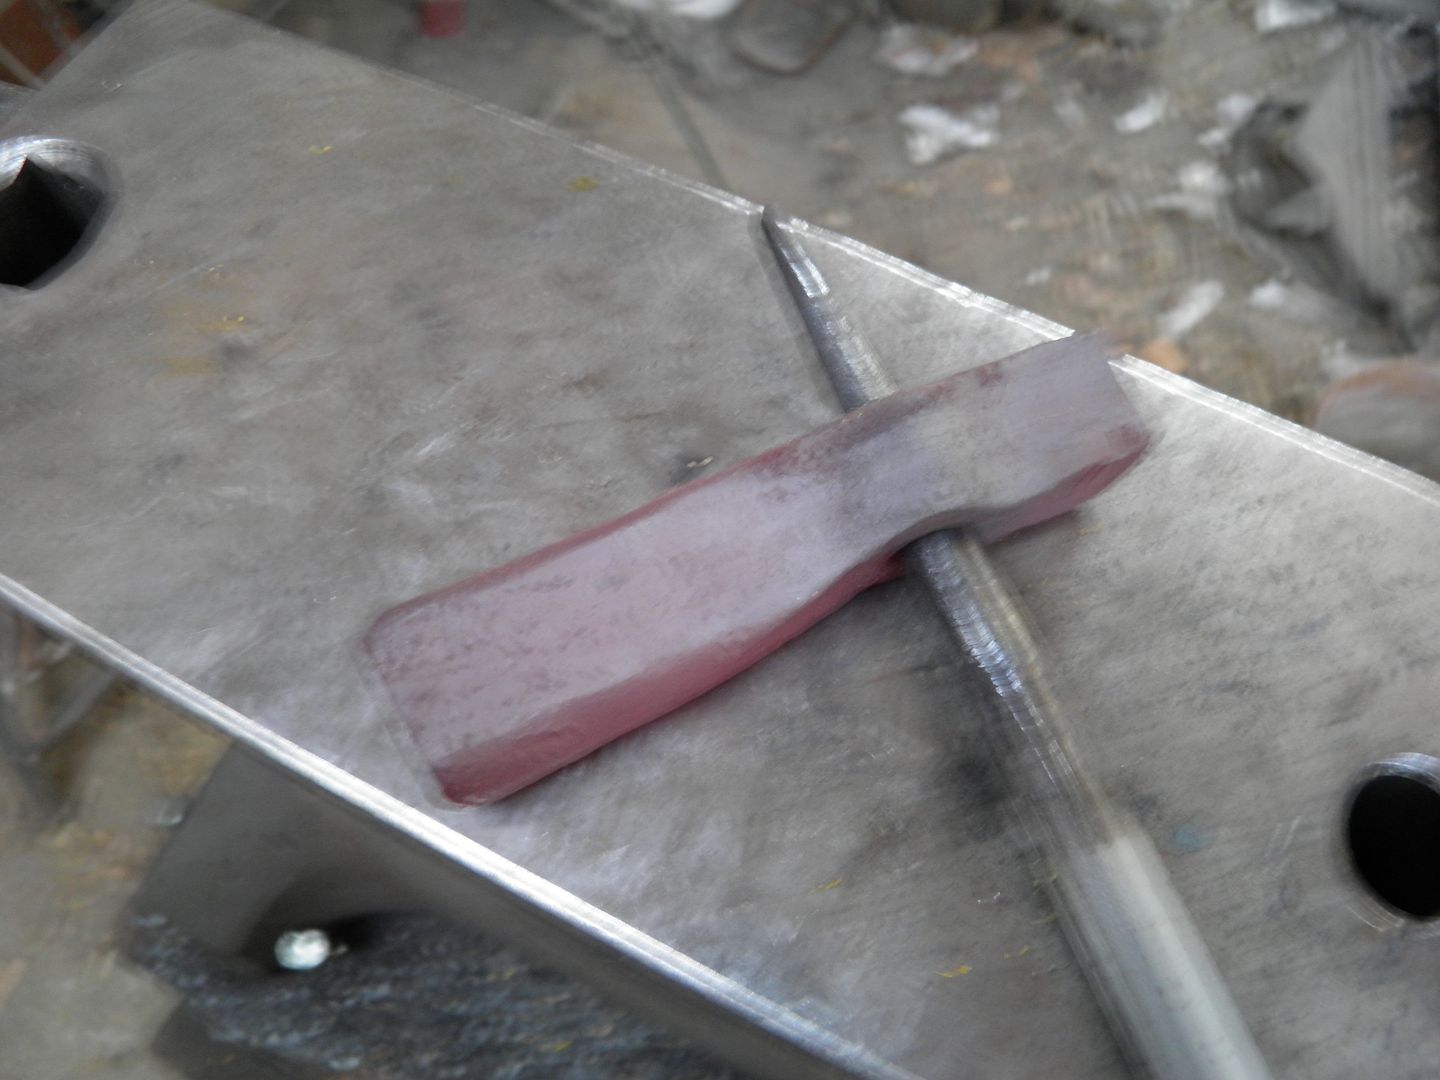 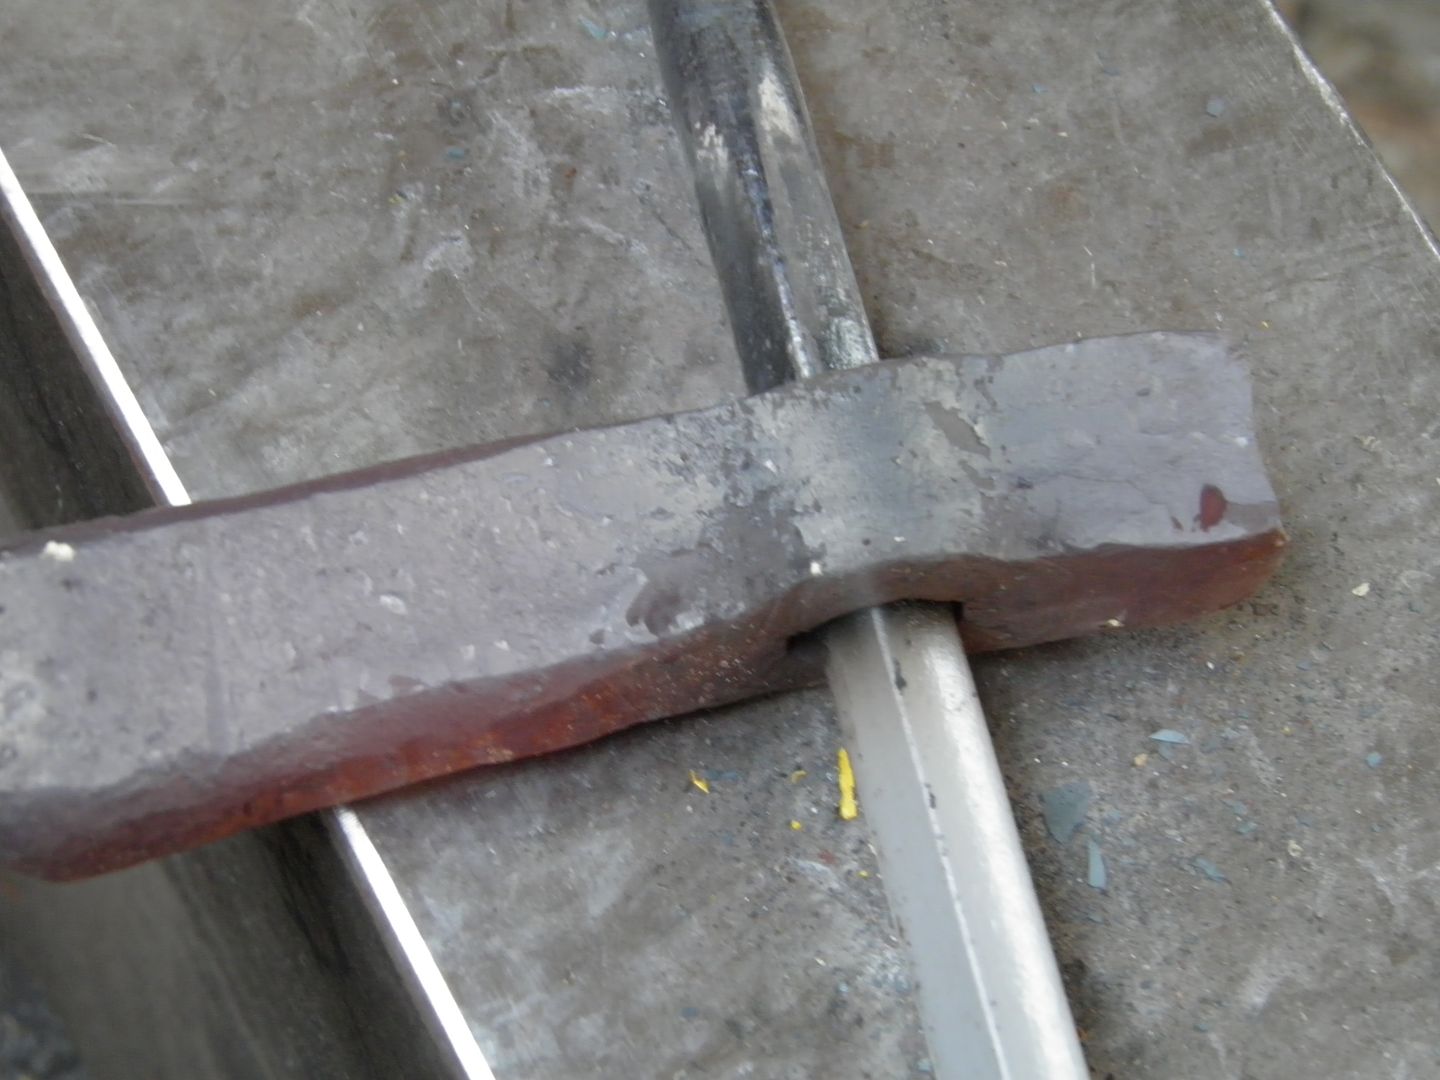 Started punching out using the bull drift. Still have alot more drifting to do. 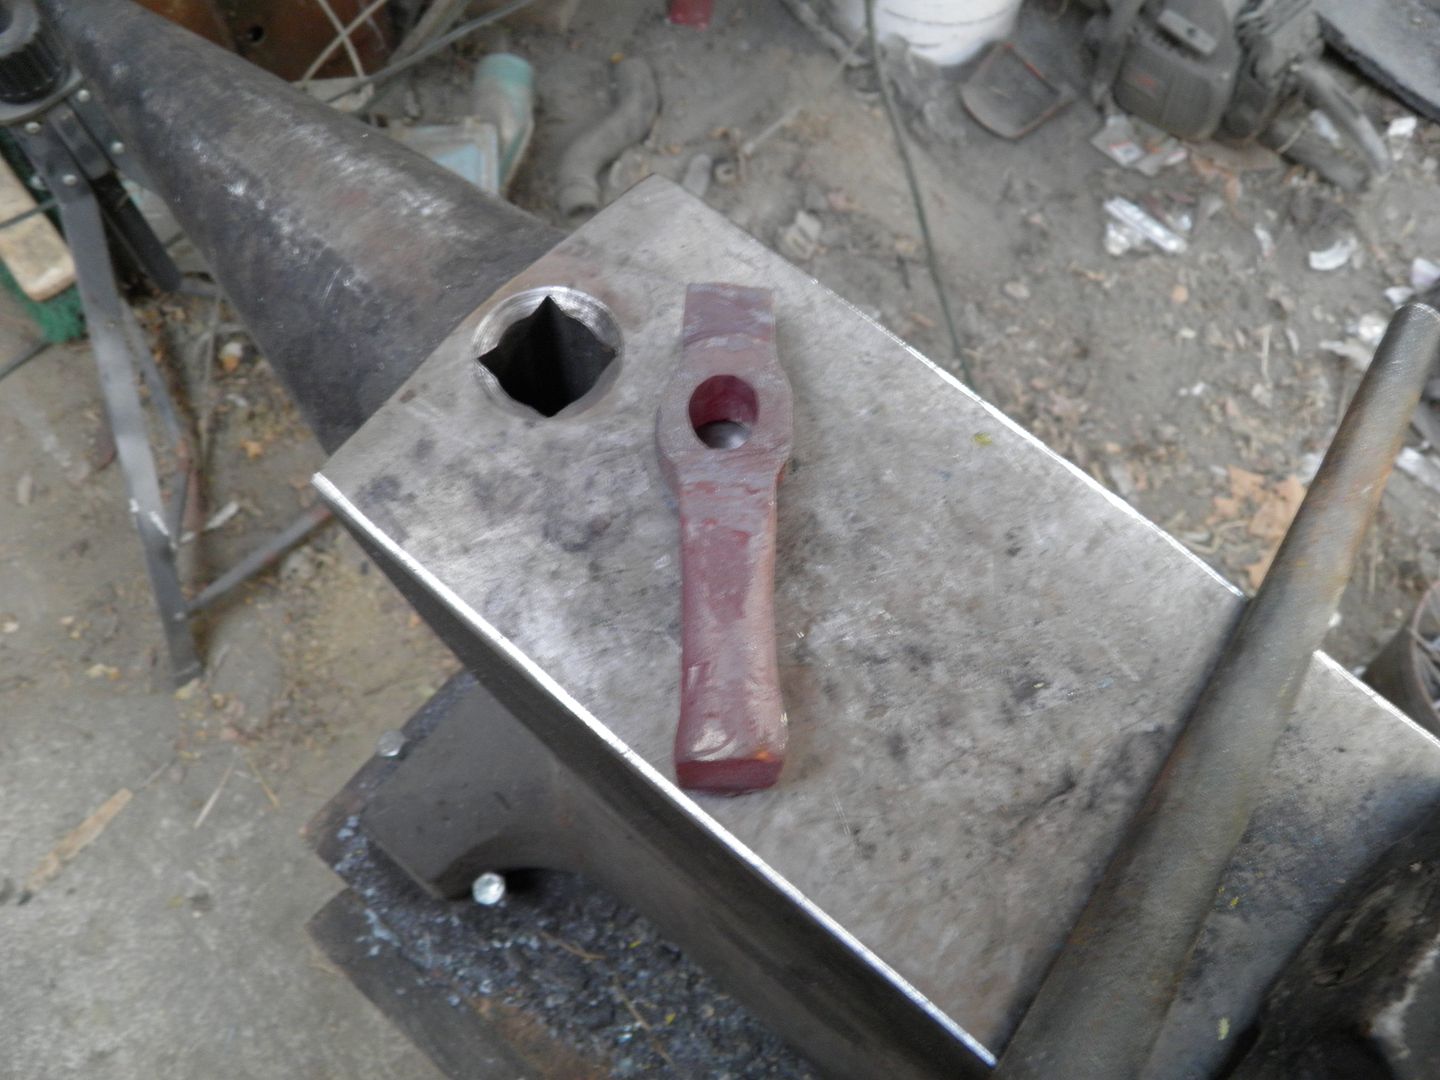 Think I can get a small full size hawk head out of this bar of steel so I will use the tear drop drift to punch it out. Don't know if I want to do a hammer poll or a back spike on this one. What do you think if anyone is listening. |
|
|
|
Post by JGonzalez on Nov 9, 2014 17:45:04 GMT
Hammer polls are more useful for everyday work and it will also put a dent in someone's day.  |
|
|
|
Post by Adrian Jordan on Nov 9, 2014 20:10:55 GMT
Don't see a bunch of hammer poll's around here, mostly spikes or standard. It's be cool to see you make one.
|
|
|
|
Post by ShooterMike on Nov 10, 2014 17:10:47 GMT
Ditto. I love the "war hawk" look of a spike head, but I use a hawk fairly often around here doing ranch work. The hammer head polls are sooooooo much more useful, on a daily basis. Good job and good idea.
|
|
|
|
Post by L Driggers (fallen) on Nov 11, 2014 17:16:49 GMT
Got some work did to it drifting the poll eye. Still have a ways to go foruming it. Using the oval drift since it's a little smaller than my tomahawk drift. 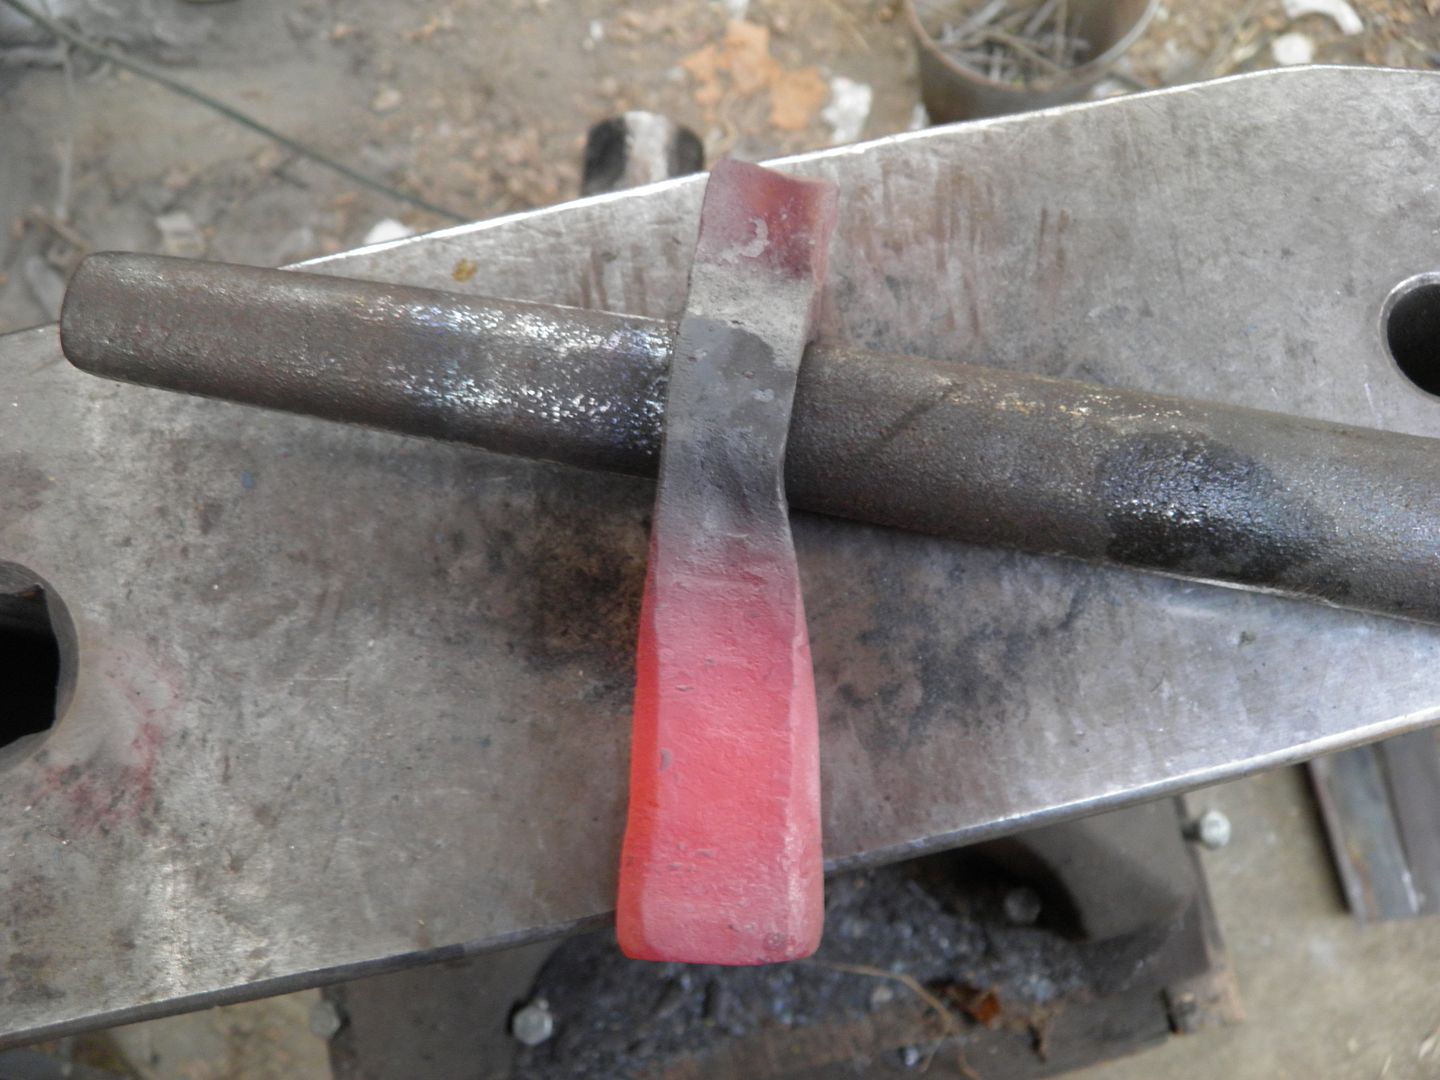 Here it is after using the oval drift a little off center, I'll straight it up using the tomahawk drift. 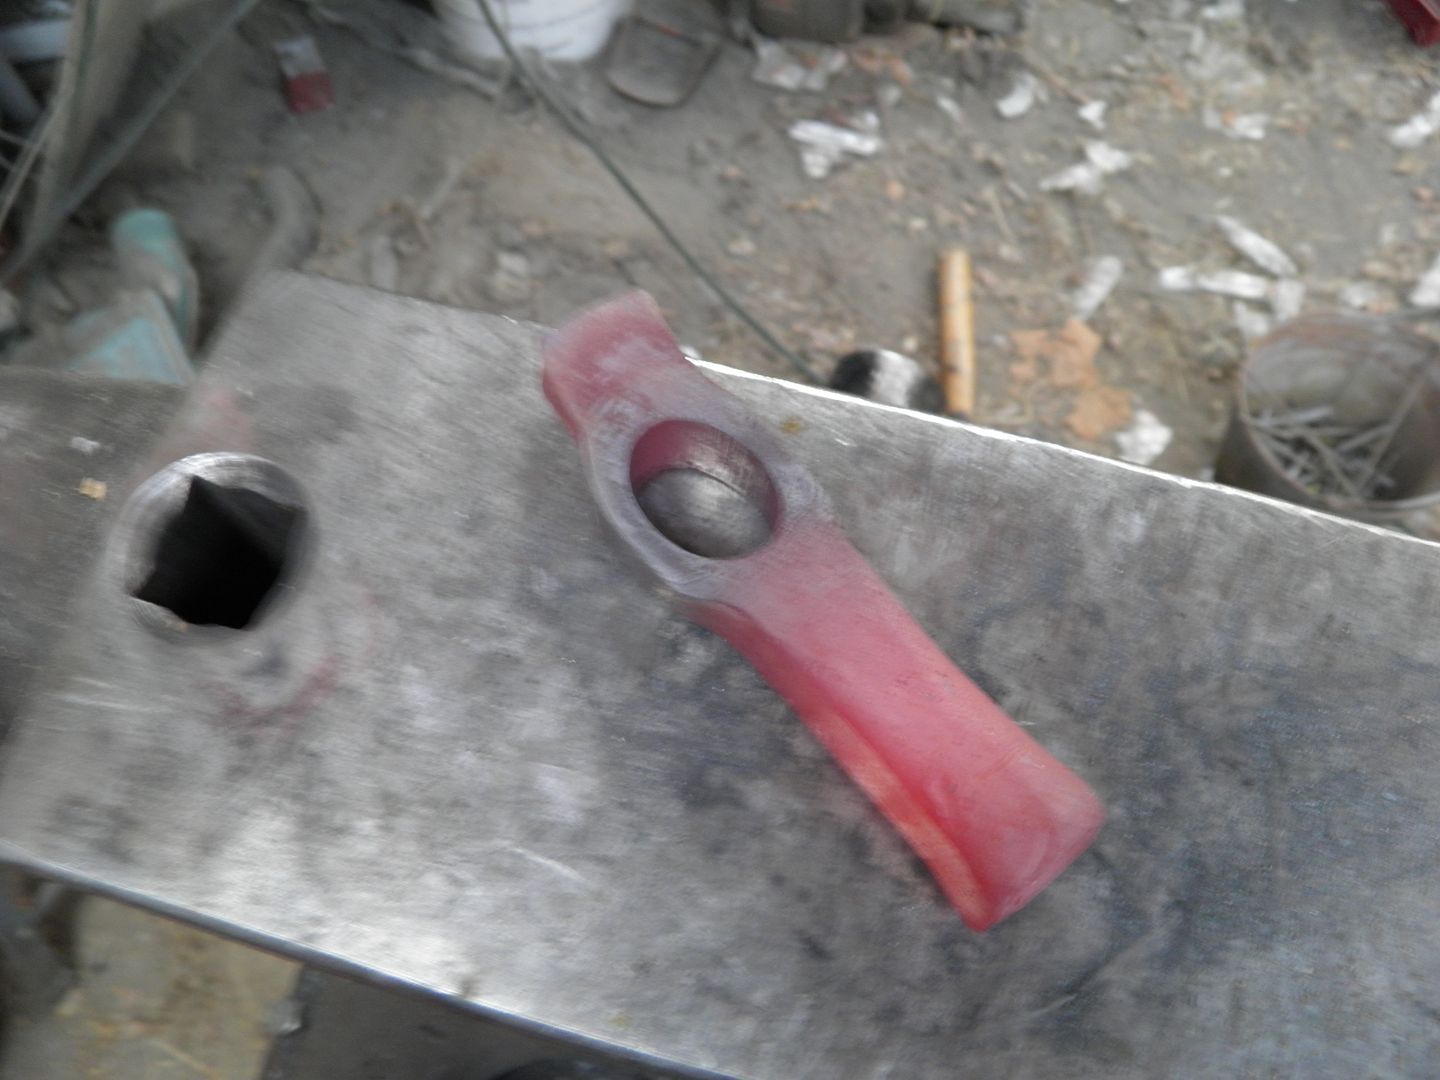 Starting using the tomahawk tear drop drift. 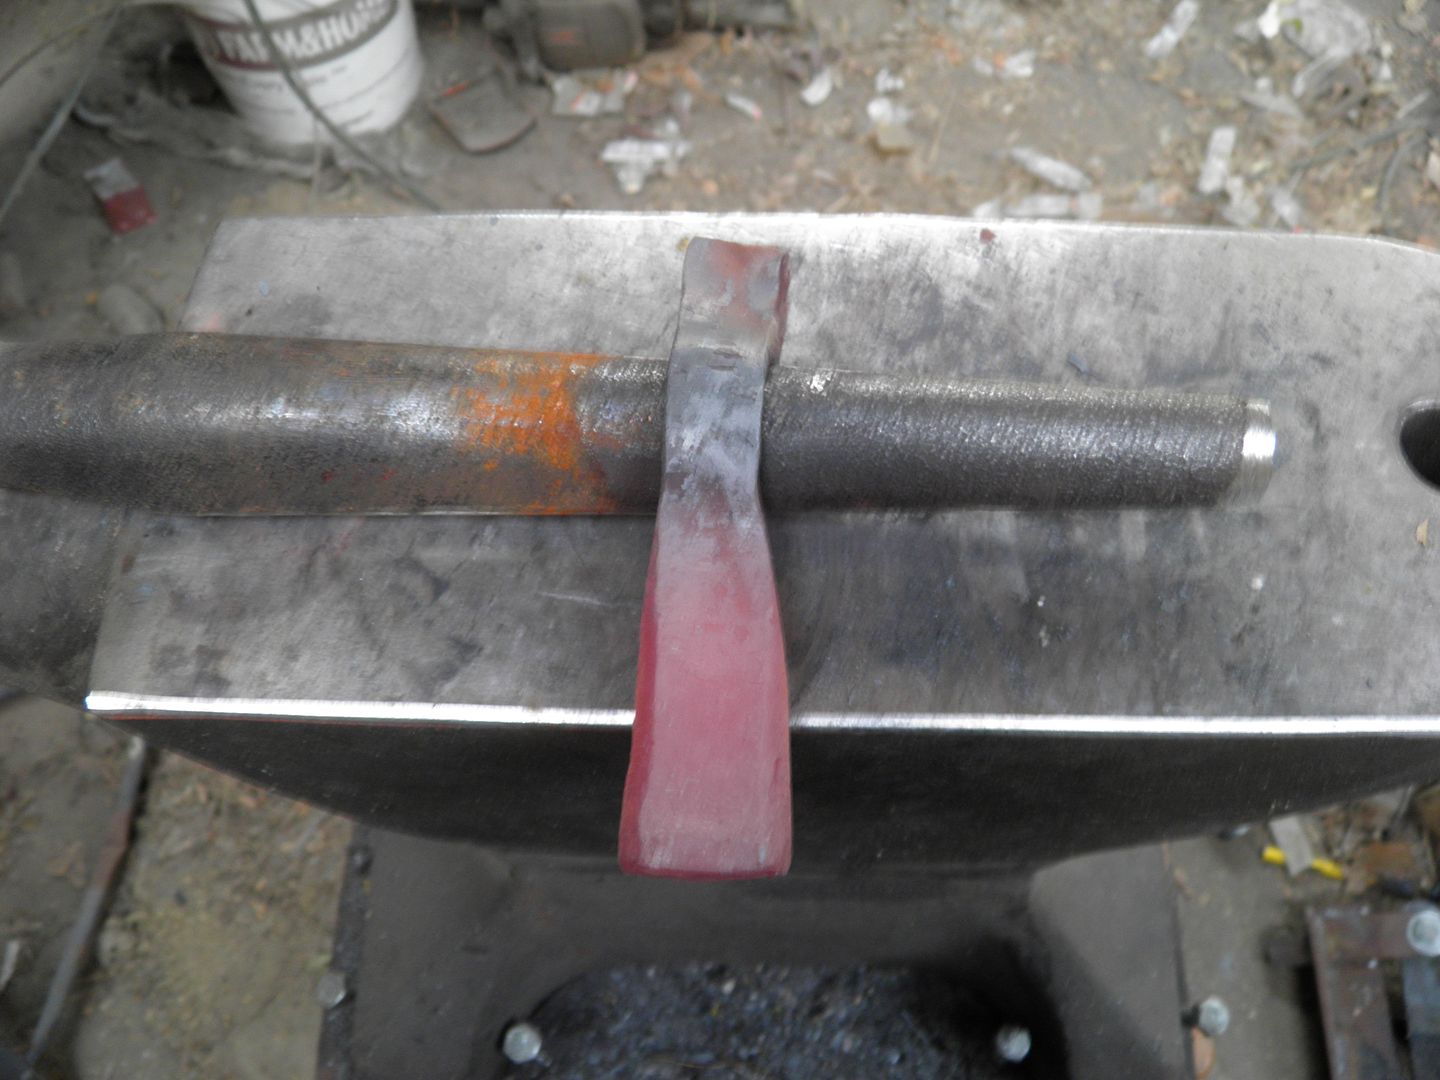 After using the tomahawk drift the poll hole is centered now. Still have about 2 more inches to drive the drift in. For me this is slow work. Did all this work in about 1 1/2 hours. 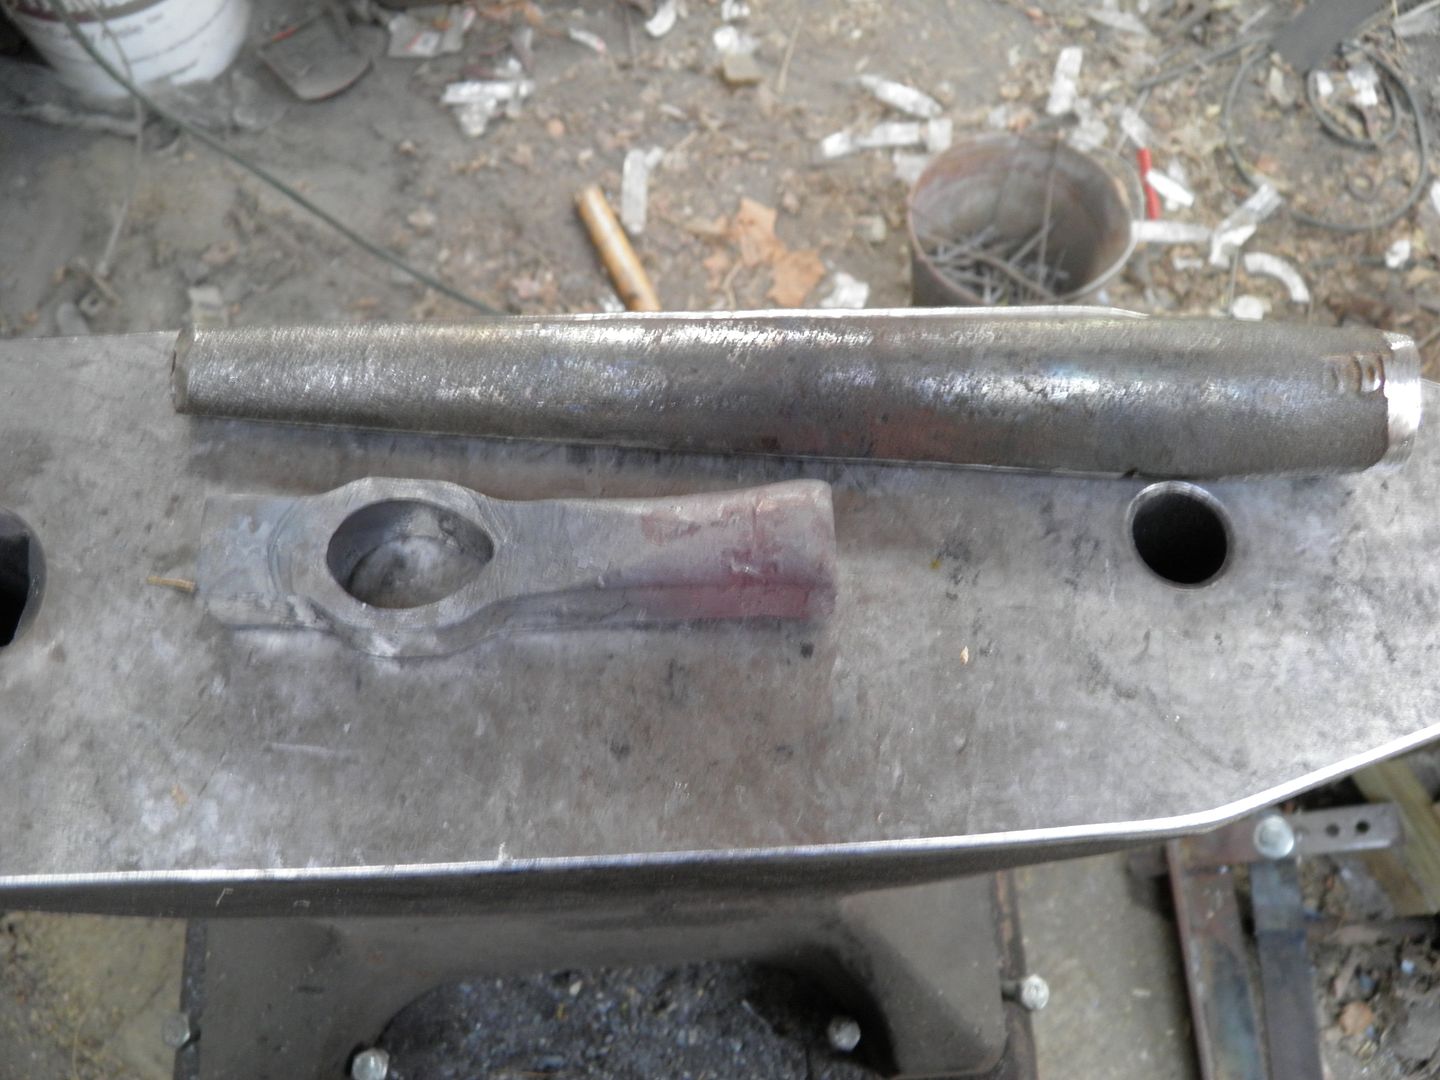 By the way hammer poll it is, easier to do and I prefer them too. Maybe the next one I will do with a back spike. Right now the whole thing looks like a hammer. Going to forge myself some cheisels too, none of the one's I've got later are worth a darn. |
|
|
|
Post by Adrian Jordan on Nov 11, 2014 20:06:41 GMT
Sweet!
|
|
avery
Senior Forumite
Manufacturer/Vendor
Posts: 1,530
|
Post by avery on Nov 12, 2014 16:02:02 GMT
Great looking start Driggs! I'll offer a bit of unsolicited advice if you'll have it; don't drift it all the way till your pretty much finished with the blade. Other wise you run the risk of warping the eye to a point to where it wont fit on a standard hawk handle. If it were me, I'd stop where you're at and start on the blade. That way, if you have to hammer on the socket walls any, you can still run the drift in to get your final shape. If you drift it all the way and then have to hammer on the socket walls, that elongates the eye and a regular hawk handle will fall right through. Oh, and if I were a Mod I would move this to the makers section so you'd get more in put.  |
|
|
|
Post by L Driggers (fallen) on Nov 12, 2014 19:19:21 GMT
Thanks for the advise Avery. Tell you one thing doing this one is making me want a power hammer even more, it is wearing me out been using a 4lb hammer some on this one.
Have you put in form the machete give away.
Ever sure where to put axes and knives.
Next I'm going to try a wrap eye and split back forge welded one's just need to get my smaller welding forge finished. Might go ahead use the forge the lining is almost wore out in.
Does any one know where I can get some 1 1/2 X 1in high carbon bar steel. All I can find is 1045, or 1060 in round bar can get in all the way up to 2in dia and larger. Just really don't want to have to flatted round bar out if I can keep from it.
Here soon I will try forge welding high carbon bits into mild steel heads. It's getting colder here going to be doing a lot more forging to stay warm. Had two forges going this morning one forging the tomahawk and one forging a semi pointed chiesel and small knife blade out of a file.
Avery you need to sale me some of the chain pattern welded steel you made.
|
|
|
|
Post by L Driggers (fallen) on Nov 13, 2014 16:24:05 GMT
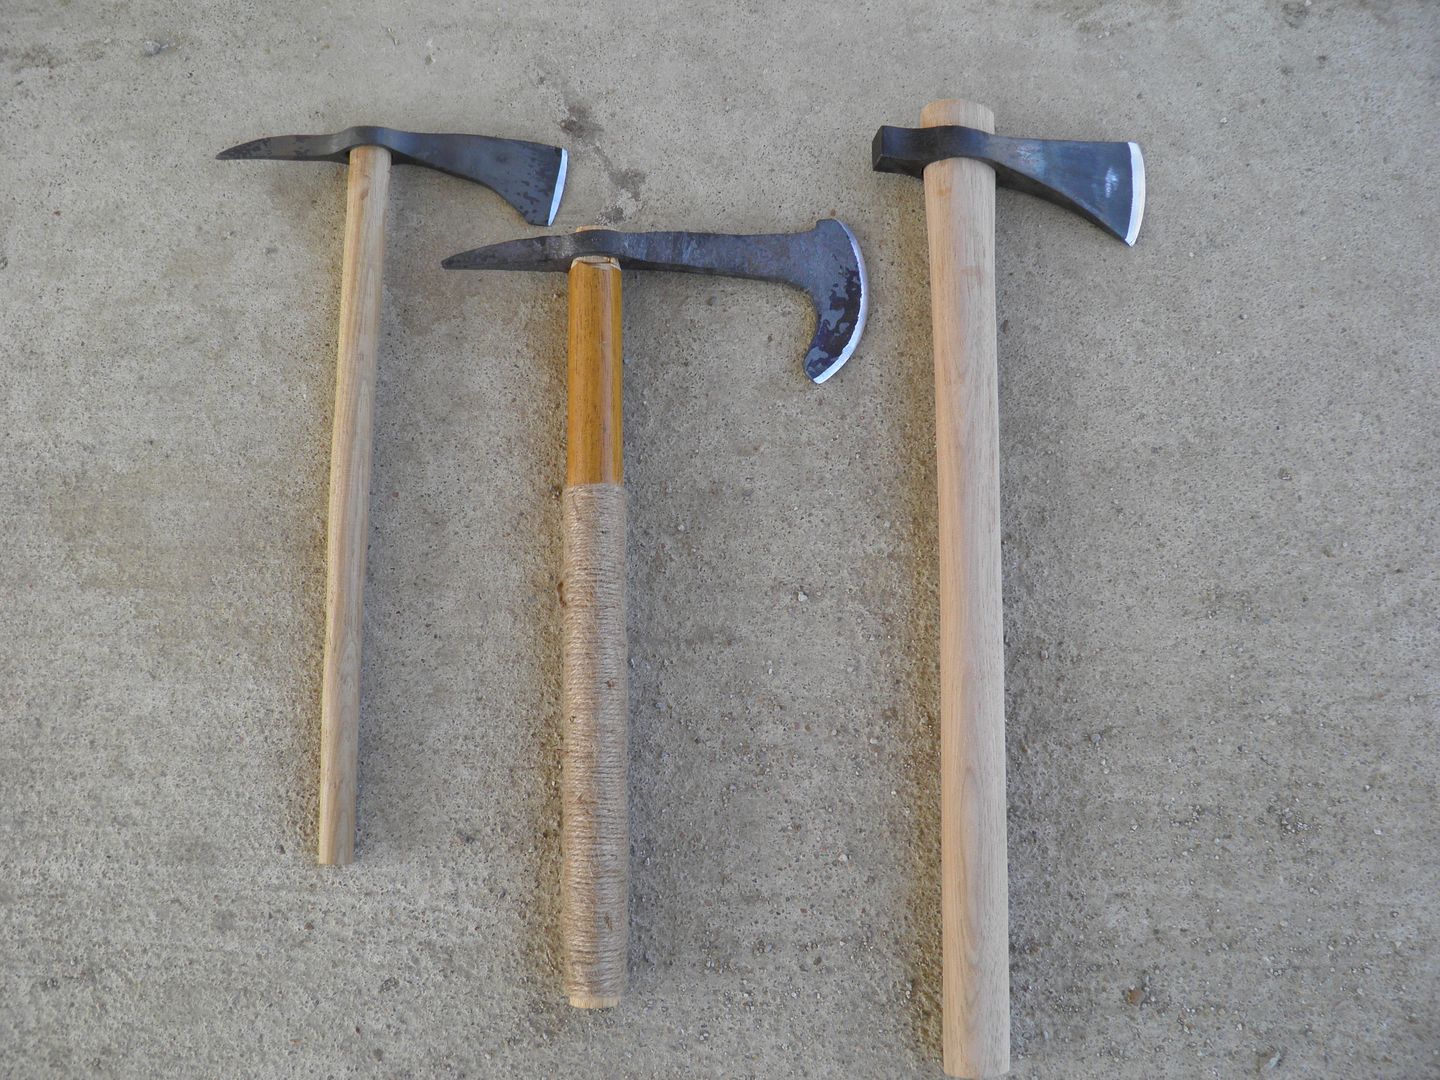
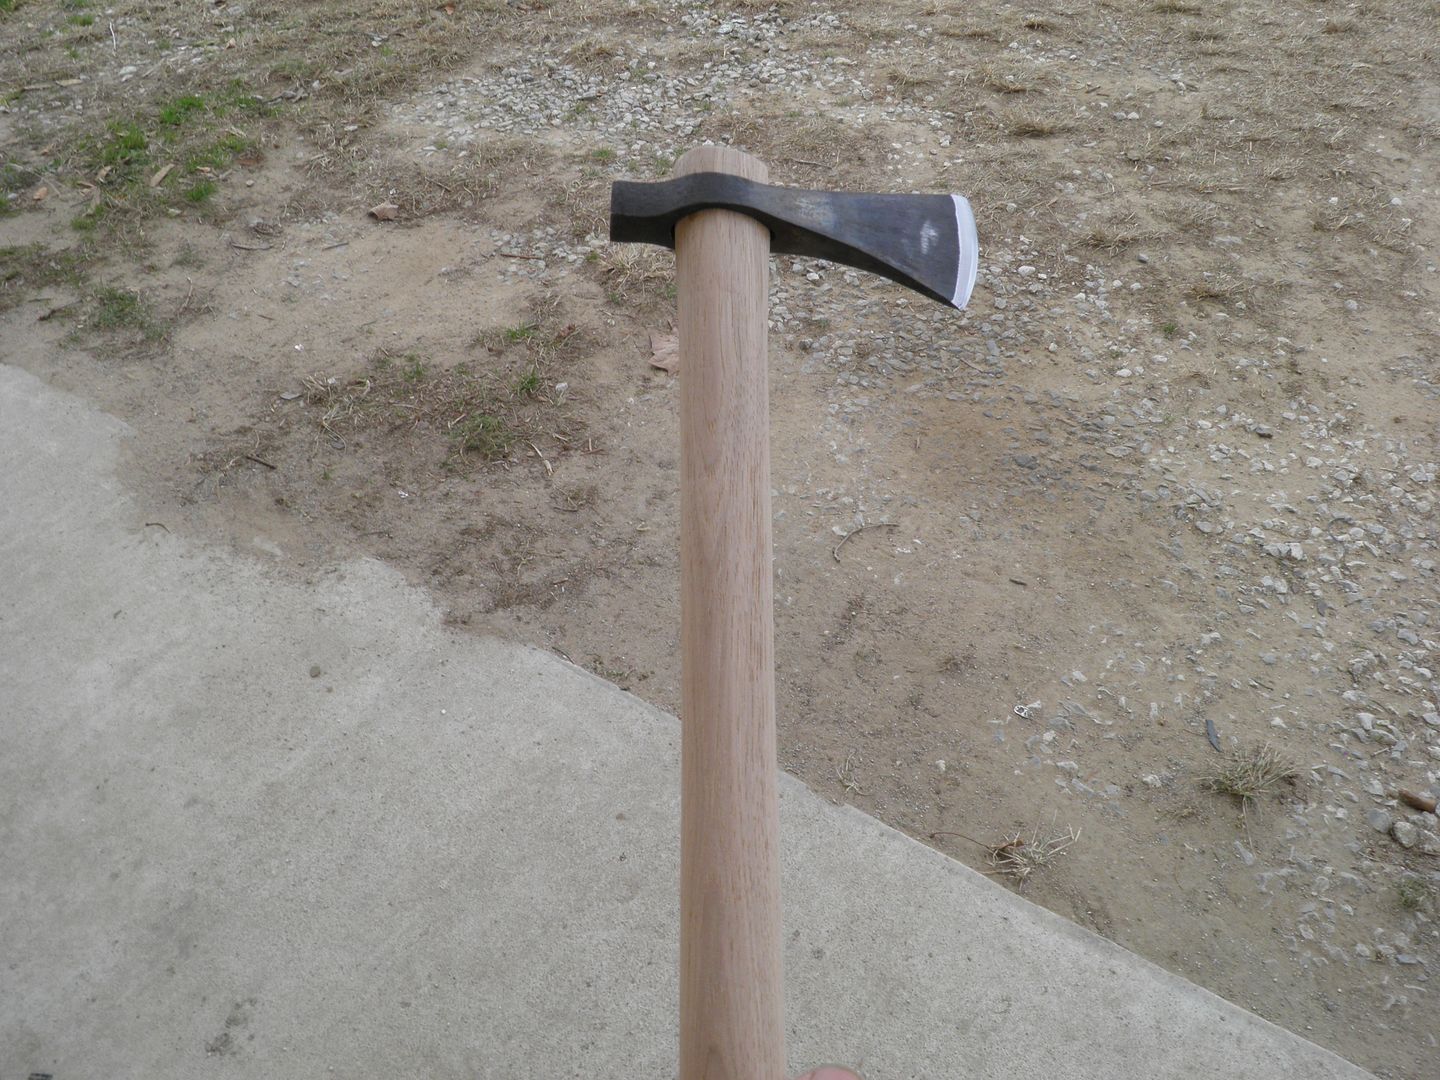
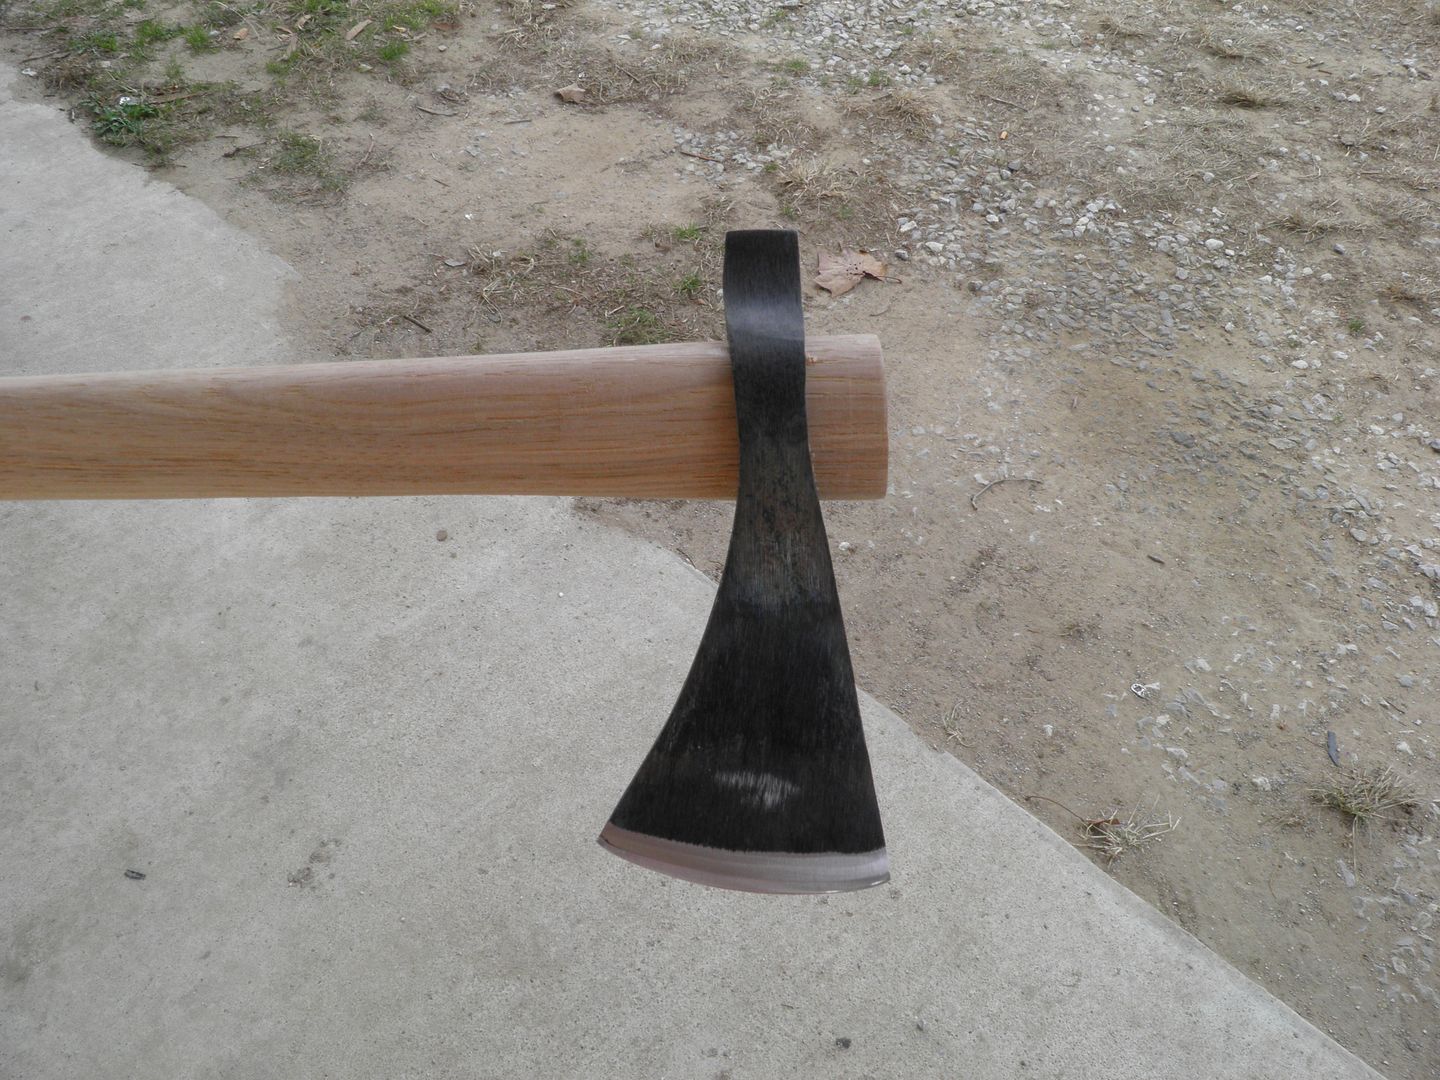
Got it finished do still have to put a handle on it, got some ordered. Poll eye finished. 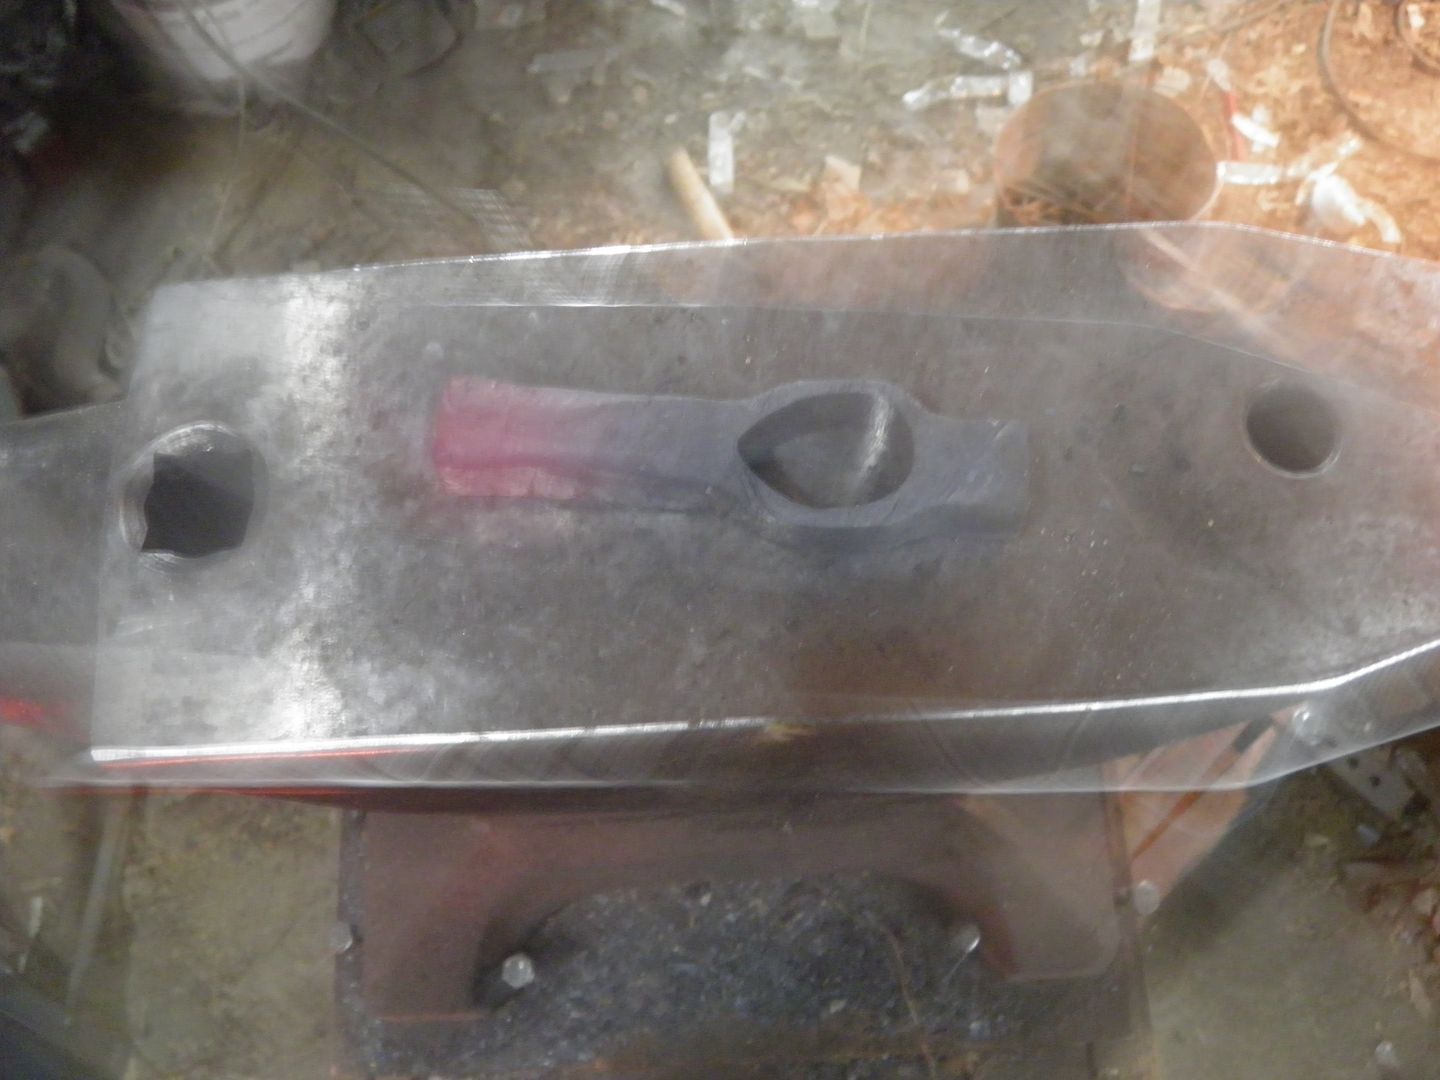 Forging the bit. 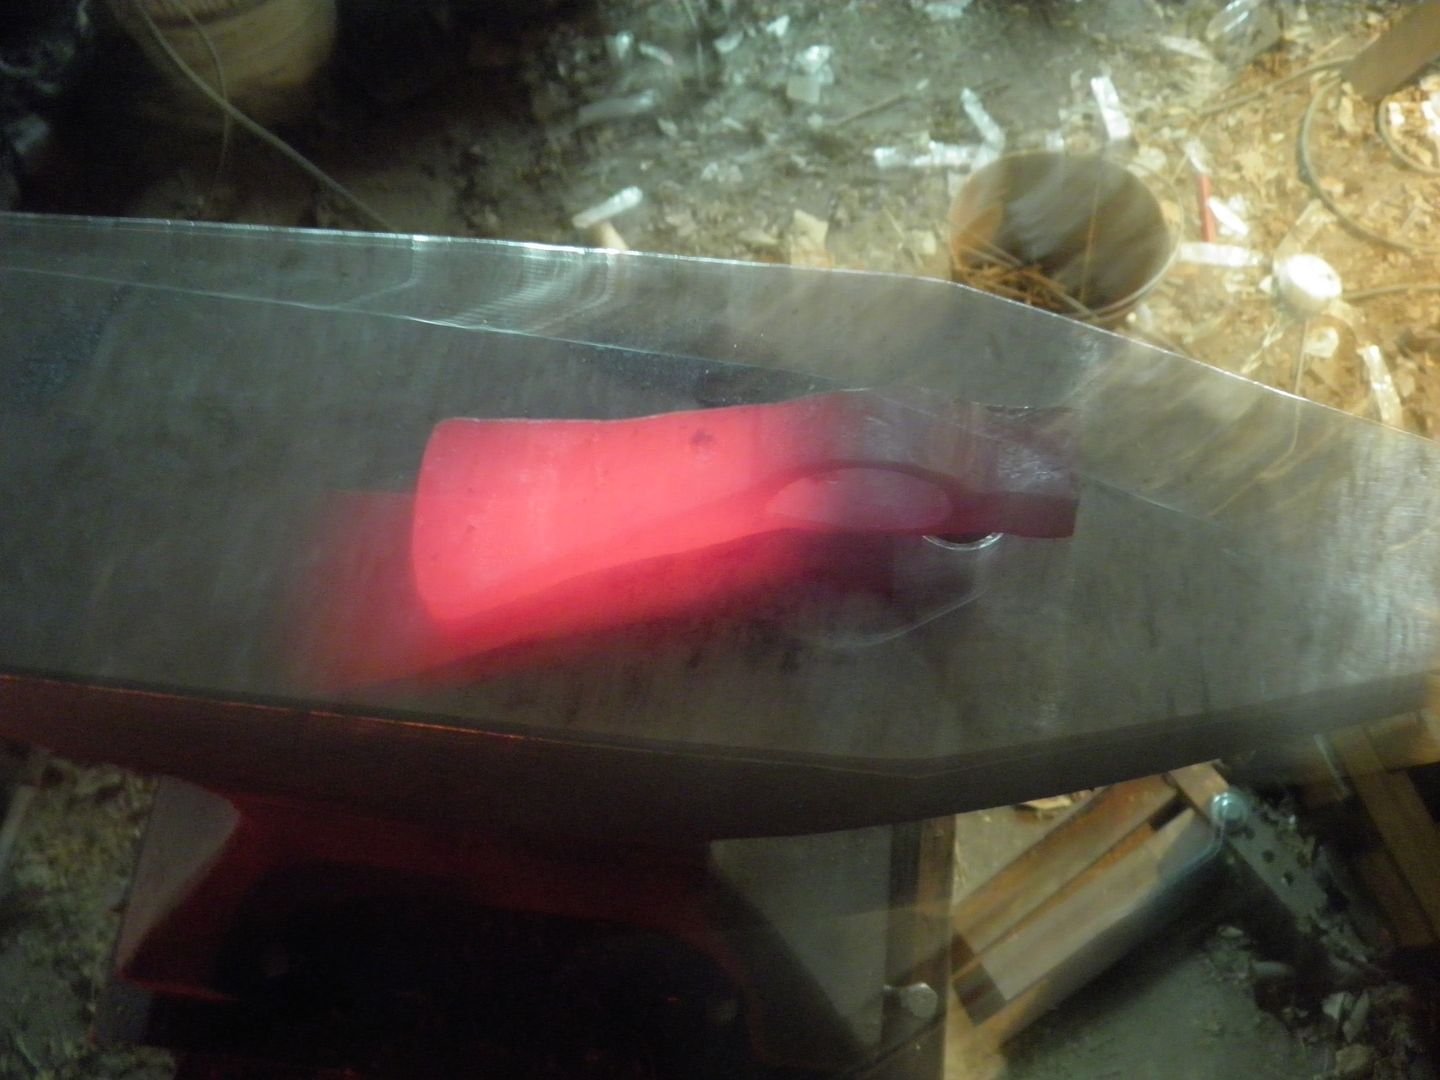 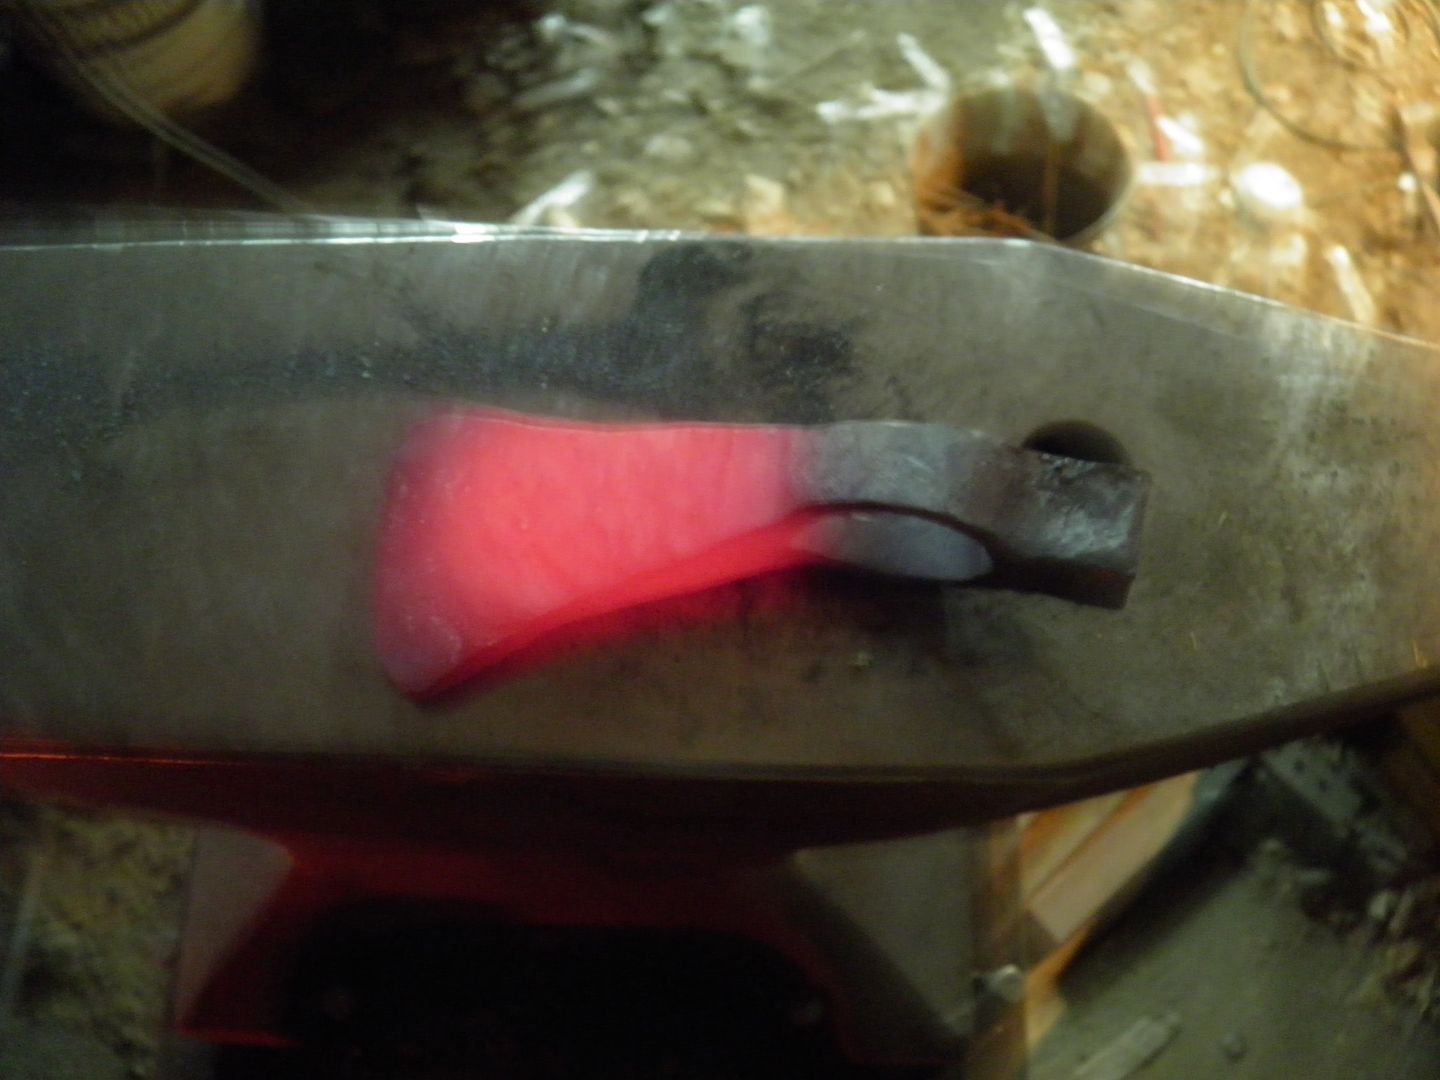 Just to show the forge I'm using. 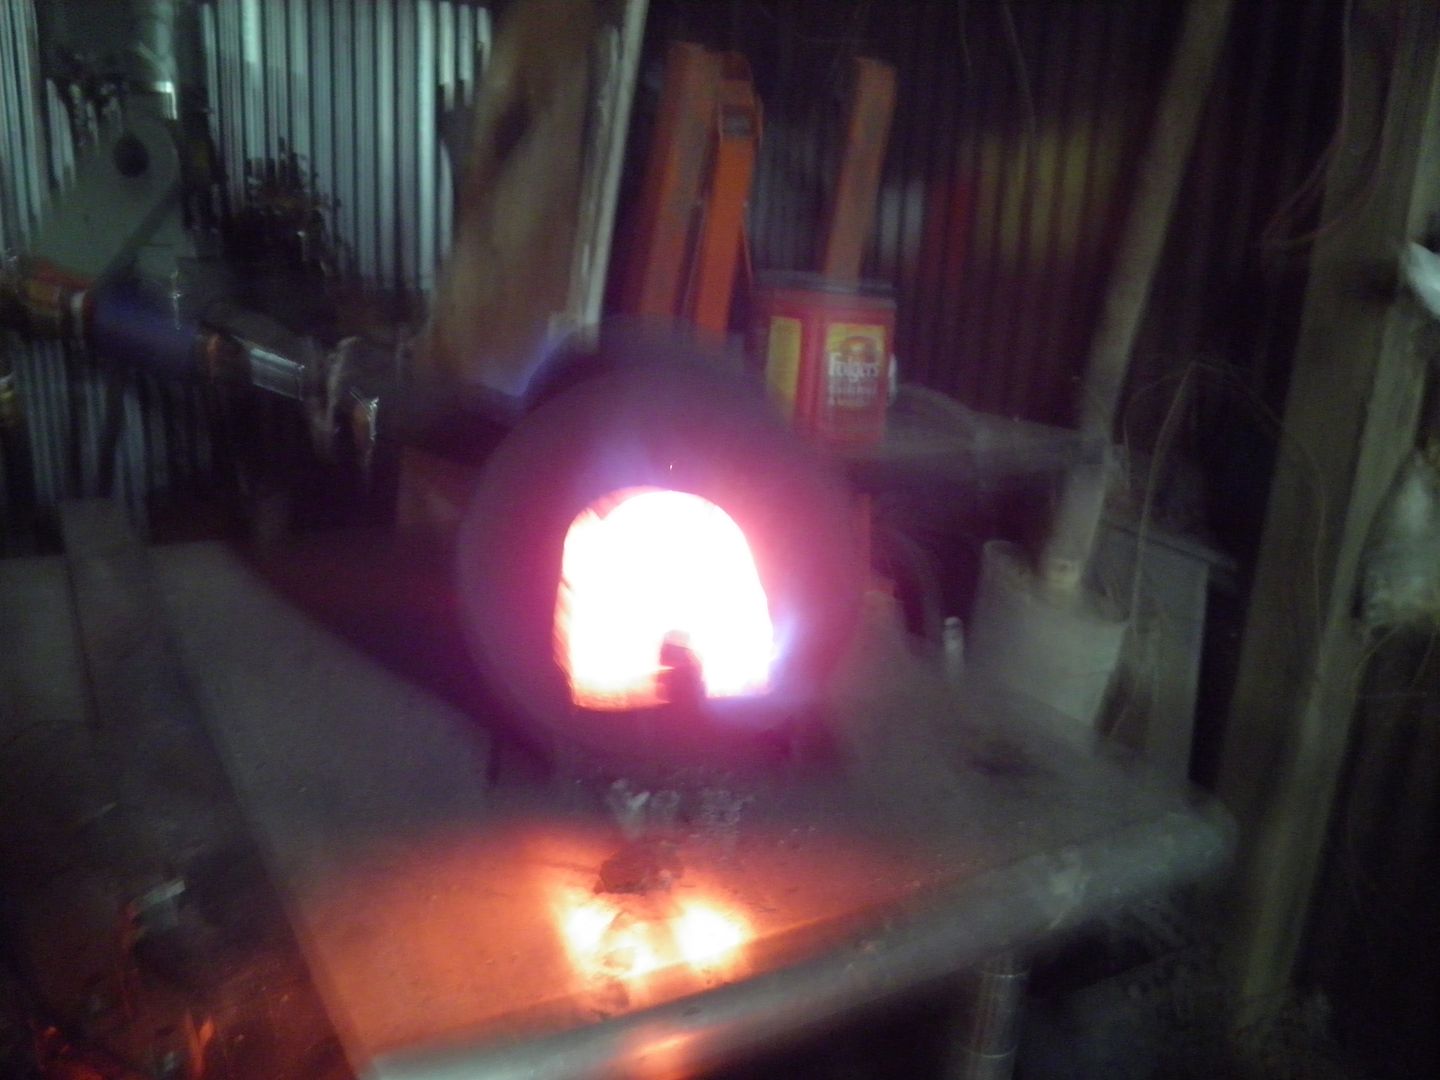 Forgeing finished shouldn't have took the picture on the anvil. 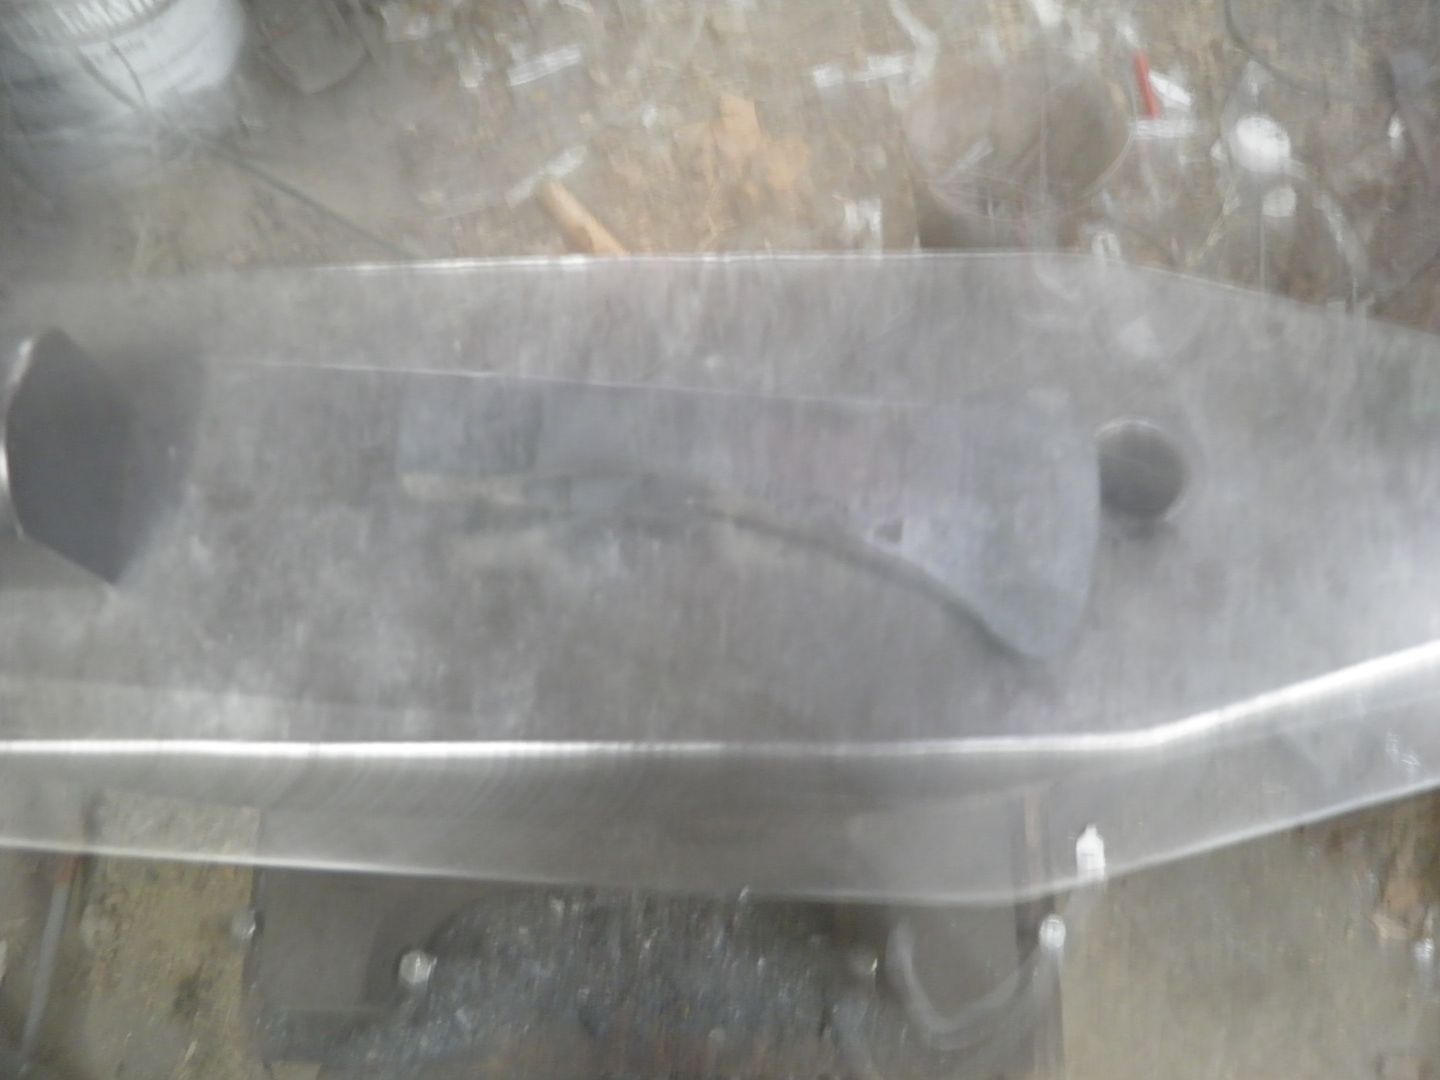 Sanded to 50 grit before I do the normalizing. 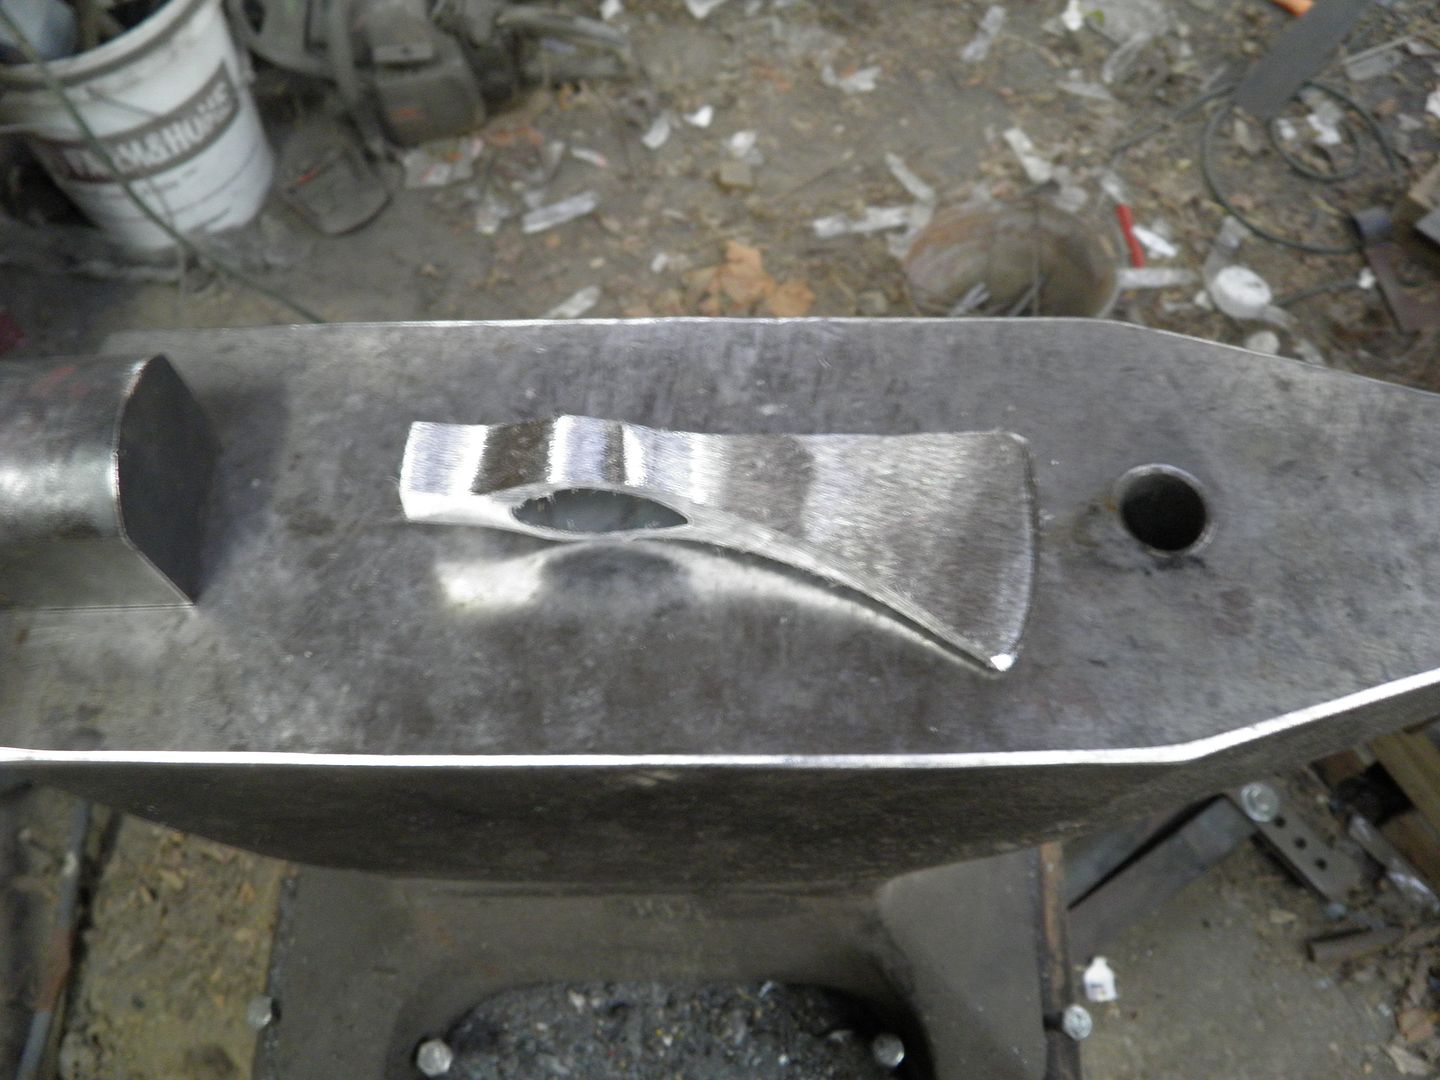 First normalizing 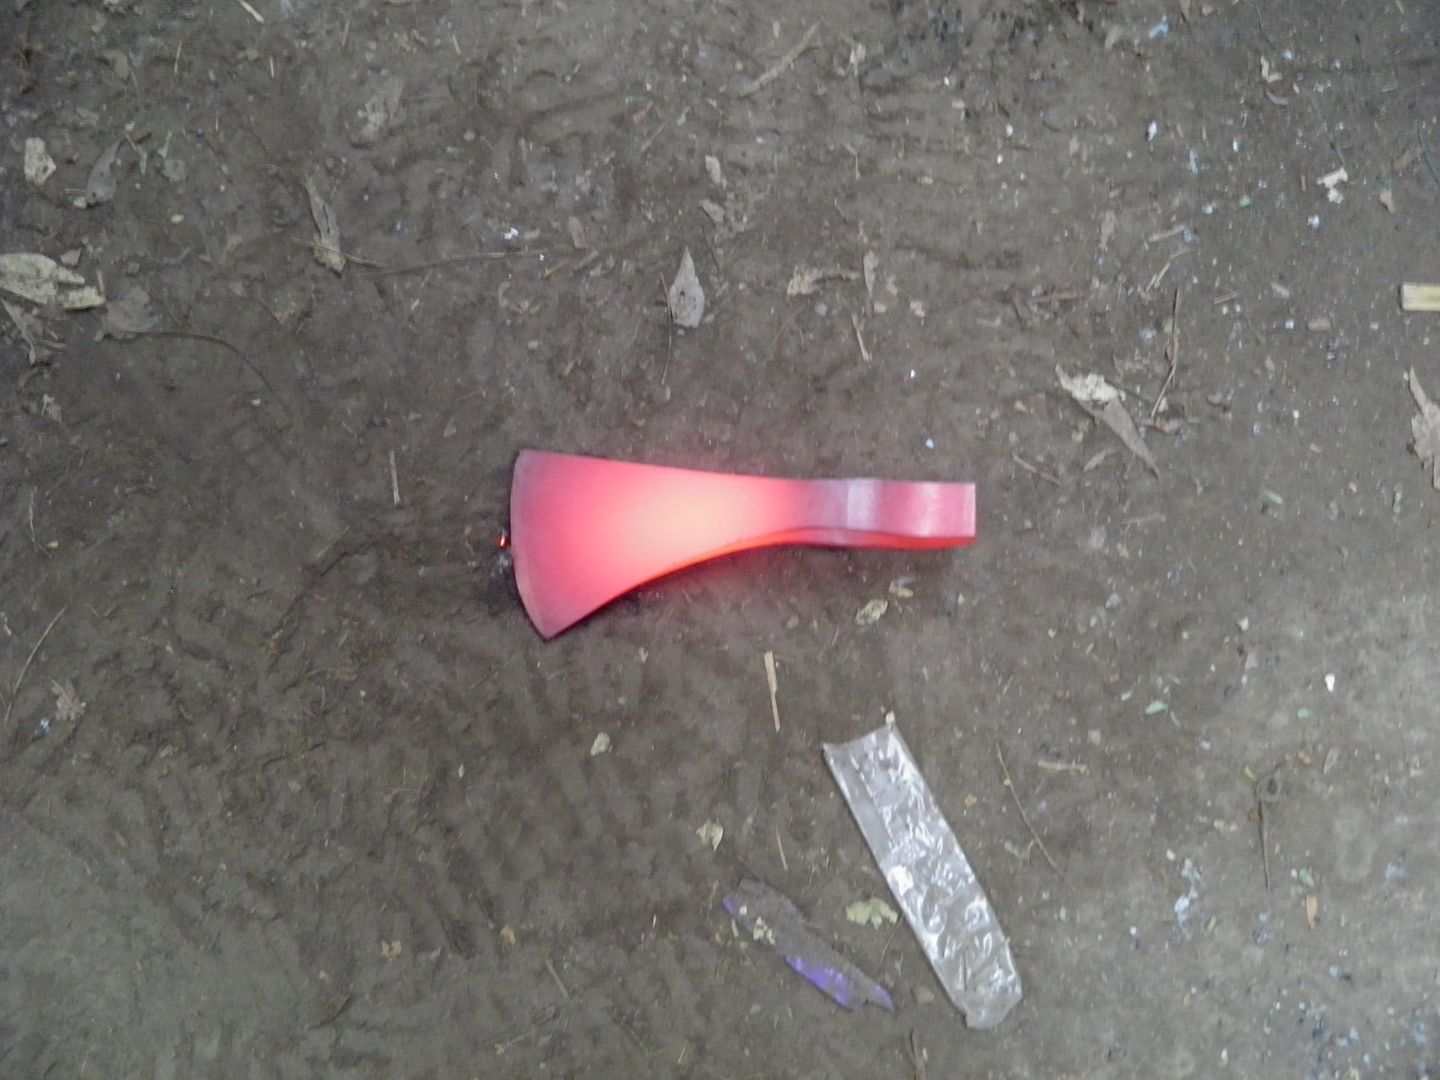 Second.  Third. 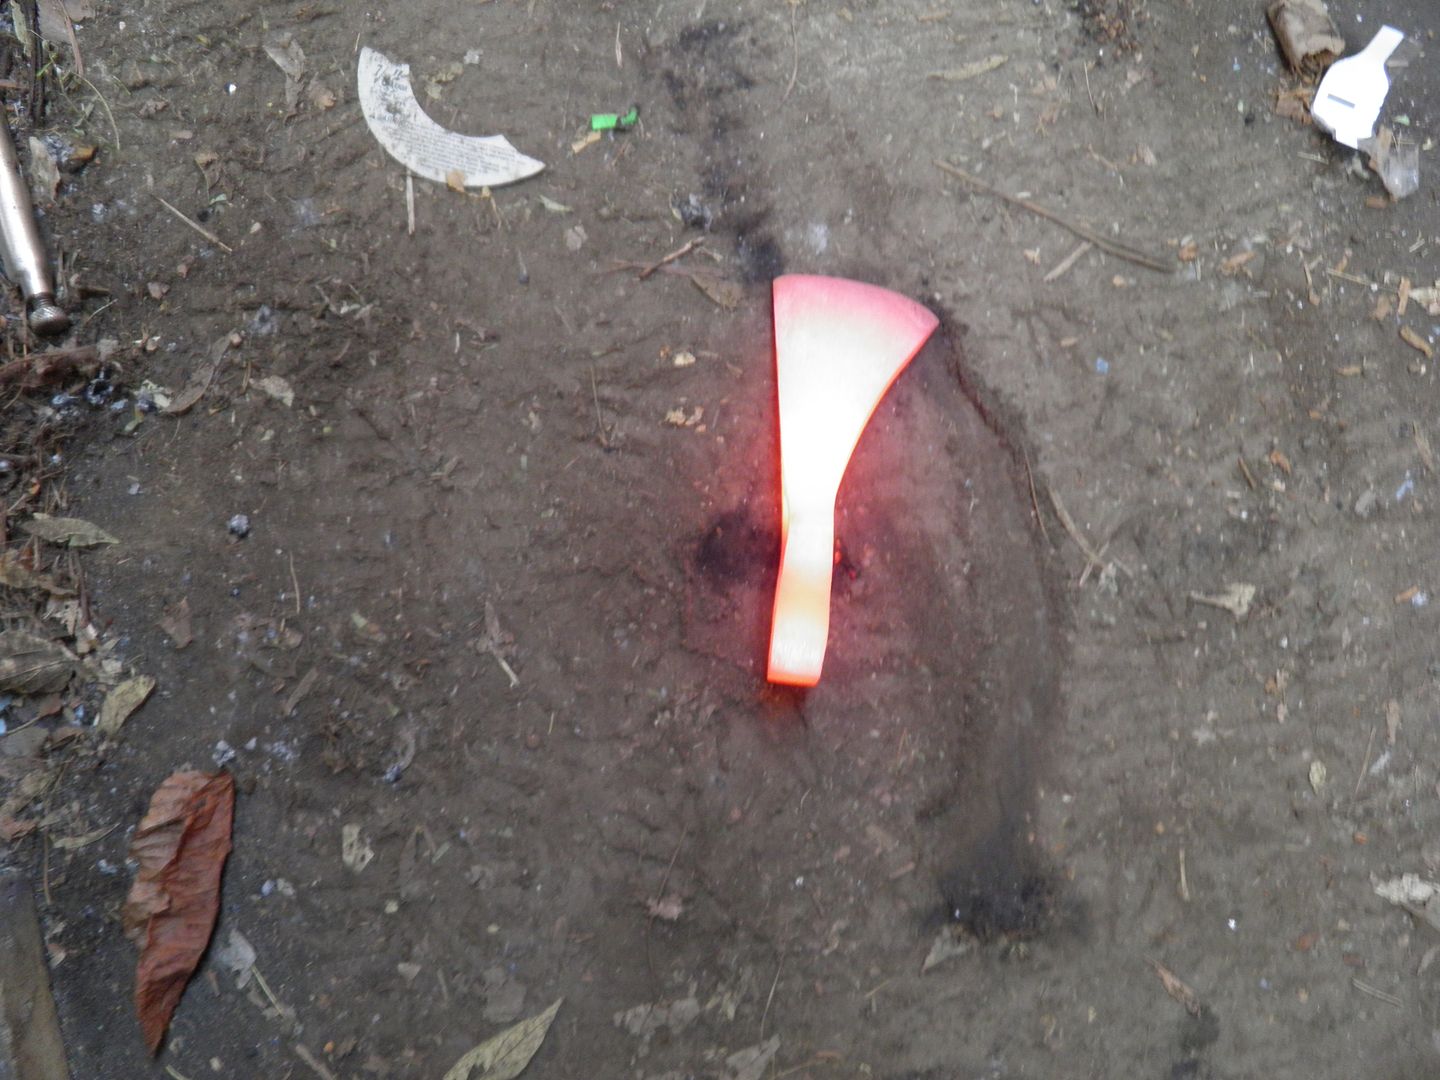 Harding the bit, len cap got in the way on the qeunch. 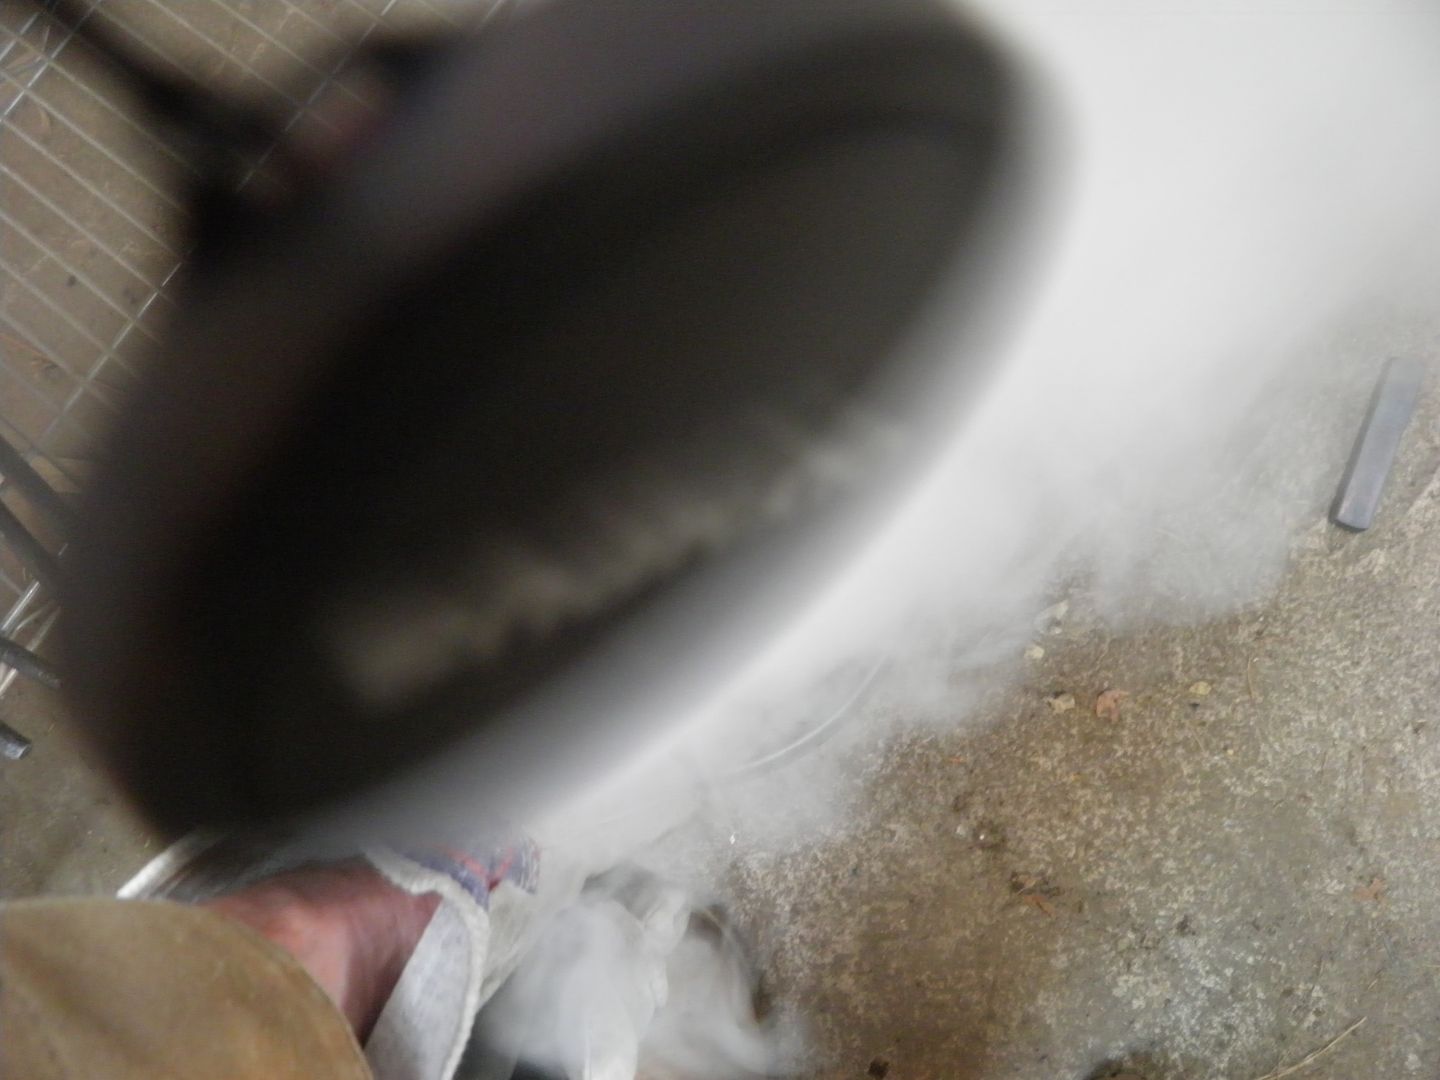 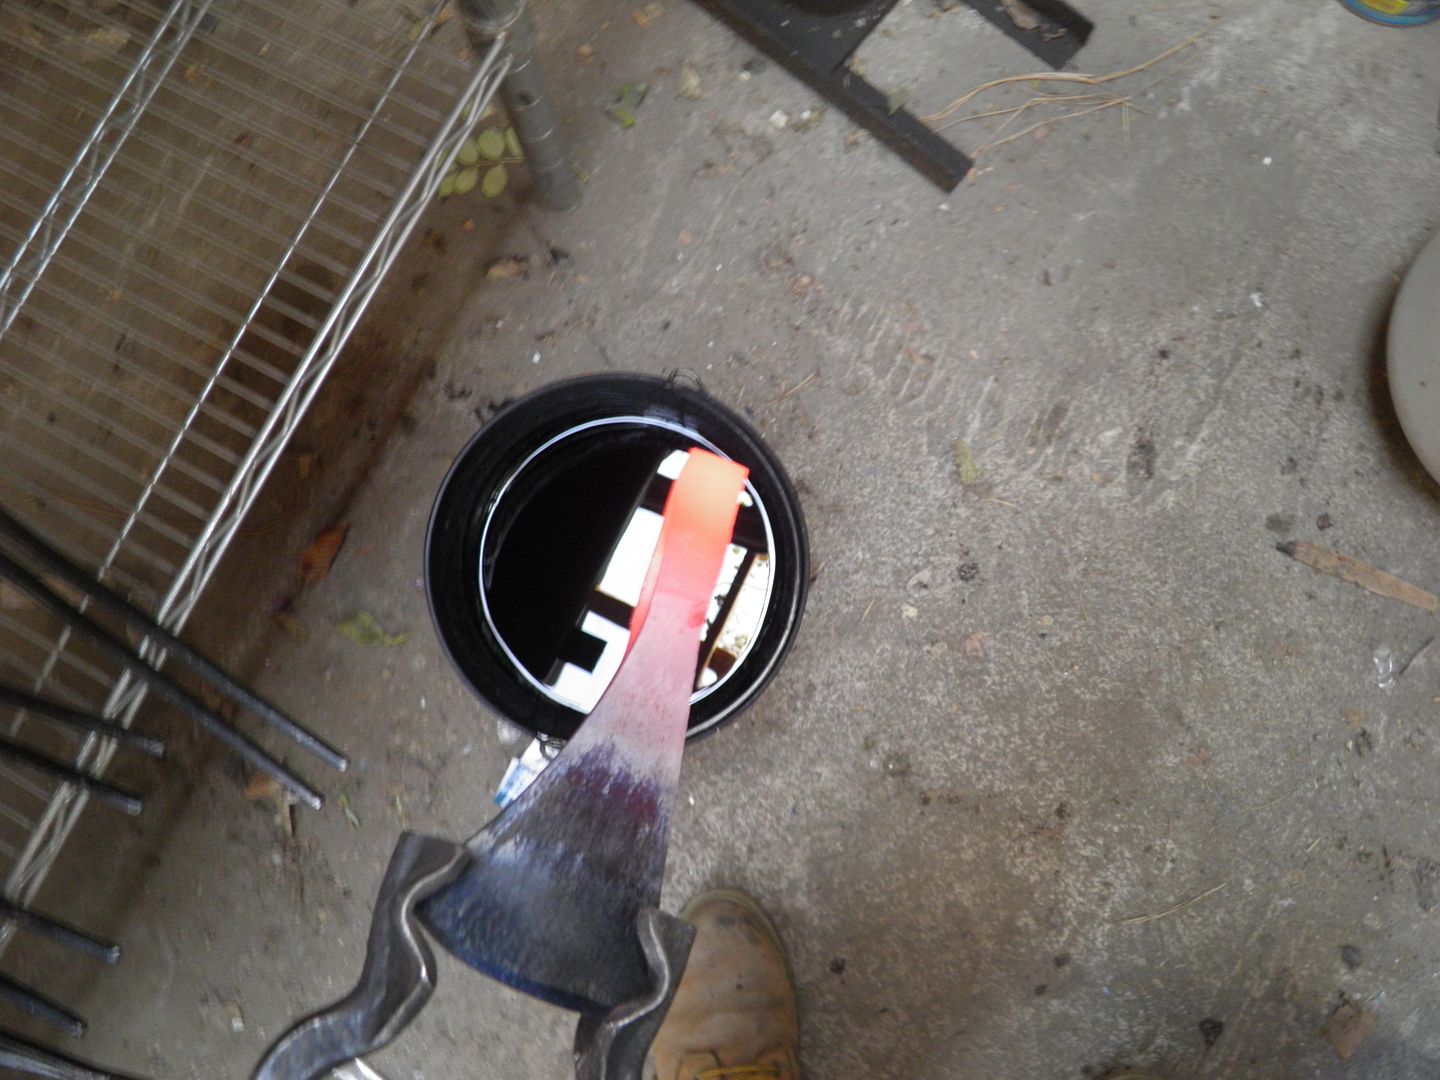 Harding the hammer poll. 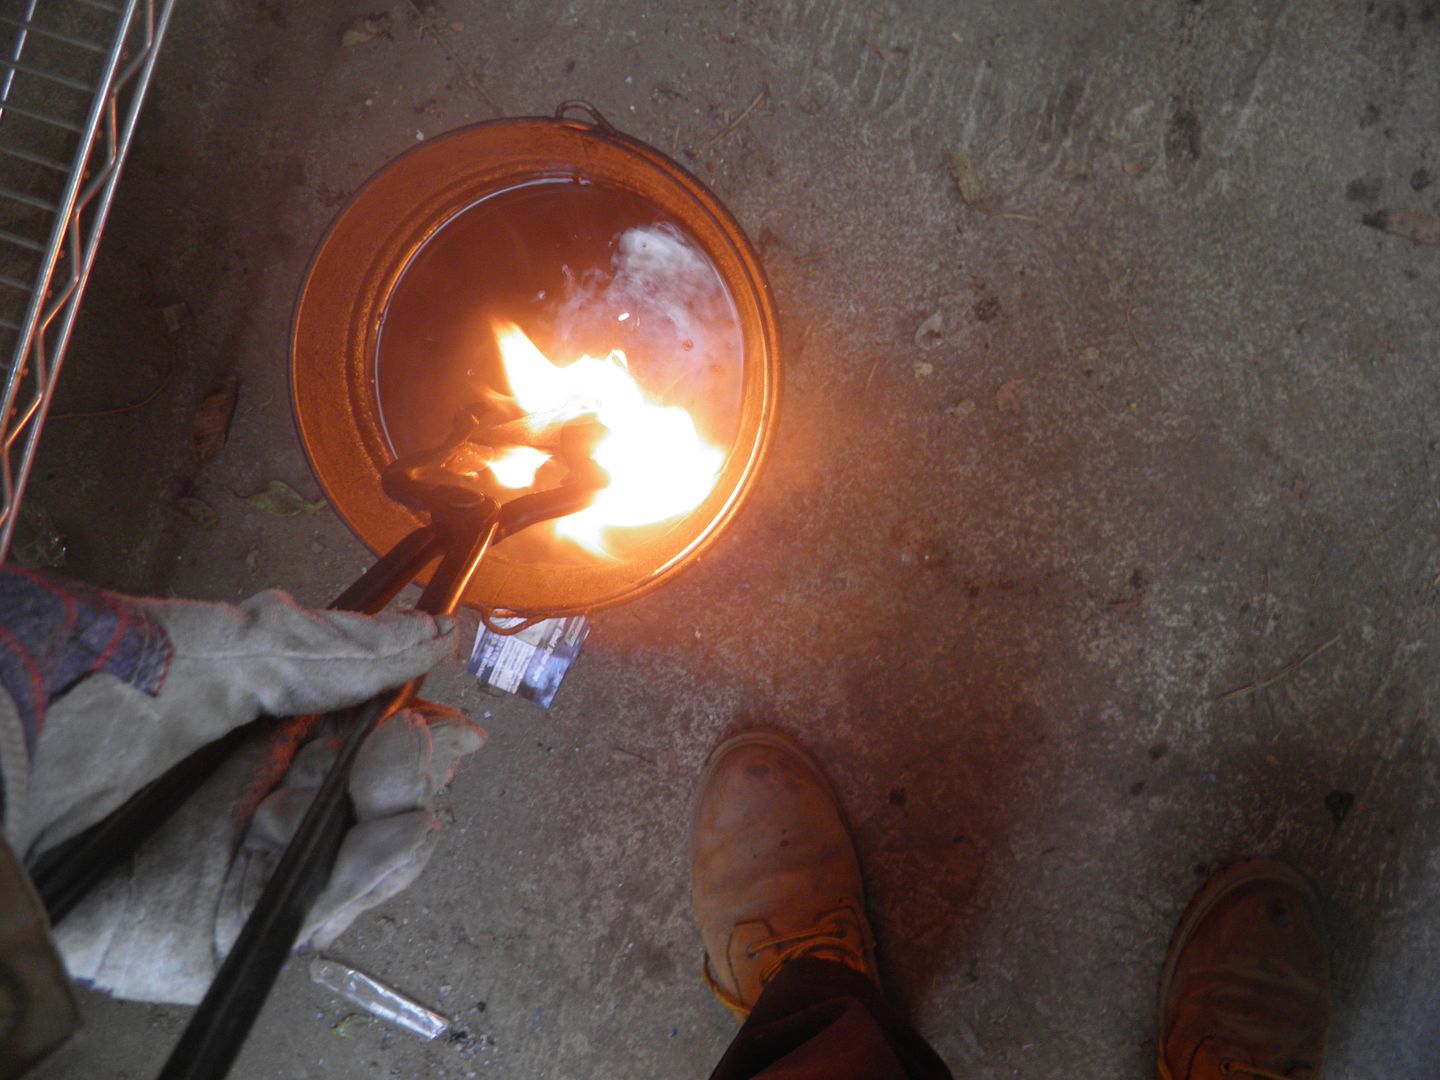 After harding, only 2inches of the bit and1in of the hammer poll went in the quench. 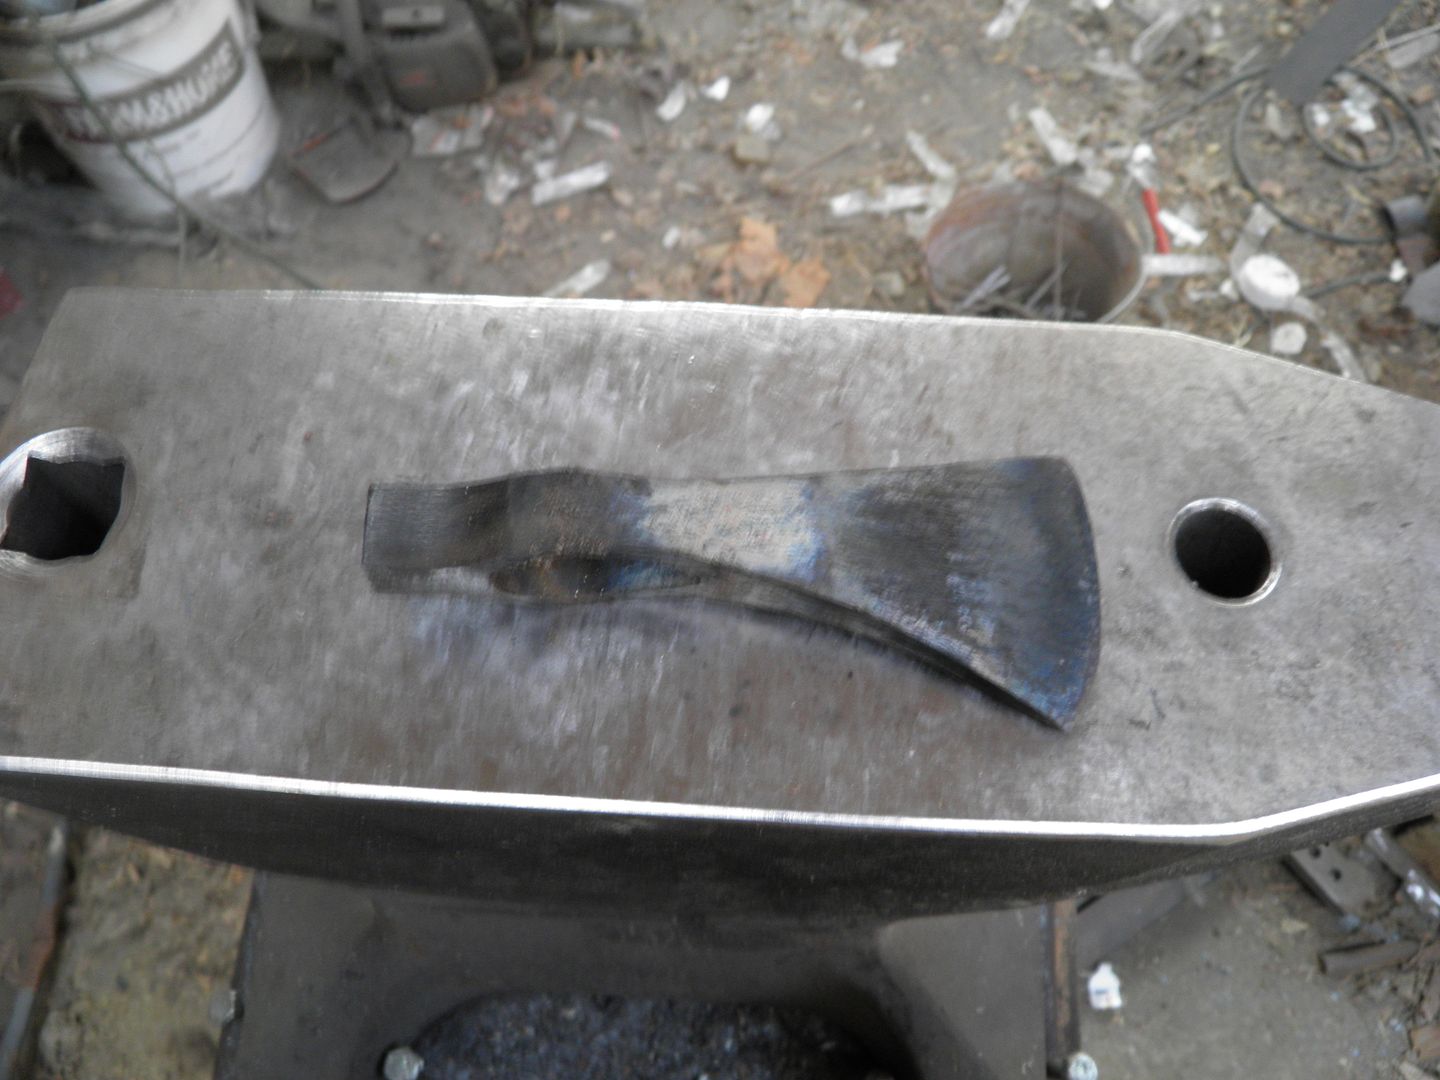 Here it is finished. Cutting edge 2 1/2in, bit length to poll 3 1/2in, Hammer poll 1in long, 5/8inX5/8in square. Overall length 6 1/9in, weight 12oz. Side 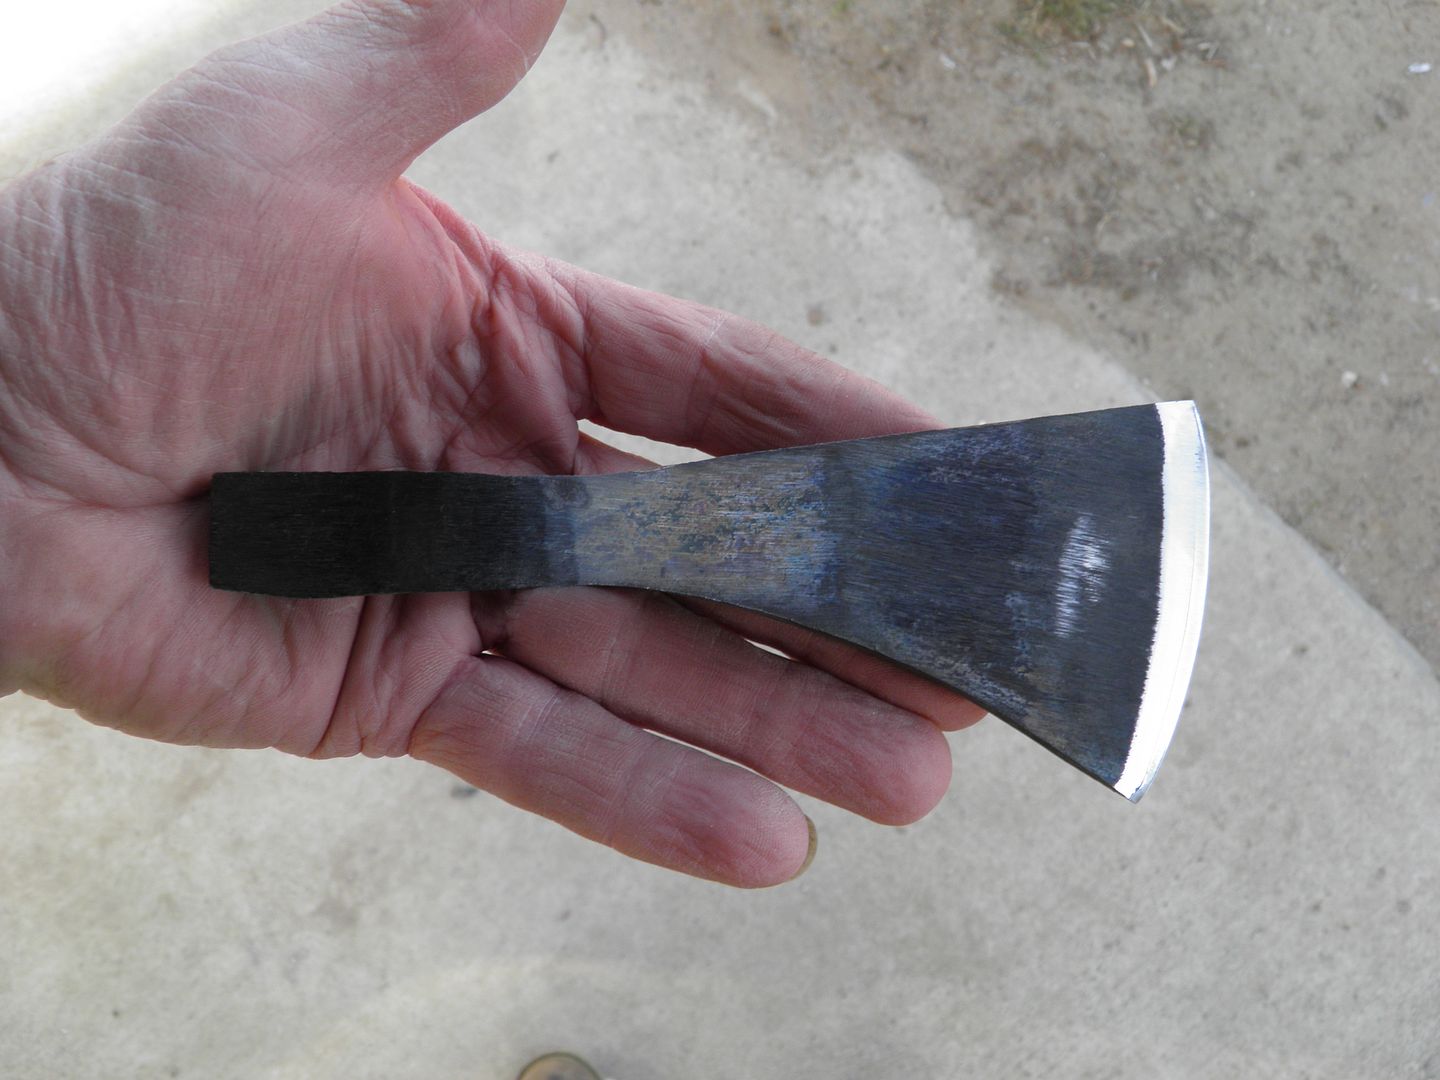 Top 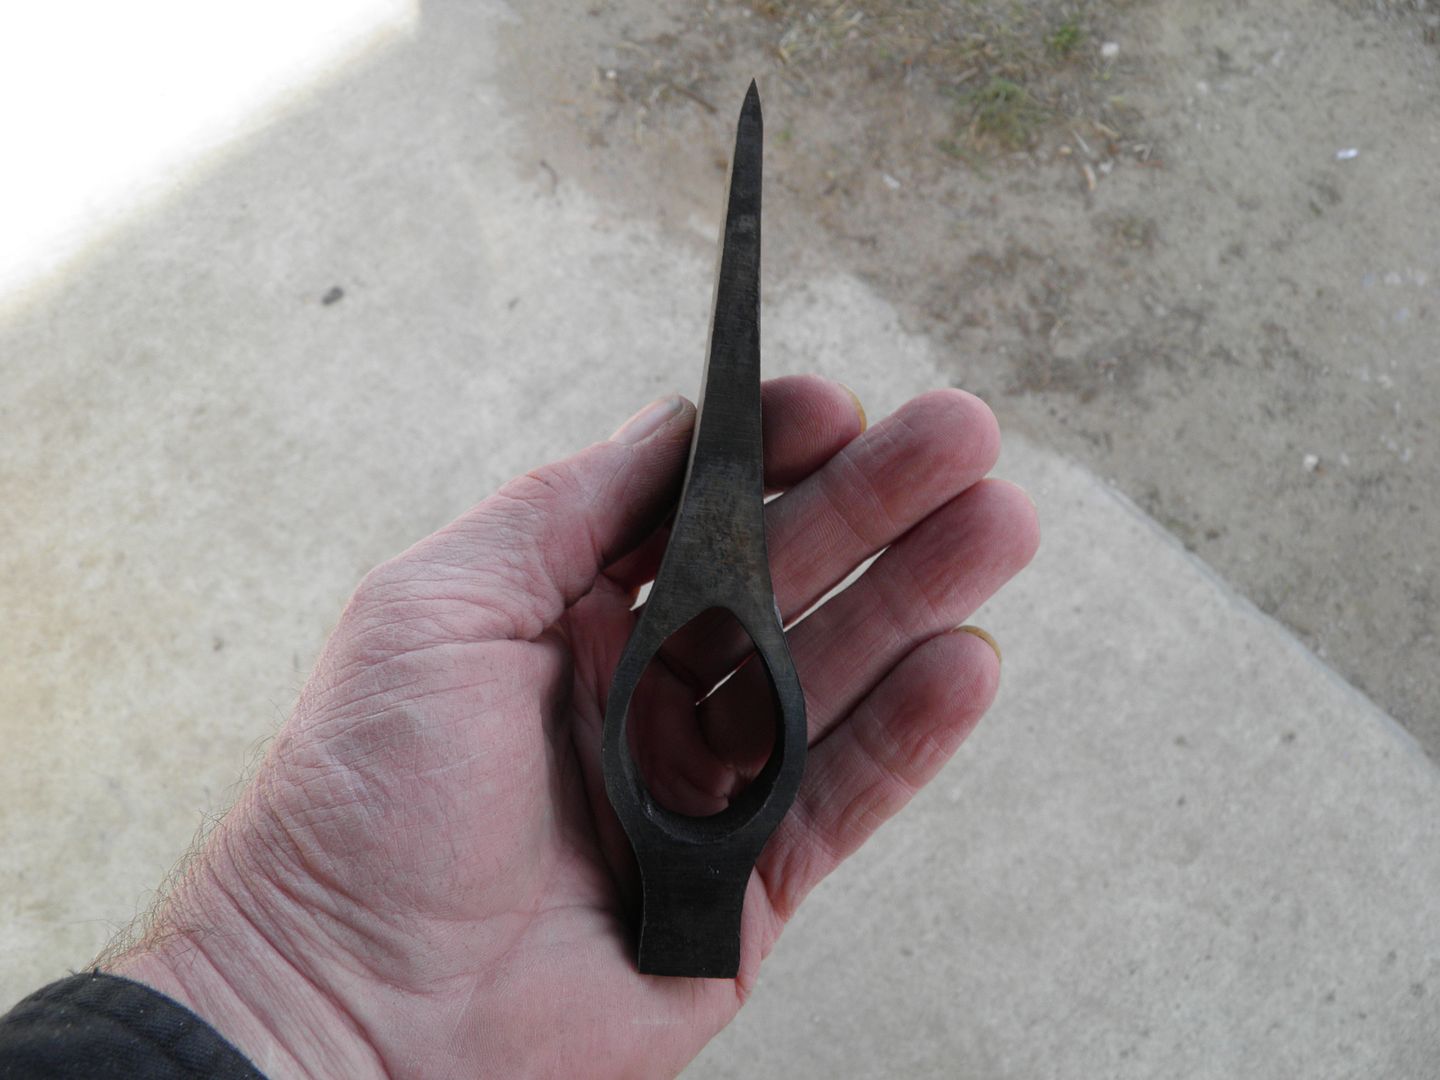 Bottom. 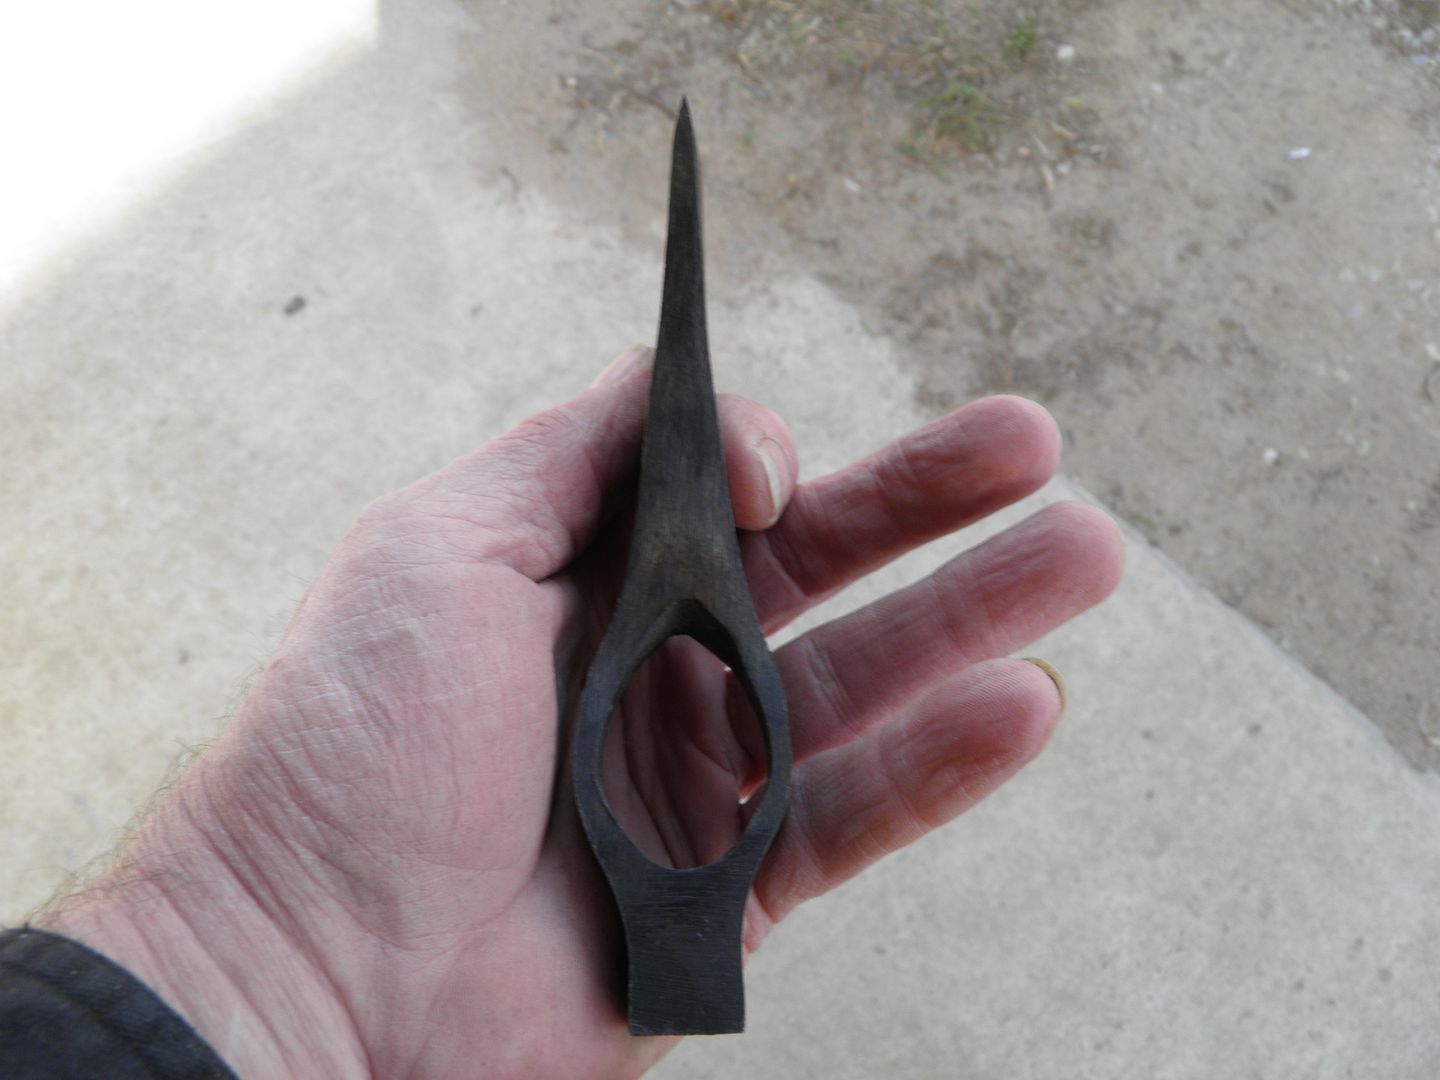 Hammer poll. 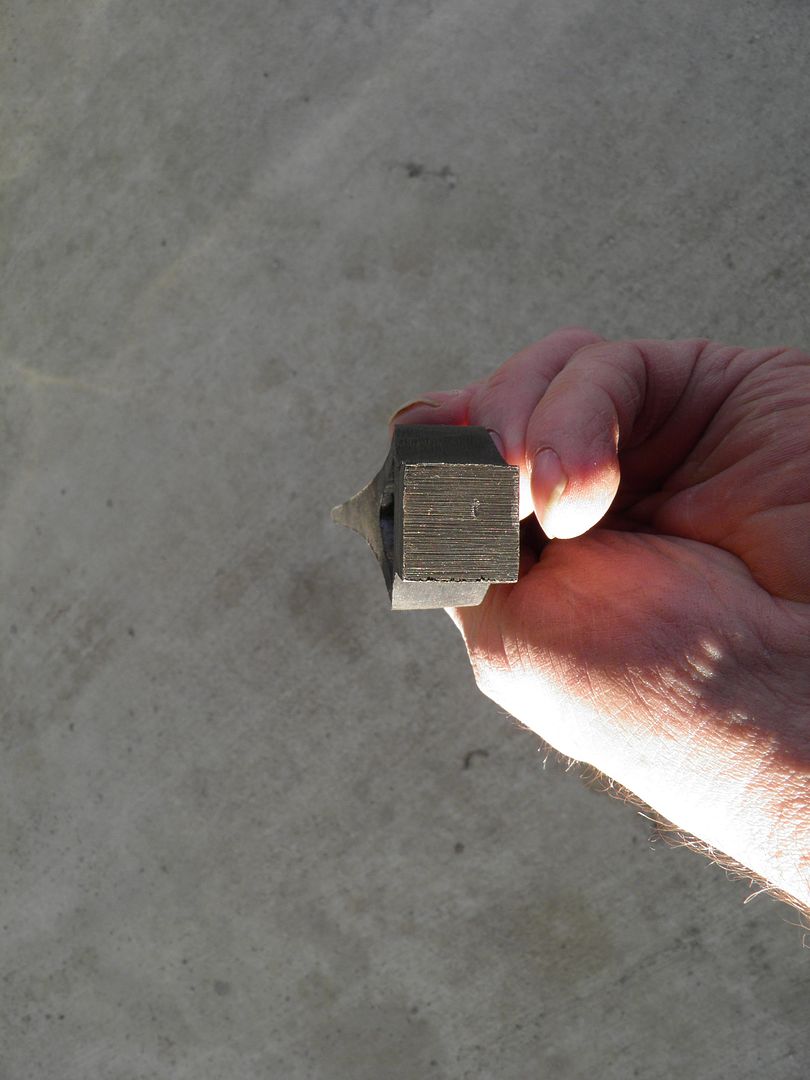 |
|
|
|
Post by Adrian Jordan on Nov 13, 2014 20:27:30 GMT
That looks killer! Really love the shape.
|
|
|
|
Post by LG Martial Arts on Nov 13, 2014 22:46:04 GMT
nice!
|
|
avery
Senior Forumite
Manufacturer/Vendor
Posts: 1,530
|
Post by avery on Nov 18, 2014 16:02:44 GMT
Looks pretty damned good for a first attempt like this! How much of the blade edge did you heat up for the heat treat? Kinda hard to tell in the pics. Also, something to keep in mind for the future, and it's just a guideline really. A good rule of thumb is to make the spine length from the front of the eye to tip the same or lesser than the blade face. So if you have a 3" spine, make the blade from tip to tip 3"or more inches. What this does is moves the POB closer to bottom side of the axe. But like I said, that's more or less a guide line. I've seen tons of historical examples in photos and a few in person that look near identical to yours. This Viking throwing axe is a good example of a long spine and short blade face. www.faganarms.com/viking-throwin ... 0-a-d.aspx Like I said man, damn good start!....you'll be building a tire hammer before too much longer, lol. |
|
|
|
Post by L Driggers (fallen) on Nov 18, 2014 16:39:24 GMT
About 2in were heated up before the quench. guench 1in. tried to keep a hard edge and soft middle. It has a 1/2in edge with a 3 1/2in spine. It's kind of like Cold Steel Frontier hawk. Next time I upset the end more to get a longer cutting edge.
|
|
|
|
Post by L Driggers (fallen) on Nov 18, 2014 18:37:51 GMT
|
|
|
|
Post by Adrian Jordan on Nov 18, 2014 21:30:33 GMT
All three are awesome, but I like that hammer poll the best. Great work!
|
|
|
|
Post by DigsFossils-n-Knives on Nov 18, 2014 23:23:50 GMT
Sweet! Nicely done!
|
|