|
|
Post by Lobster Hunter on May 29, 2011 9:21:30 GMT
I mean the brown card board like stuff that's on the back of note books & sketch books. Card stock's good too, I imagine. Traditionally, they folded thin paper several times to get the rigidity and volume necessary but you can take a short cut by using thick paper stock.
|
|
|
|
Post by Tyler on Jun 3, 2011 2:24:28 GMT
Still waiting for my menuki to arrive before i can start =/ iv done some more practice though, tomorrow ill post another pic, hopefully its an improvement :lol:
|
|
|
|
Post by Tyler on Jun 12, 2011 5:33:00 GMT
Got bored tonight and decied to have a go at the sageo. heres the results. Also still awaiting menuki lol Attachments:
|
|
|
|
Post by bleachsword on Jun 12, 2011 15:08:49 GMT
Not bad at all tho if you redo it try to get it a little more even.
|
|
|
|
Post by Lobster Hunter on Jun 13, 2011 6:24:34 GMT
While waiting, you might as well cut out the hishigami. If your ito is 10mm wide unstretched, it'll be about 7mm wide when stretched. Make the hishigami no wider than 1/2 inch wide and slightly under 1/2 inch tall. You want to make sure they're well hidden under the ito. www.sword-buyers-guide.com/tsukamaki.htmlAnd a combination of double-sided tape on the exposed wood and a clamp will make the task A LOT easier. Good luck. |
|
|
|
Post by Tyler on Jun 20, 2011 15:57:08 GMT
Finally the wait is over! my menuki came this morning, now i can finally move forward with my wrappings  Also on a side note if anyone could tell me how to insert the image in my post rather then in the attachment bar below, i would greatly welcome said advice. its been years since iv done any html Attachments:
|
|
|
|
Post by Elheru Aran on Jun 20, 2011 16:18:08 GMT
You don't need html for posts here, what you would use are BBCode tags. First host your image online, and grab its URL. Photobucket has a handy feature which will automatically give you the BBCode with the URL, but if you use a different host... You type the tags and then put in the image URL between the tags. Like so--  BBCode is fairly simple, it's like [tag]___[/tag]. Just remember, you always put a slash on the end tag. Those menuki look rather nice, btw... |
|
|
|
Post by Tyler on Jun 20, 2011 17:29:32 GMT
ohhh ok gotcha thanks man
also yeah there pretty sweet, im hoping it all looks pretty good when its together dark red ito, black ray skin, silver menuki
|
|
|
|
Post by Tyler on Jun 22, 2011 3:38:44 GMT
so i have discovered that hishigami is one of the most tedious tasks i have ever done willingly... and im doing them the easy way. press board and cutting them out. did a test with 2 of them and it made the wrapping look so much better then without so i suppose its well worth it lol EDIT: after spending a lot of time on the hishigami i decided to do a quick battle wrap to see how it would layout. The meguki holes got covered by the 2nd menuki. heres a picture of what it looked like as i was unraveling it  on the other side (picture of that side didnt turn out so well) the menuki had covered up the hole. any suggestions? |
|
|
|
Post by Adrian Jordan on Jun 23, 2011 1:16:47 GMT
Nice, man. Everytime you post a picture, it shows that you've gotten better. Keep it up.
|
|
|
|
Post by Tyler on Jun 23, 2011 2:08:22 GMT
Thank you jordan  its always nice to here some praise on work i find iffy lol |
|
|
|
Post by Lobster Hunter on Jun 23, 2011 7:19:27 GMT
I'd never thought about it, but it seems that the 2nd mekugi ana just gets covered up by the ito with a battle wrap. weird. I mean, it makes sense with a single mekugi design but how are you supposed to disassemble a 2 mekugi katana with katatemaki? By pushing the ito aside? If I'm not mistaken, this Hanwei Raptor has 2 mekugis: www.kultofathena.com/images/SH2417_4_l.jpgOne option might be to try something like this: www.justice-armory.com/justice_armory/Kareki.html#1Courtesy of Mr. Justice. |
|
|
|
Post by Adrian Jordan on Jun 23, 2011 8:14:21 GMT
Hey. I just checked out some reviews of the Raptors with the battle-wrap and noticed that the bottom peg is waaay at the bottom, instead of the usual 2/3rd of so you see on most production models. I figure that it must be so a double-peg is possible. For a while after the re-wrap on my Ronin, the second mekugi hole was covered up too much for me to insert one that I hadn't done some moderation to. This was unavoidable due to the fact that the ito that came on it was a smaller size than the one I had put on it. I have to say that I really grew to like the look of a single-pegged tsuka. As long as you cant get the skinny little peg for the mekugi-nuki in on the covered side you're OK, otherwise you may want to try on the single-peg look and see how it sits with you. Safety wise...I don't know. A majority of the antique nihonto I see, and indeed many of the higher-end modern ones(not to name any names cough, cough-gassansadatoshi-cough, cough) are single pegged, so it may not matter.
|
|
|
|
Post by Lobster Hunter on Jun 23, 2011 15:24:53 GMT
True, a single mekugi is good enough. In some cases, it's better since there's no chance of the two mekugis fighting each other due to slightly misaligned holes.
The problem is that, as someone on this forum pointed out long ago, the practice of installing 2 mekugis by sword manufacturers might have more to do with trying to prevent nakago movement in less than perfectly fitted tsuka channels than any safety issue. If the OP is lucky, his nakago fit will be good enough so that a single mekugi will suffice.
That's pretty funny about the Raptors. So, that's how they did it.
|
|
|
|
Post by Tyler on Jun 24, 2011 0:38:25 GMT
Thanks for that link lobster hunter, that actually may be the alternative because if i remember correctly i remember feeling some movement when it only had one peg in (going to try it out again to be sure) but if im wrong then ill just go with the single peg you guys suggested. I would actually prefer a single peg on this one because the one that gets covered is incredibly hard to get in and out.
|
|
|
|
Post by Lobster Hunter on Jun 24, 2011 3:04:10 GMT
Well, if there's nakago movement, your one mekugi will start to feel the brunt of the stresses generated, especially from cutting. This will be bad. If you decide to go the 1 mekugi route, it might be worth trying one of the methods in this post to improve the fit. forum.sword-buyers-guide.com/viewtopic.php?f=19&t=4891 |
|
|
|
Post by Tyler on Jun 24, 2011 3:17:28 GMT
i went back and tested the fit of the nakago and the tsuka and they fit perfectly (the saya was what had movement lol)
and seeing as i had a lot of trouble getting 3 nots on both ends and in the middle so im thinking im just going to go with the single meguki peg at the front of the tsuka (closest to the tsuba)
|
|
|
|
Post by Lobster Hunter on Jun 24, 2011 3:45:00 GMT
Cool. Remember to make your early cross overs tight and even and don't hesitate to redo as you go if you're not happy with the results. Patience is definitely a virtue with this stuff. Good luck!
|
|
|
|
Post by Tyler on Jun 25, 2011 6:05:18 GMT
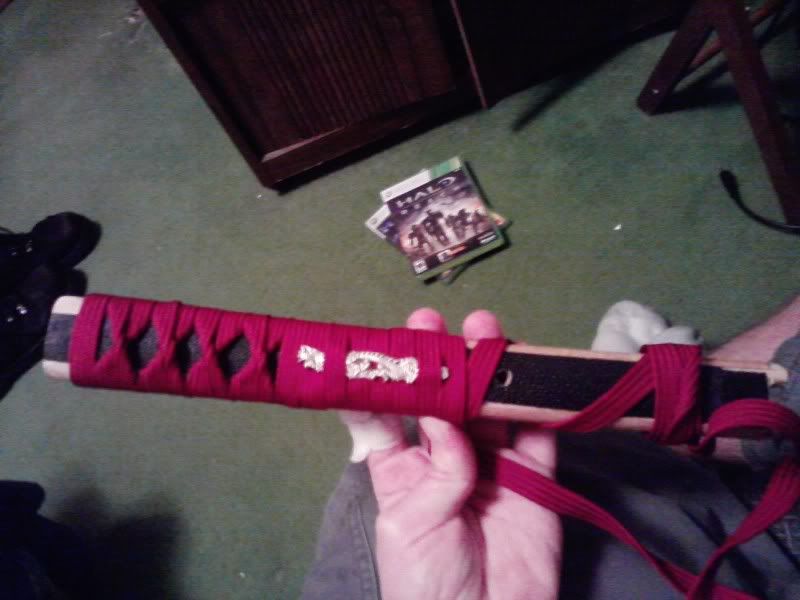
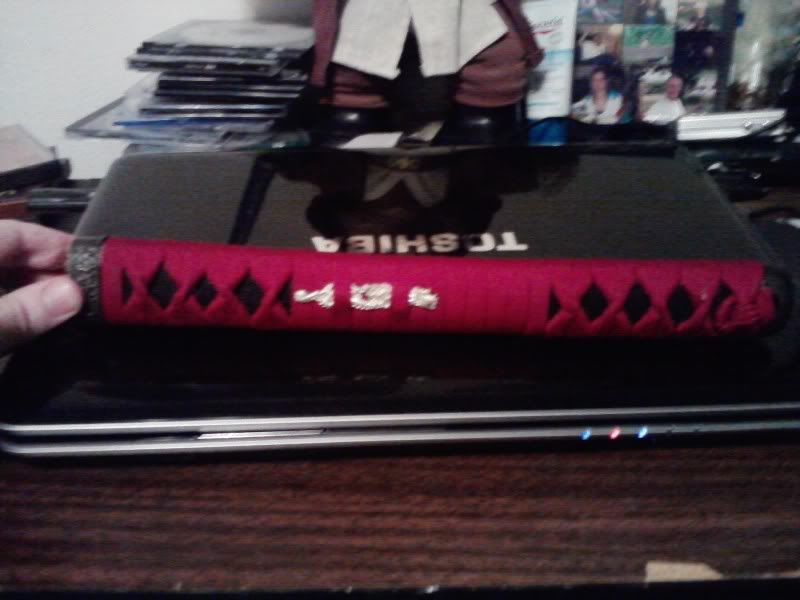
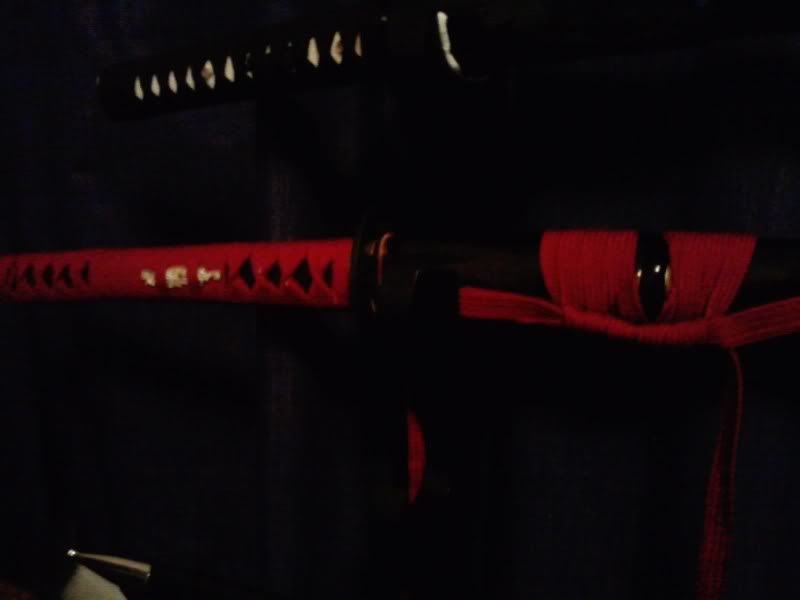
Took me a few hours but im finally done, for my first tsukamaki job im very happy with it!   ill try and get some better pictures when its more sunny outside and i can get some decent lighting one thing i did notice though is that the tsuka is indeed a bit loose, so again i was wrong lol its a bit frustrating considering all the time and effort i put into it. so im wondering if theres anyway i can fix this with out undoing the tsukamaki and using the 2nd peg? |
|
|
|
Post by Adrian Jordan on Jun 25, 2011 6:17:20 GMT
Very nice. I'm jazzed for you. I couldn't finish mine, I had it sent to SwordLord. You could try shimming it to fix the looseness.
|
|

