It's not Kris's Naginata, it's mine !
Feb 11, 2008 11:54:39 GMT
Post by Deleted on Feb 11, 2008 11:54:39 GMT
Hello all, I thought I had better start this thread as it is one of my ongoing projects that I have mentioned before. I am making a mounting for a Kris Naginata II blade.

nothing new about that I hear you say, but thats until you see me write I am going against tradition(perish the thought ) and mounting it in Australia's own Spotted Gum.
Lovely timber, it has loads of different tones and has the look (when cut down the grain) of swirly boysenberry ice-cream. Beautiful stuff. It comes in tones of sandy greys to blood-red brown and is very popular as timber flooring. Once it is laid it looks really nice, but as a timber it takes a while to cure. While it is curing it is very suseptable to warping (usually the result of too much hot then cold).
Before we laid this floor about 6 months ago, I picked out a few prime straight lengths that came at about 2500x120mm in case I needed a few spares. These lengths I picked out were some of the lighter-toned pieces as the darker-red ones tend to give off alot of tannins which will react with the steel of the nakago.The timber itself is classified as a hardwood and while larger pieces do weigh a tonne, the length I am working with feels firm but deceptively light.
Upon researching Naginata varieties for my choice in mounting, I found that with the Modern mostly Chinese-made Naginatas was that the shaft was very thick and the whole thing seemed to weigh abit much. When I looked at the traditional Japanese Naginata the differences I found were: the trad. ones were thin, and I mean about as thin sometimes as a tsuka is ; The shaft on the Chinese made ones were sometimes rounded, when the trad. ones were ovular ; the trad. ones have (if at all) a small tanto-tsuba like tsuba when the mass-made ones sometimes have a tsuba that really should belong on a nodachi.
Please don't get me wrong, I like a weapon with a bit of strength to it but in theory this weapon needs to be agile. It needs to have to get into the crevices of bugei armour and do its job, or keep a samurai at a distance of at laest 7 foot from the holder. Too much weight in a long weapon that has to be held out to gain effect will only inevitably tire the arms out of the user before long. A naginata that is thin, but very strong will not hinder or tyre its user but allow more movement and a speedy return, that is the main thing. After all the further away your opponent is the better, if he thinks you are holding a heavy weapon he will enevitably let you wear yourself out then come in for the kill, no ?
Anyway, enough of the reasons why.
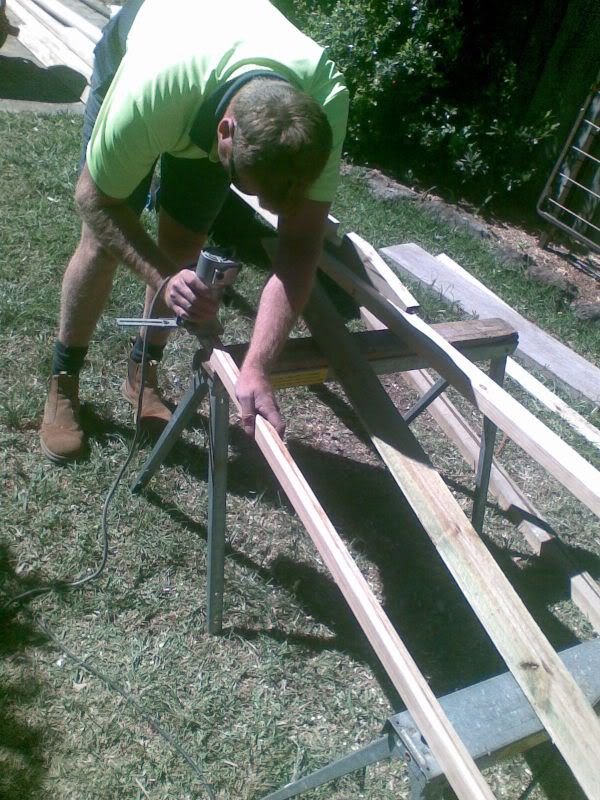
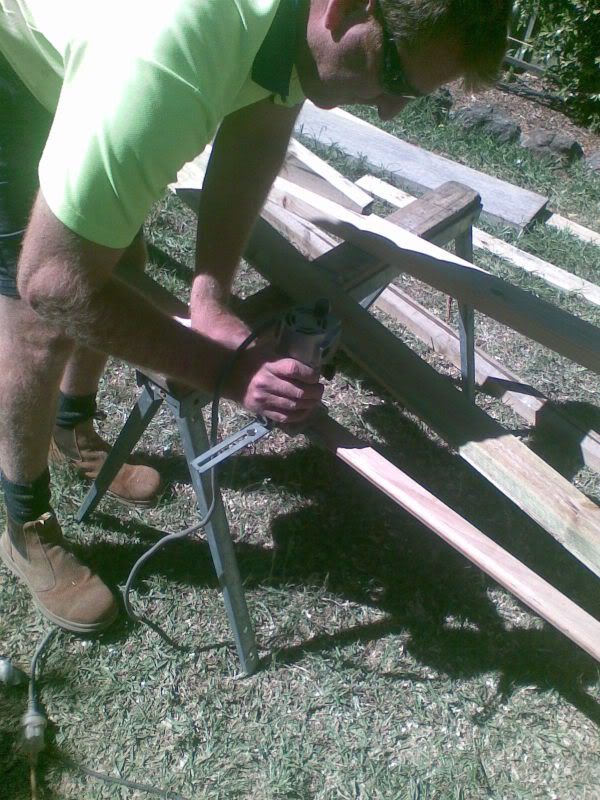
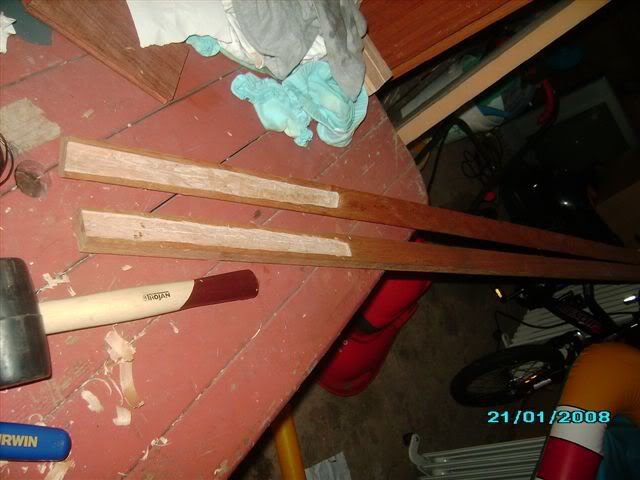
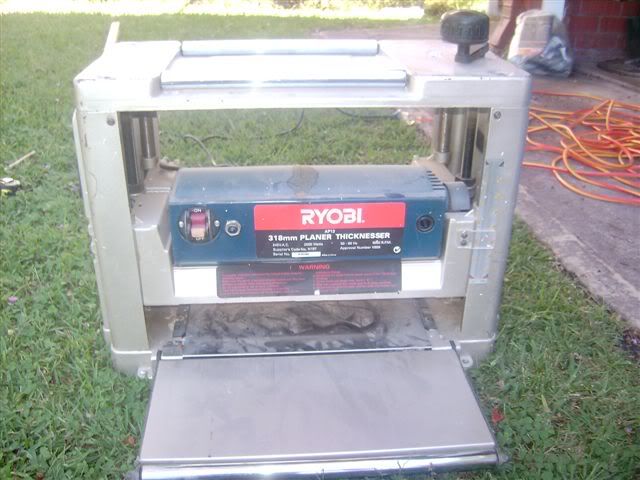
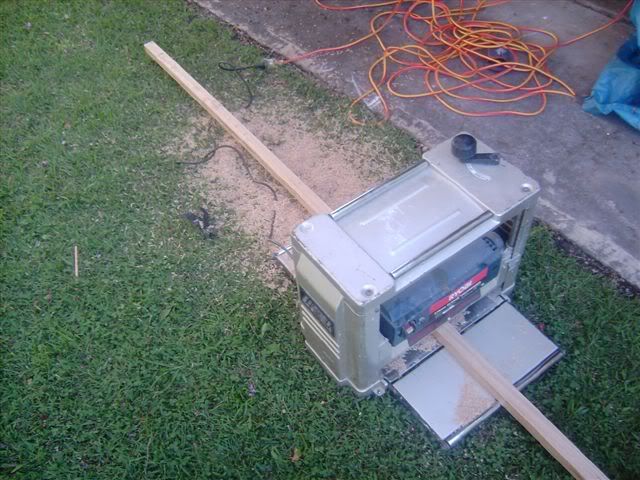
To start off I used an electric planer to plane off the joints of the length of flooring that I chose out. This gave me about 115mm of width to work with, so now I needed to split it in half down the centre to create the two sides needed for my shaft. This I did using one of the devils tools, also known as a circular saw. I drew it all out and my mate just followed up the line. Even though my mate has a steady hand the two halfs you are left with will not be exactly square. This has to be addressed as when you chisel out the hole for the nakago to go into you will have matching issues of the halves, then you will have fitting nakago issues. We deal with this hurdle by borrowing another mates Thicknesser. This brilliant piece of machinery one feeds both halves into at the same time and as if by magicity, they come out the back of it the same thickness. Do you hear that, the same thickness yes wonders will never cease ;D. This machine will be invaluable as well when I want to get it down evenly to its final shape. It takes 1 - 6mm off with each pass depending on the setting so in the end I will get my desired thickness to a tee.
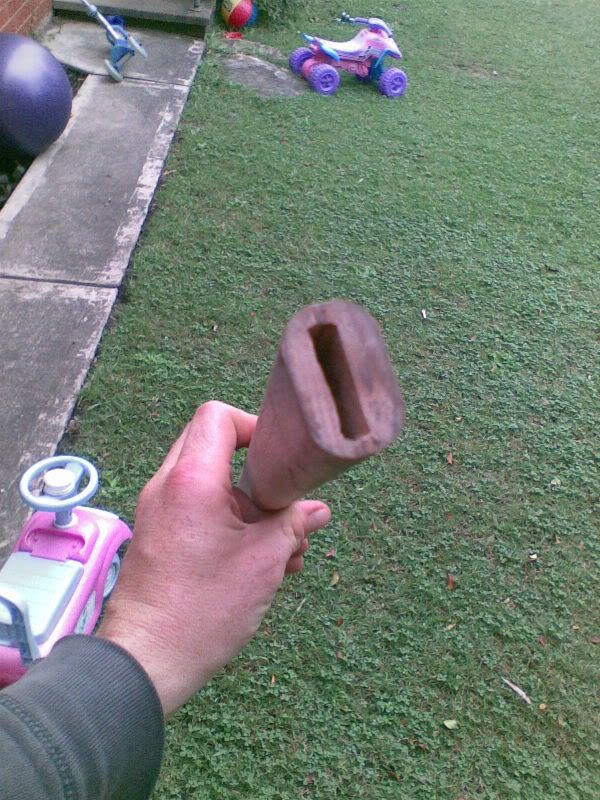
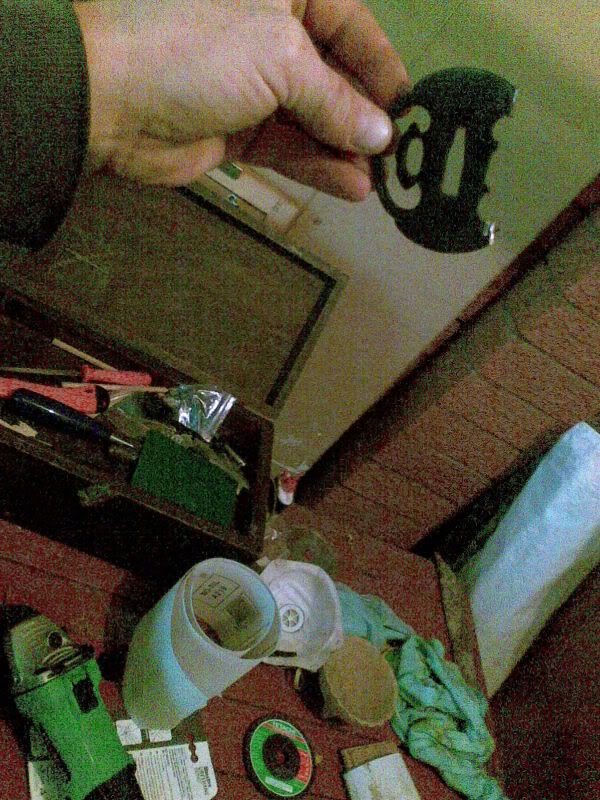
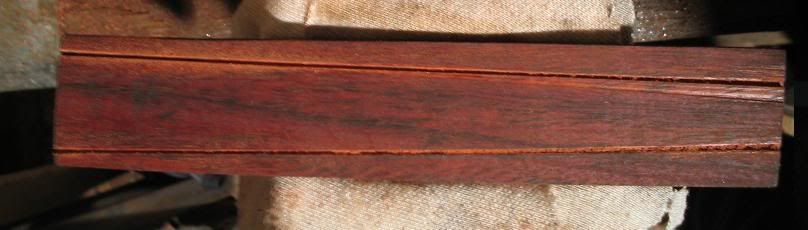
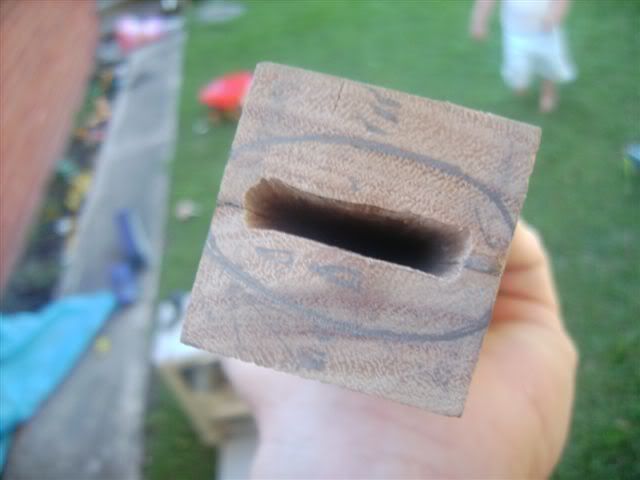
After this I was left with a width of about 44mm down the lengths of both halves. Then I got the Nag blade out and traced the outline of the nakago onto the shaft, mirrored on both lengths. I also wrote in pencil on all sides which was the spine and which was the edge, just in case I forgot and got a bit carried away.
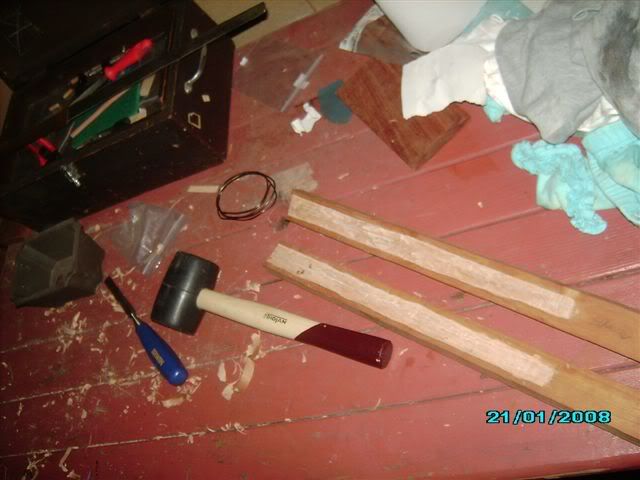
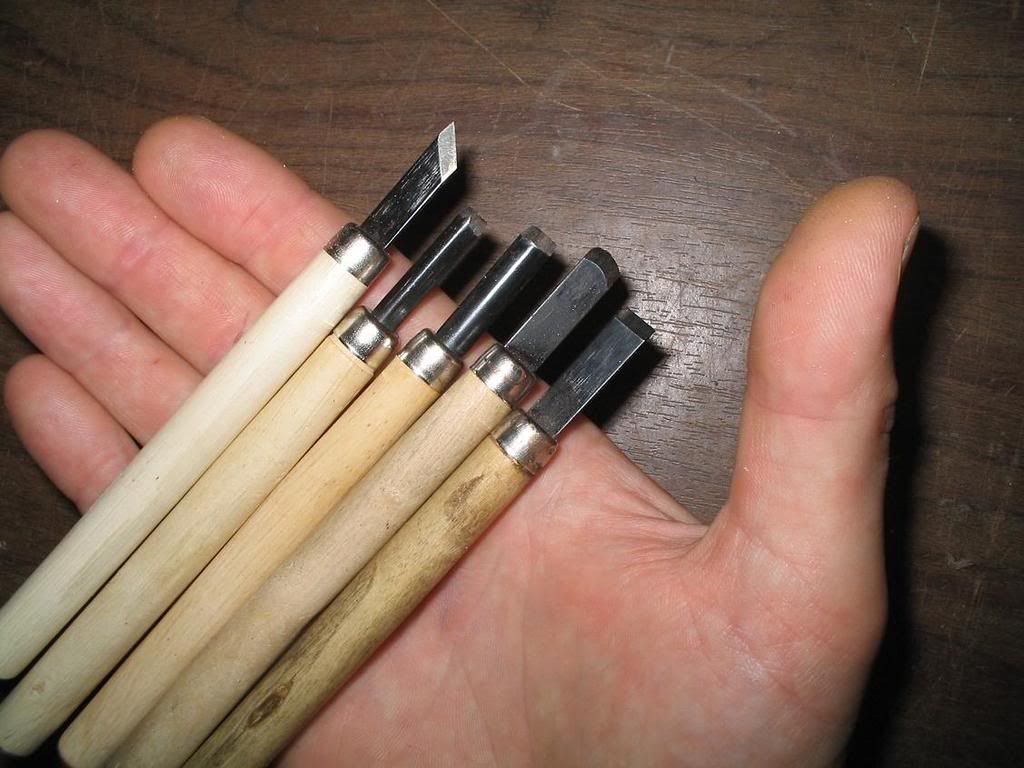
I routed out the sections down to about 2mm/spine-side and 1mm/edge-side on one half, and on the other half only about 1mm down the spine side of the cut-out. This is because I intend for it to sit a little biased over to the one side to give itself a bit more strength in its fitting (as I will be using it for tameshigiri). This next step was probably the most labour intensive as I decided to chisel it out by hand.
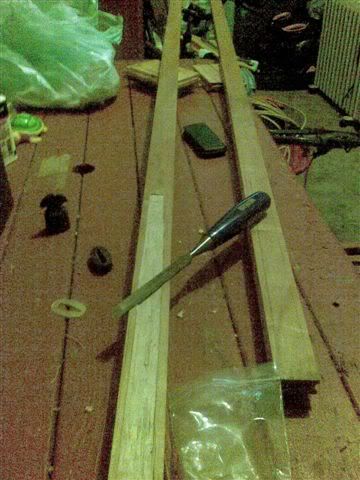
As I was informed, due to the ruffness of using a hand-chisel on the wood the nakago would achieve a tighter fit in my mounting, than if it were to be perfectly, smoothly routed out.
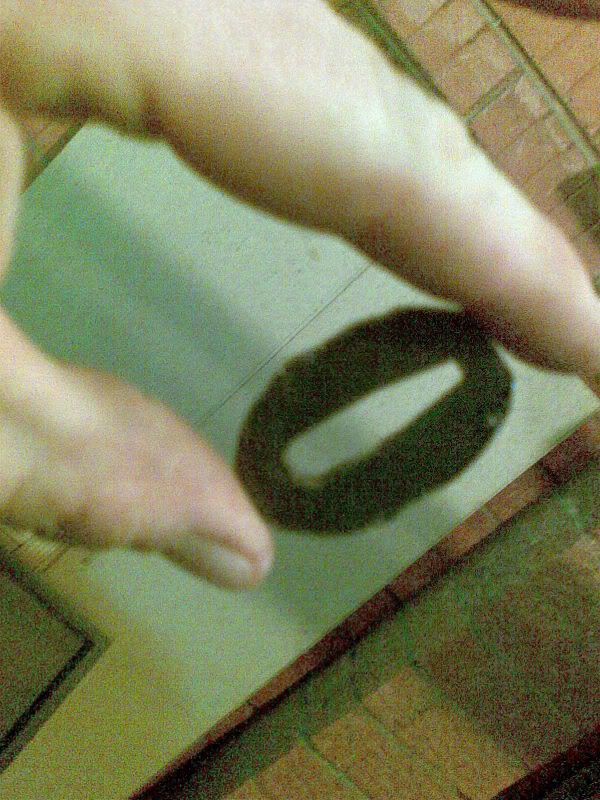
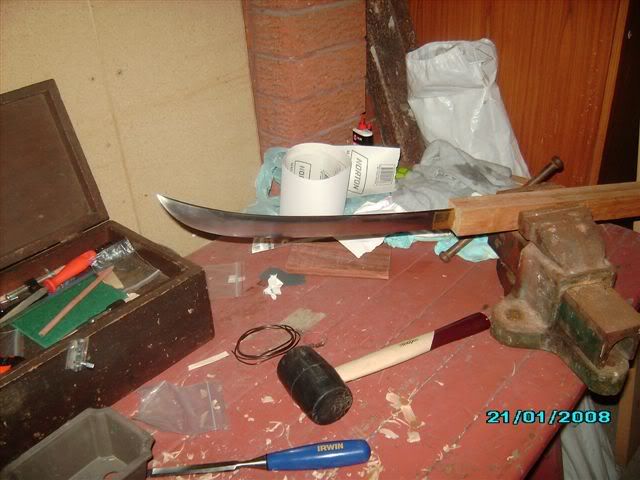
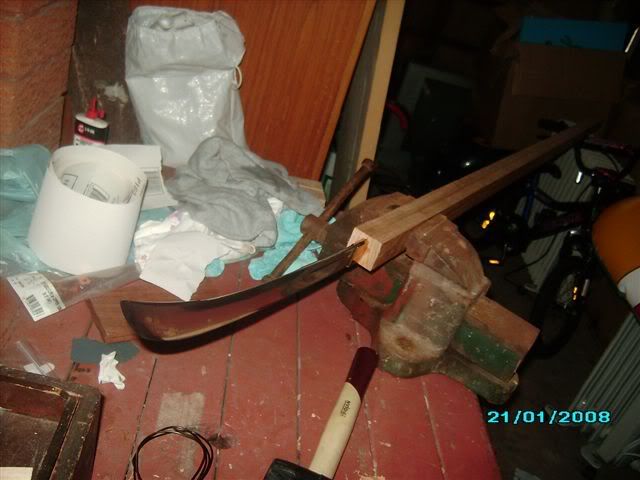
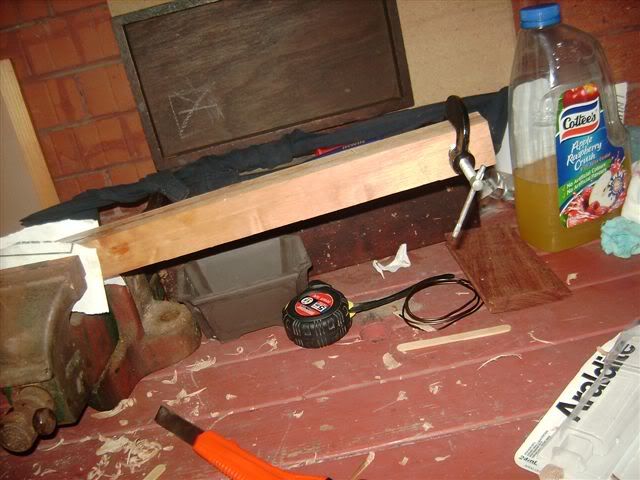
Why I probably chose now to post this, was that I finished the bloody chiseling this afternoon and was finally happy with it. Hence photos.
DA DAH, Fits to surfection ;D .
.
While all this to many might not seem like much. It has taken me about six months to get this far. As always it is a bit of a juggling act with kids, the missus, training and work but due to our rather wet summer I decided to push this wagon on a little ;D.
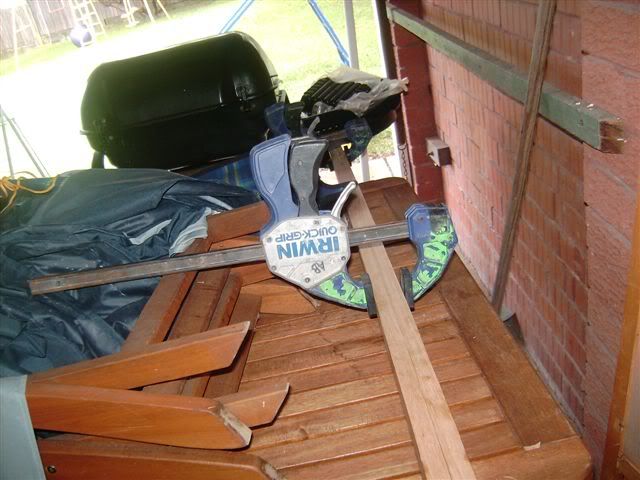
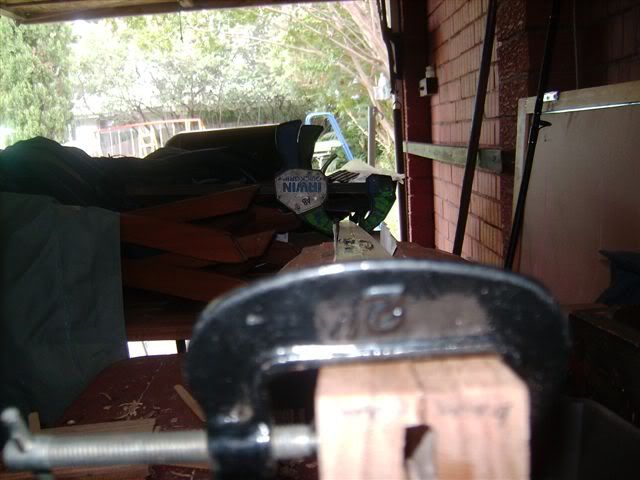
Tomorrow it's off to Bunnings(hardware) to get some epoxy and then to clamp it with a few grip-clamps down its length. As it progresses further, I will continue to post progresseions and photos if there is anyone out there ? hello.
nothing new about that I hear you say, but thats until you see me write I am going against tradition(perish the thought
 ) and mounting it in Australia's own Spotted Gum.
Lovely timber, it has loads of different tones and has the look (when cut down the grain) of swirly boysenberry ice-cream. Beautiful stuff. It comes in tones of sandy greys to blood-red brown and is very popular as timber flooring. Once it is laid it looks really nice, but as a timber it takes a while to cure. While it is curing it is very suseptable to warping (usually the result of too much hot then cold).
Before we laid this floor about 6 months ago, I picked out a few prime straight lengths that came at about 2500x120mm in case I needed a few spares. These lengths I picked out were some of the lighter-toned pieces as the darker-red ones tend to give off alot of tannins which will react with the steel of the nakago.The timber itself is classified as a hardwood and while larger pieces do weigh a tonne, the length I am working with feels firm but deceptively light.
Upon researching Naginata varieties for my choice in mounting, I found that with the Modern mostly Chinese-made Naginatas was that the shaft was very thick and the whole thing seemed to weigh abit much. When I looked at the traditional Japanese Naginata the differences I found were: the trad. ones were thin, and I mean about as thin sometimes as a tsuka is ; The shaft on the Chinese made ones were sometimes rounded, when the trad. ones were ovular ; the trad. ones have (if at all) a small tanto-tsuba like tsuba when the mass-made ones sometimes have a tsuba that really should belong on a nodachi.
Please don't get me wrong, I like a weapon with a bit of strength to it but in theory this weapon needs to be agile. It needs to have to get into the crevices of bugei armour and do its job, or keep a samurai at a distance of at laest 7 foot from the holder. Too much weight in a long weapon that has to be held out to gain effect will only inevitably tire the arms out of the user before long. A naginata that is thin, but very strong will not hinder or tyre its user but allow more movement and a speedy return, that is the main thing. After all the further away your opponent is the better, if he thinks you are holding a heavy weapon he will enevitably let you wear yourself out then come in for the kill, no ?
Anyway, enough of the reasons why.
To start off I used an electric planer to plane off the joints of the length of flooring that I chose out. This gave me about 115mm of width to work with, so now I needed to split it in half down the centre to create the two sides needed for my shaft. This I did using one of the devils tools, also known as a circular saw. I drew it all out and my mate just followed up the line. Even though my mate has a steady hand the two halfs you are left with will not be exactly square. This has to be addressed as when you chisel out the hole for the nakago to go into you will have matching issues of the halves, then you will have fitting nakago issues. We deal with this hurdle by borrowing another mates Thicknesser. This brilliant piece of machinery one feeds both halves into at the same time and as if by magicity, they come out the back of it the same thickness. Do you hear that, the same thickness yes wonders will never cease ;D. This machine will be invaluable as well when I want to get it down evenly to its final shape. It takes 1 - 6mm off with each pass depending on the setting so in the end I will get my desired thickness to a tee.
After this I was left with a width of about 44mm down the lengths of both halves. Then I got the Nag blade out and traced the outline of the nakago onto the shaft, mirrored on both lengths. I also wrote in pencil on all sides which was the spine and which was the edge, just in case I forgot and got a bit carried away.
I routed out the sections down to about 2mm/spine-side and 1mm/edge-side on one half, and on the other half only about 1mm down the spine side of the cut-out. This is because I intend for it to sit a little biased over to the one side to give itself a bit more strength in its fitting (as I will be using it for tameshigiri). This next step was probably the most labour intensive as I decided to chisel it out by hand.
As I was informed, due to the ruffness of using a hand-chisel on the wood the nakago would achieve a tighter fit in my mounting, than if it were to be perfectly, smoothly routed out.
Why I probably chose now to post this, was that I finished the bloody chiseling this afternoon and was finally happy with it. Hence photos.
DA DAH, Fits to surfection ;D
 .
.While all this to many might not seem like much. It has taken me about six months to get this far. As always it is a bit of a juggling act with kids, the missus, training and work but due to our rather wet summer I decided to push this wagon on a little ;D.
Tomorrow it's off to Bunnings(hardware) to get some epoxy and then to clamp it with a few grip-clamps down its length. As it progresses further, I will continue to post progresseions and photos if there is anyone out there ? hello.


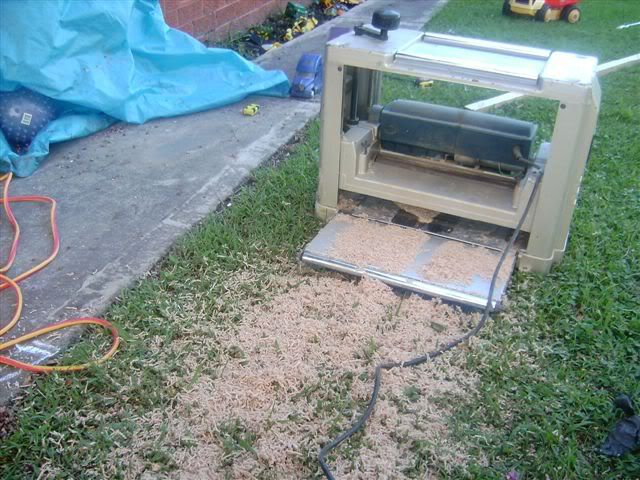
 , I've never seen one with the engine on the top like that. Ours weight 100kg+.