

A simple kojiri from scratch
Sept 25, 2009 22:48:45 GMT
Post by Deleted on Sept 25, 2009 22:48:45 GMT
There was some interest in a kojiri tutorial after I showed a couple I had made.
won't claim to be an expert forger as this only is the fourth I've made, but at least they do their job. I have no experience in forging either, so most should be able to do this. Don't expect the first tries to be perfect though, copper is a mischievous material and I'm still learning something new each time I make one.
I made the following kojiri out of 0,5 mm copper sheet. It's the thinnest that's practical to use, and suits as a small endcap. For larger kojiris I would use 0,8-1 mm copper. Copper is easily forged when annealed, which is the key to getting a nice shape.
I used the following tools:
A quality blow torch, small peening hammer, a micro anvil, a sheet metal cutter, a coarse file, a set of needle files, 240 grit paper.
First I started by designing a kojiri that went with the theme and fittings. I drew about 20 designs, and ended up with a simple but classic lilly design. I then shaped the end of the saya according to the kojiri design. If you are to make a big or thick kojiri, leave it just shaped to fit the kojiri before laquering. The fitting will leave marks and pits in the saya that needs to be fixed afterwards. For this thin and small kojiri I had the saya already laquered exept the final layers.
I measured the length and width I wanted with a piece of thread, then drew a two dimensional drawing of the kojiri on the copper sheet. I hate exact measures, so exept from a couple of lines I drew freehand. For more complex kojiri designs I recommend making a paper template first, and also if you are unsure of the conversion from side design to 2D.
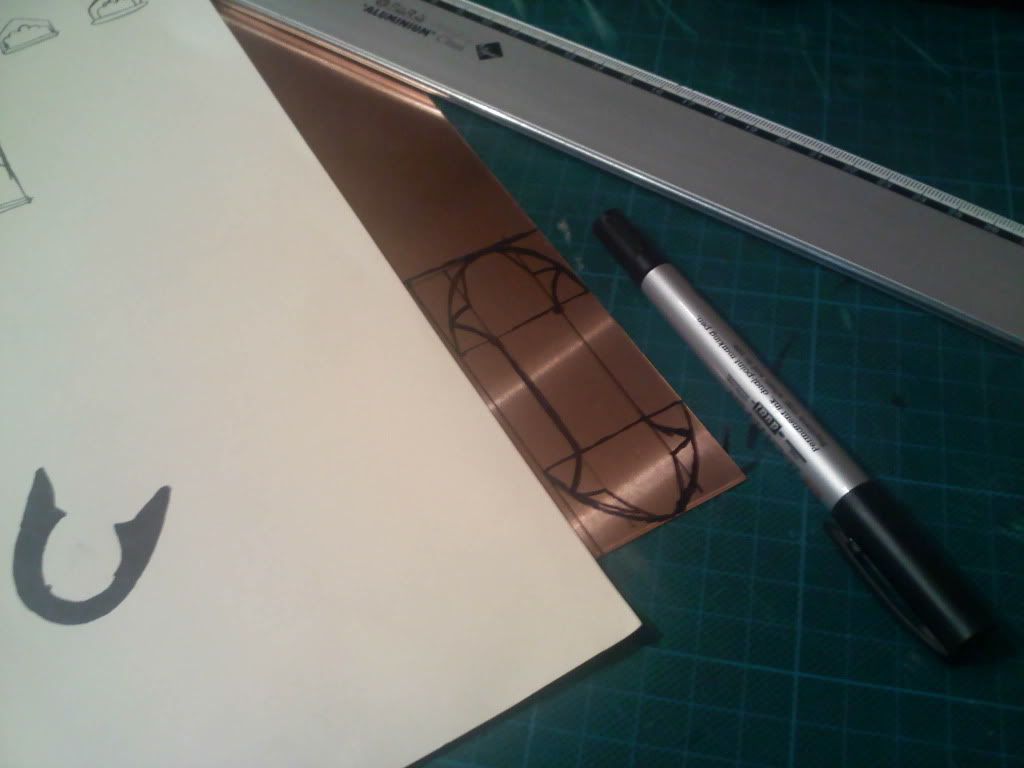
I cut it out roughly with a sheet metal cutter, then filed first with a coarse file and then a fine file. Don't cut to deep with the cutter or the edges may be ruined. The files eat copper pretty fast, especially as thin as this.
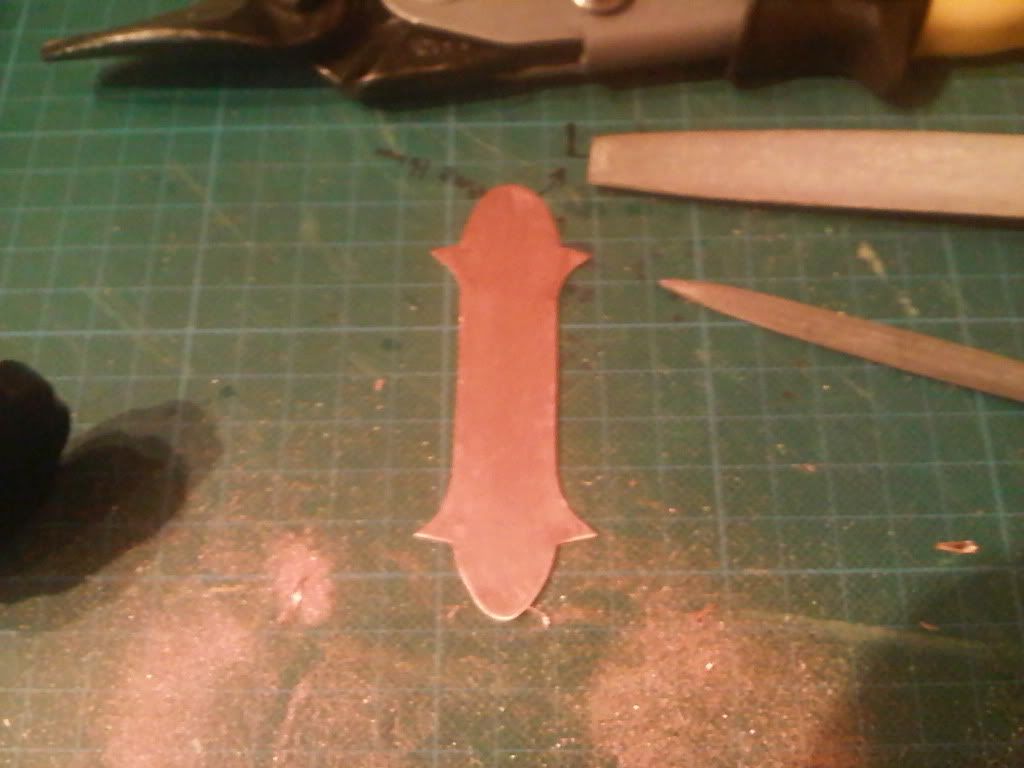
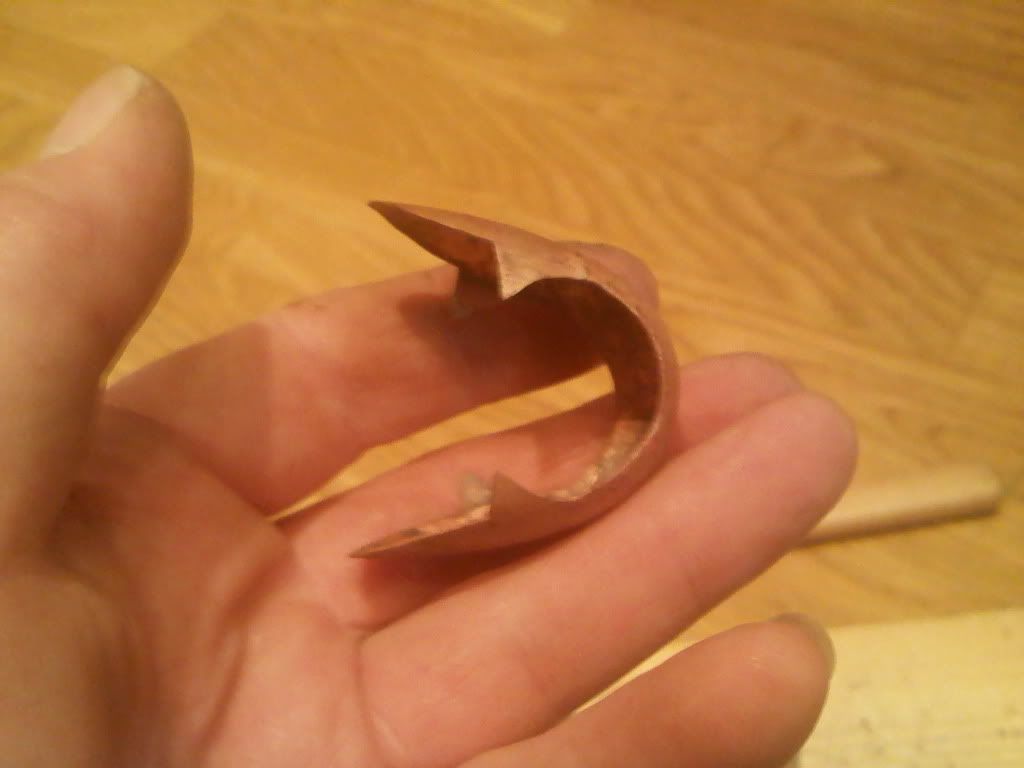
After all edges are filed with a fine file I trim them with 240 grit paper to get rid of all sharp edges. It now looks like this.
It should now be annealed before shaping begins. Heat it up to bright red hot, and it will become very soft, almost like thin cardboard. It makes no diference if it's aircooled or watercooled. If you put it under water the heating scales will jump off.
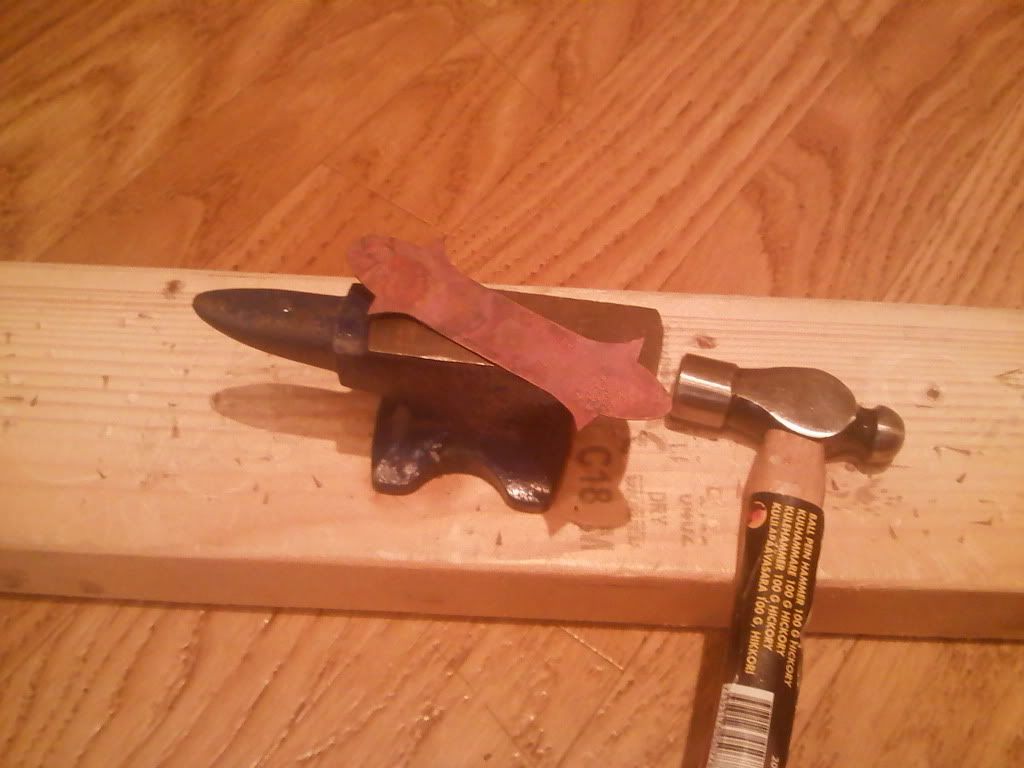
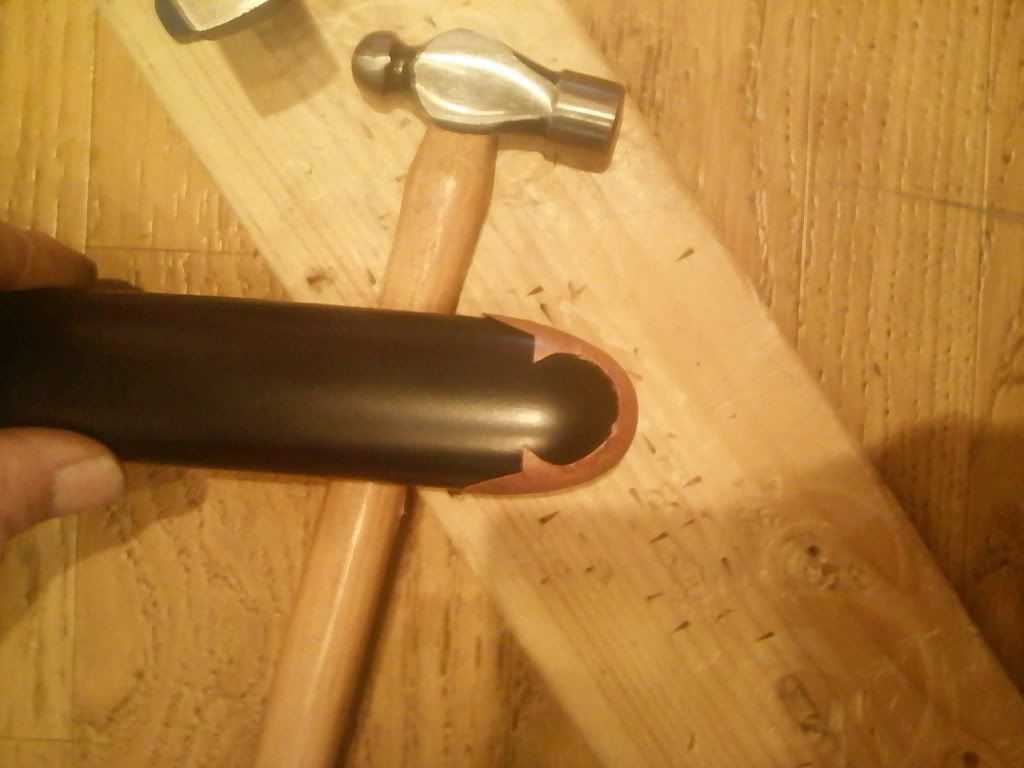
Place the kojiri on the saya tip (or a wood or metal template) and bend it over to the placement it should be. Hammer the middle part in slightly while squeezing it in place. I then hammer a cup on the middle part on the anvil while I squeeze the kojiri to shape. Make sure it doesn't twist during this process. Hammering will make the copper spiringy and hard again.
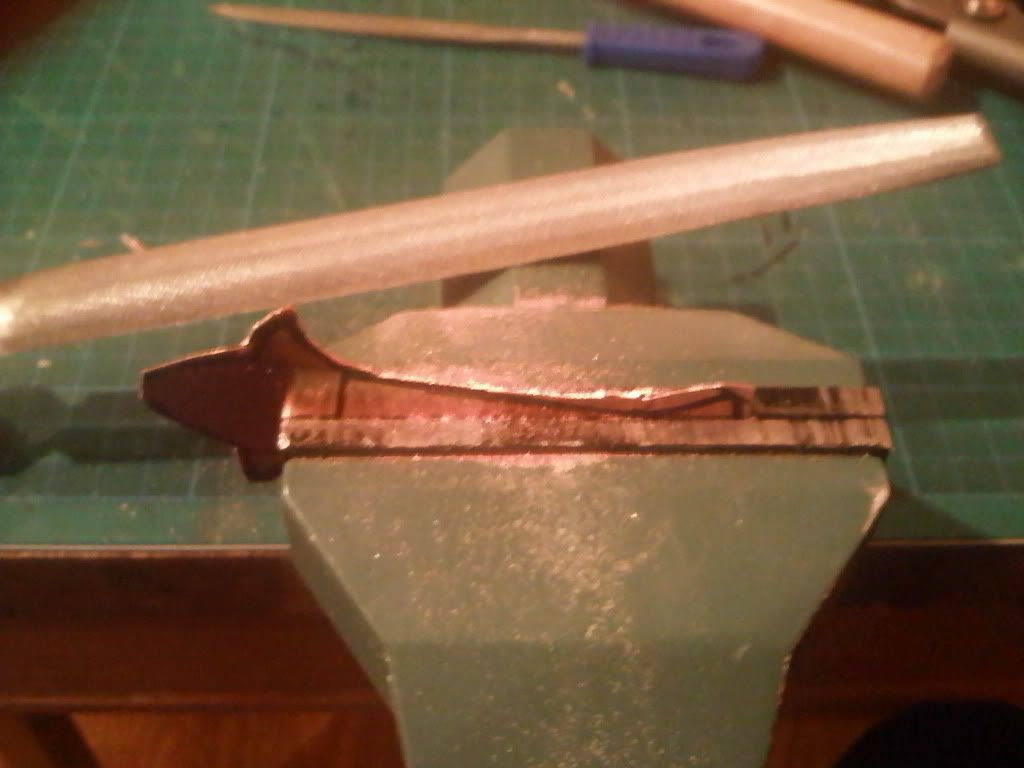
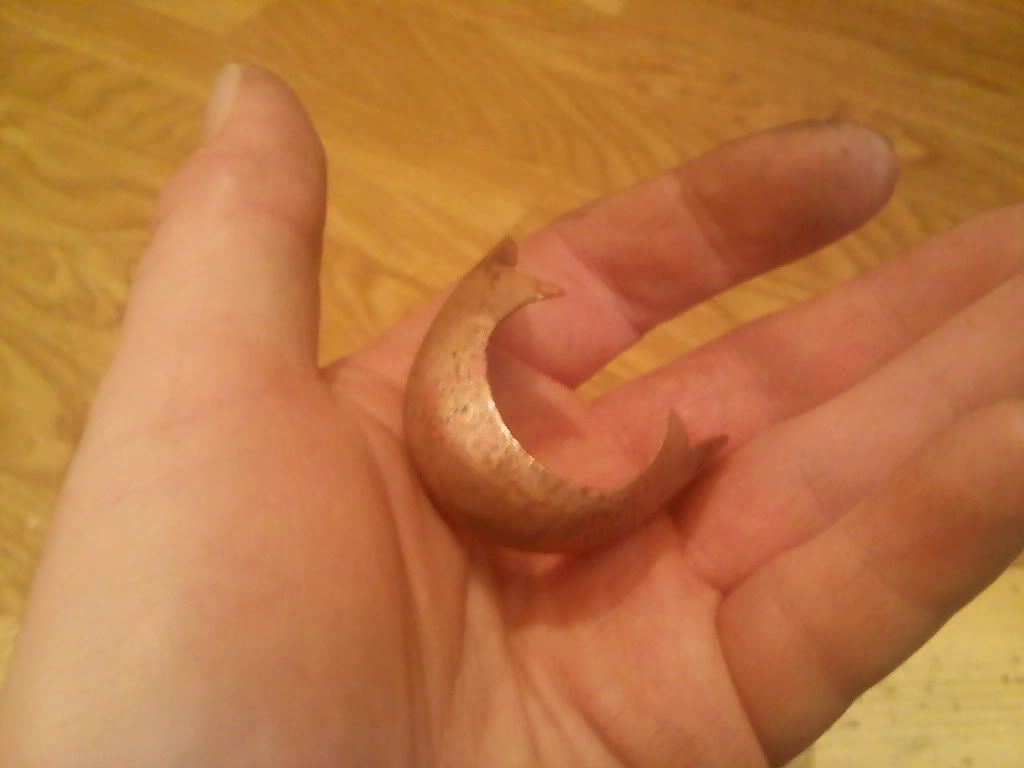
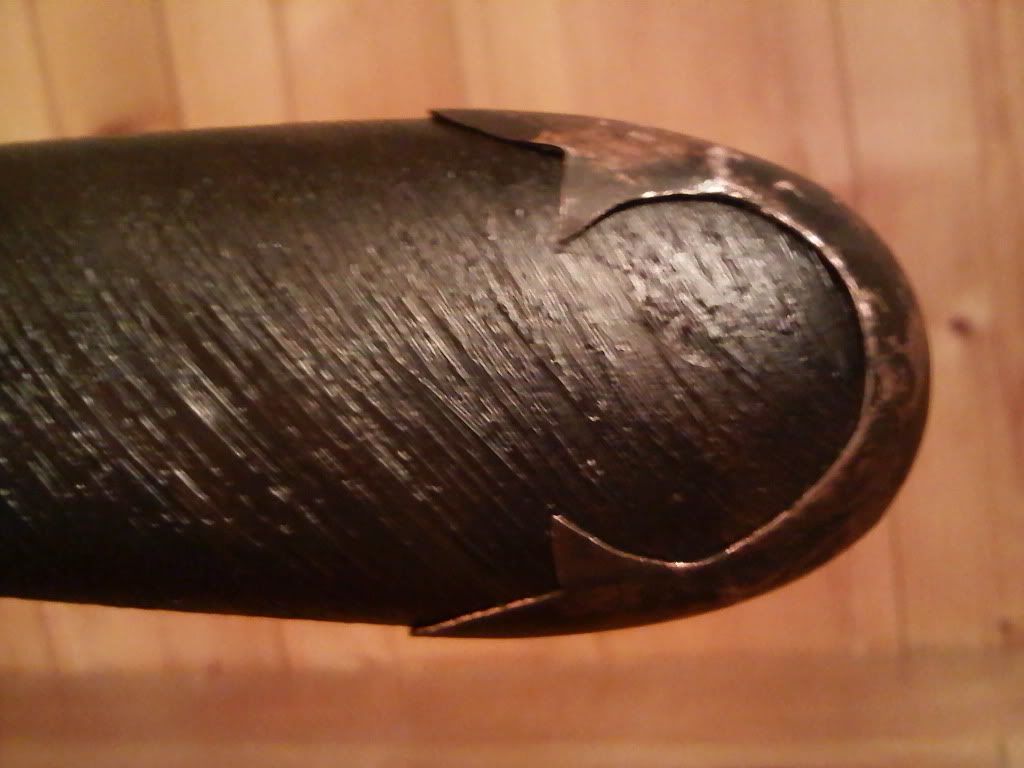
After a rough shaping I anneal it again, and place it back on the saya tip. I hammer it to shape around the tip, anneal when needed. This is what it looked like after two annealings, nearly there:
I annealed it one more time and hammered the edges in place gently. The piece then needs to be work hardened, tap it all around with the hammer for a while to remove the softness. It now fit perfectly and looked like this:
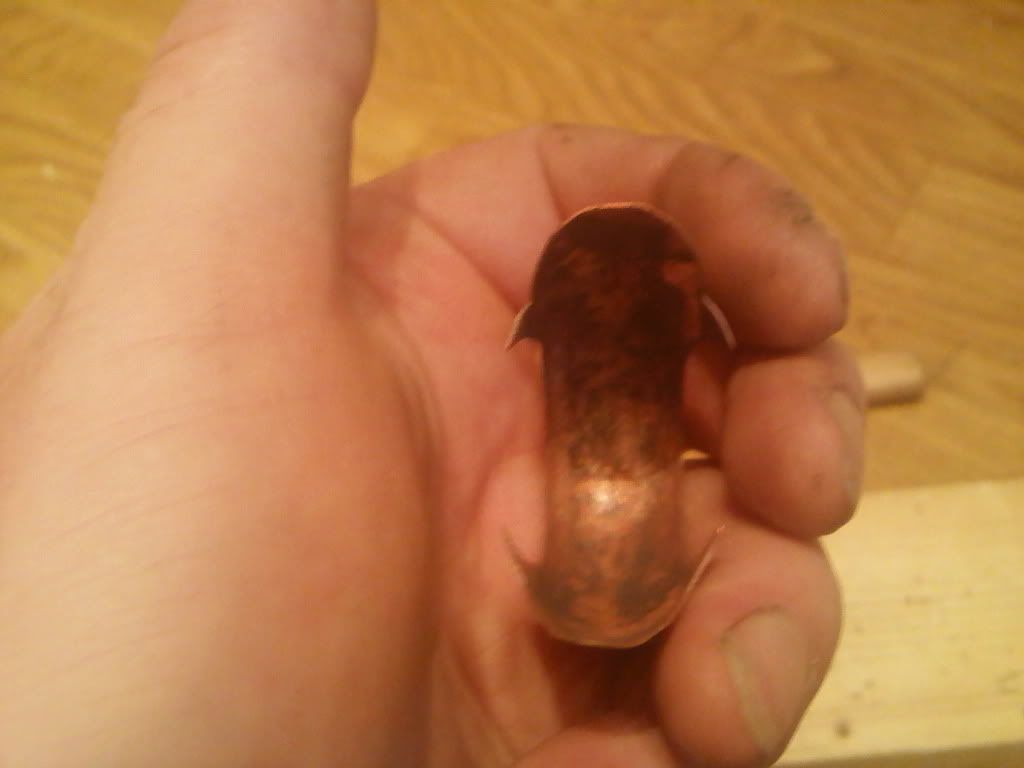
It's time to clean it up with needle files and sand paper. If this kojiri was thicker I could file and sand until it was smooth. In this case I want the small hammer marks and bumps for a rough look. I just took off some copper around the band and smoothed it slightly.
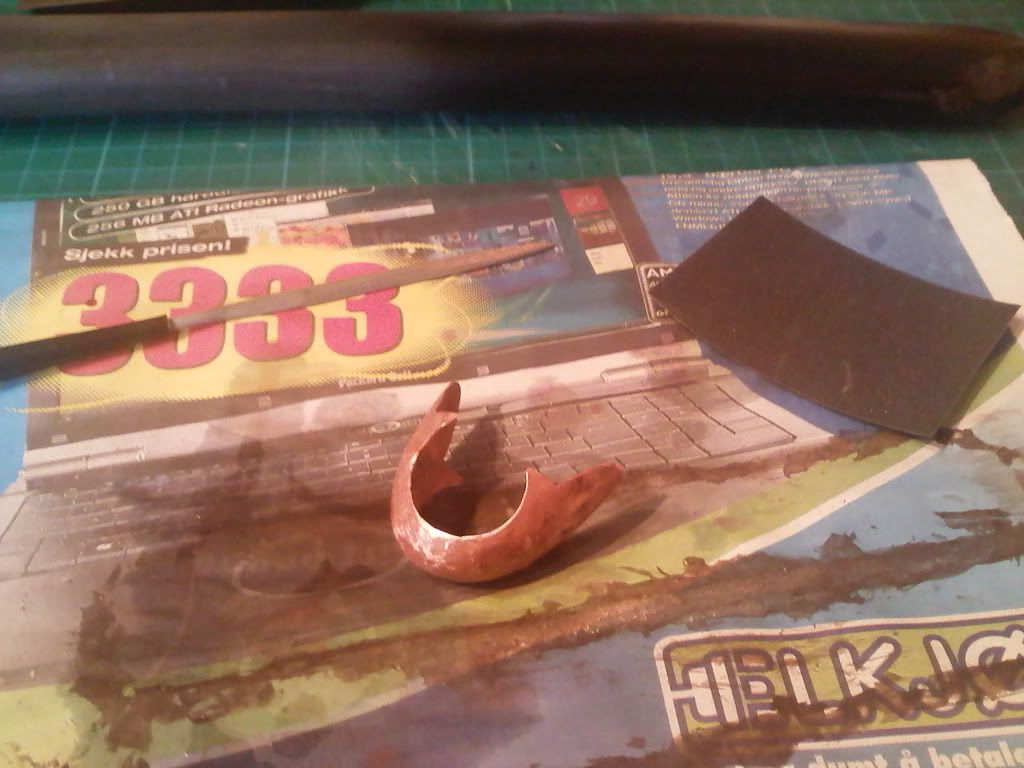
I did a small antiquing with first baking soda, and then some acrylic laquer to get a battered look.
There are several remedies to blacken, grey and brown the copper kojiri. For an antique brown look use ferric chloride. For black use gun blueing. For a grey metallic look use liver of sulphur or gun blueing.
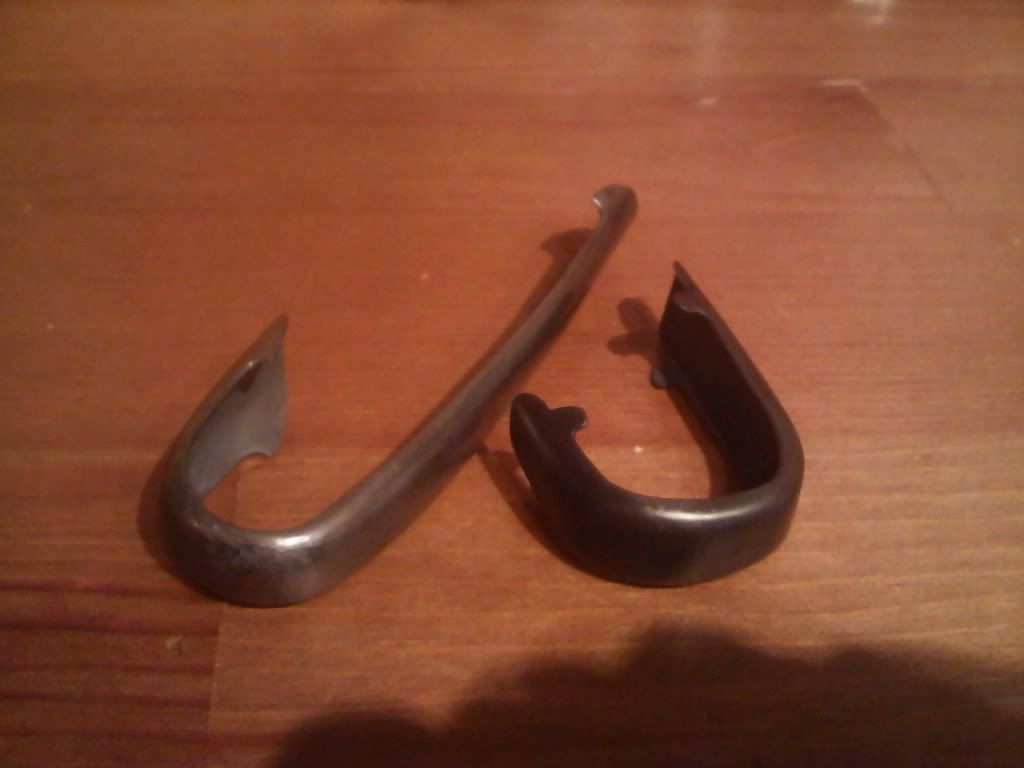
Here is two kojiri I made earlier which has been patinated with liver of sulphur and treated.
The first one has been dipped three times in LOS and wiped with paper, then rubbed with a glossy paper to get a smooth metallic finish. For the last rubbing I used wax, which darkens the colour slightly and gives it a satin finish.
The long kojiri has been treated the same way, but it has been through several baths and in addition to be polished with glossy paper I burnished it gently with the mekugi-nuki. This produces a finish that looks like aged smoothed iron.
Here is a blueberry pie I made too.
Good luck on making your own, I hope this was a little helpful.
won't claim to be an expert forger as this only is the fourth I've made, but at least they do their job. I have no experience in forging either, so most should be able to do this. Don't expect the first tries to be perfect though, copper is a mischievous material and I'm still learning something new each time I make one.
I made the following kojiri out of 0,5 mm copper sheet. It's the thinnest that's practical to use, and suits as a small endcap. For larger kojiris I would use 0,8-1 mm copper. Copper is easily forged when annealed, which is the key to getting a nice shape.
I used the following tools:
A quality blow torch, small peening hammer, a micro anvil, a sheet metal cutter, a coarse file, a set of needle files, 240 grit paper.
First I started by designing a kojiri that went with the theme and fittings. I drew about 20 designs, and ended up with a simple but classic lilly design. I then shaped the end of the saya according to the kojiri design. If you are to make a big or thick kojiri, leave it just shaped to fit the kojiri before laquering. The fitting will leave marks and pits in the saya that needs to be fixed afterwards. For this thin and small kojiri I had the saya already laquered exept the final layers.
I measured the length and width I wanted with a piece of thread, then drew a two dimensional drawing of the kojiri on the copper sheet. I hate exact measures, so exept from a couple of lines I drew freehand. For more complex kojiri designs I recommend making a paper template first, and also if you are unsure of the conversion from side design to 2D.
I cut it out roughly with a sheet metal cutter, then filed first with a coarse file and then a fine file. Don't cut to deep with the cutter or the edges may be ruined. The files eat copper pretty fast, especially as thin as this.
After all edges are filed with a fine file I trim them with 240 grit paper to get rid of all sharp edges. It now looks like this.
It should now be annealed before shaping begins. Heat it up to bright red hot, and it will become very soft, almost like thin cardboard. It makes no diference if it's aircooled or watercooled. If you put it under water the heating scales will jump off.
Place the kojiri on the saya tip (or a wood or metal template) and bend it over to the placement it should be. Hammer the middle part in slightly while squeezing it in place. I then hammer a cup on the middle part on the anvil while I squeeze the kojiri to shape. Make sure it doesn't twist during this process. Hammering will make the copper spiringy and hard again.
After a rough shaping I anneal it again, and place it back on the saya tip. I hammer it to shape around the tip, anneal when needed. This is what it looked like after two annealings, nearly there:
I annealed it one more time and hammered the edges in place gently. The piece then needs to be work hardened, tap it all around with the hammer for a while to remove the softness. It now fit perfectly and looked like this:
It's time to clean it up with needle files and sand paper. If this kojiri was thicker I could file and sand until it was smooth. In this case I want the small hammer marks and bumps for a rough look. I just took off some copper around the band and smoothed it slightly.
I did a small antiquing with first baking soda, and then some acrylic laquer to get a battered look.
There are several remedies to blacken, grey and brown the copper kojiri. For an antique brown look use ferric chloride. For black use gun blueing. For a grey metallic look use liver of sulphur or gun blueing.
Here is two kojiri I made earlier which has been patinated with liver of sulphur and treated.
The first one has been dipped three times in LOS and wiped with paper, then rubbed with a glossy paper to get a smooth metallic finish. For the last rubbing I used wax, which darkens the colour slightly and gives it a satin finish.
The long kojiri has been treated the same way, but it has been through several baths and in addition to be polished with glossy paper I burnished it gently with the mekugi-nuki. This produces a finish that looks like aged smoothed iron.
Here is a blueberry pie I made too.

Good luck on making your own, I hope this was a little helpful.


