

Repair & Re-scheme my instructor's iaito (yikes)
Jan 23, 2022 21:07:51 GMT
Post by steveboy on Jan 23, 2022 21:07:51 GMT
My batto-jutsu instructor asked if I would repair & rework the first iaito he ever owned. He was nervous giving it over to me, and I was nervous working on it. I checked in with him at every major step so it wouldn't go off the rails.
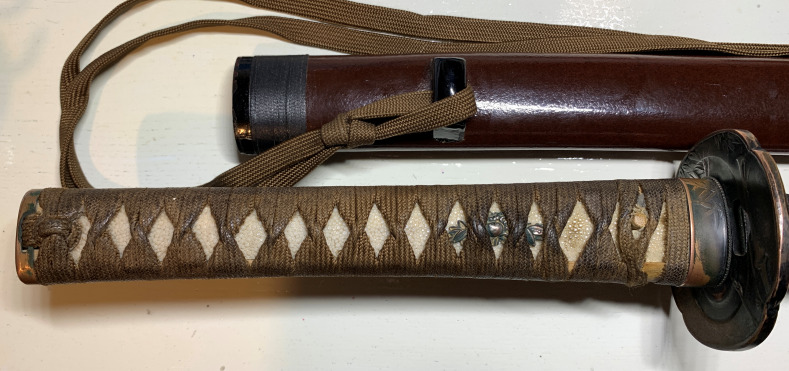
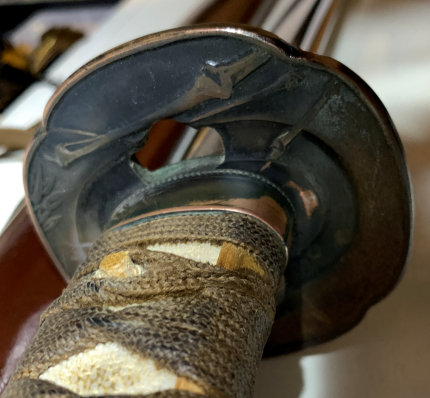
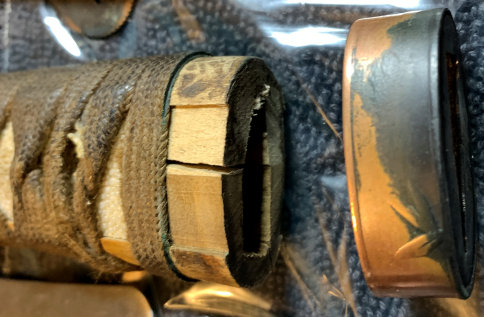
The tsuka & fittings were pretty worn. The blade was in good shape but had minor pitting. The saya was ok except for a crack at the koiguchi:
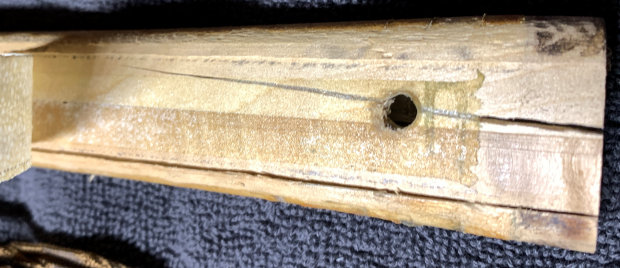
Disassembly showed a big crack in the tsuka (pretty common, I've found):
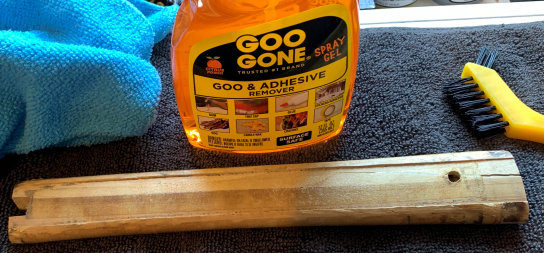
I pulled off the samegawa and scrubbed off the adhesive with a stiff brush and Goo Gone:
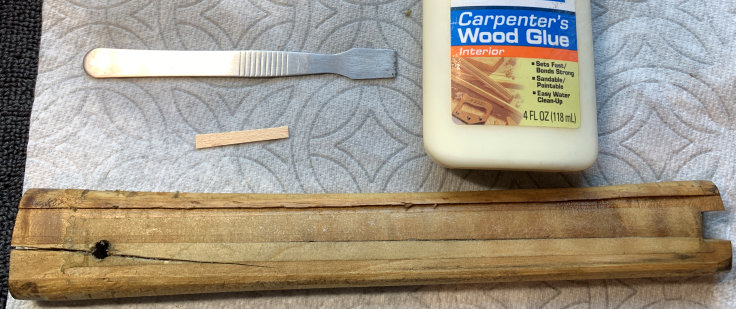
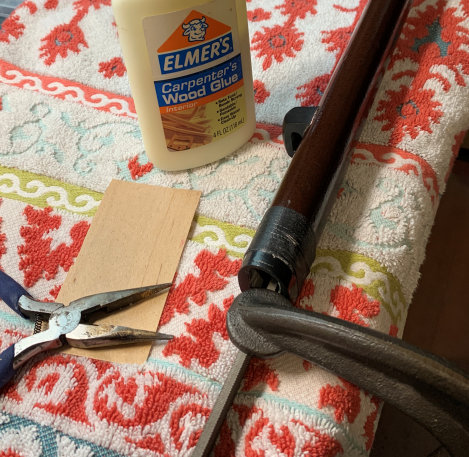
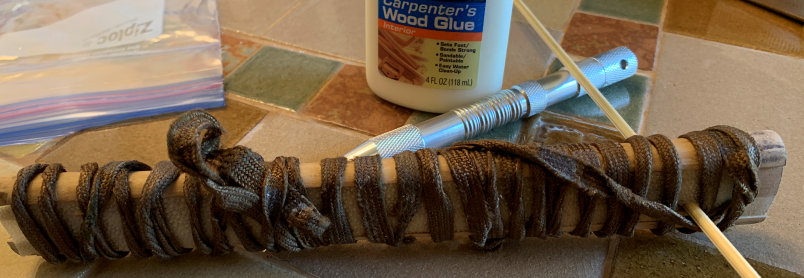
I used a knotting tool as a pry bar and a wood-veneer shim as a spatula to apply wood glue in the crack:
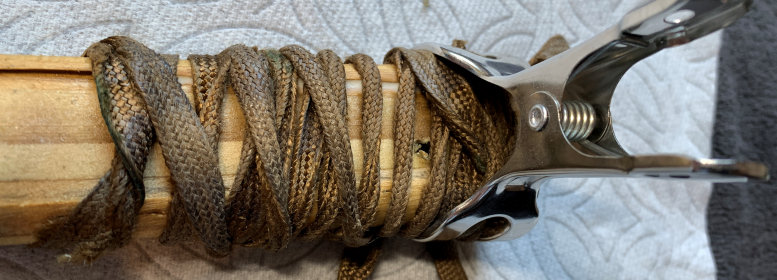
I bound it tight with the trashed ito I'd pulled off and clamped it to dry:
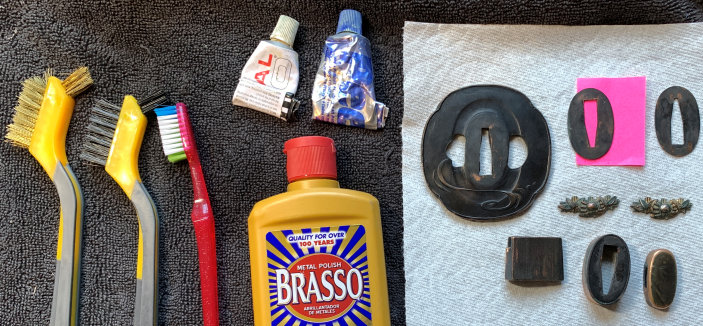
Cleaning time! I removed the patina from the tsuba & fittings with Brasso and several brushes, then polished with Metal Glo and Peek:
Cleaned & polished! I was a bit surprised to see that all the metal was copper. I thought it looked really good:

My instructor liked it enough to ask if we could go with it for the color scheme. I recommended painting everything black and leaving the decorations copper, and he agreed.
Rather than make life hard for myself by either doing painstakingly detailed masking on the decorations before painting black, or painting everything black and then doing painstaking filing back to copper on the decorations, I decided to cheat and paint everything black, then paint the decorations with Createx metallic copper paint. (Shhh.)
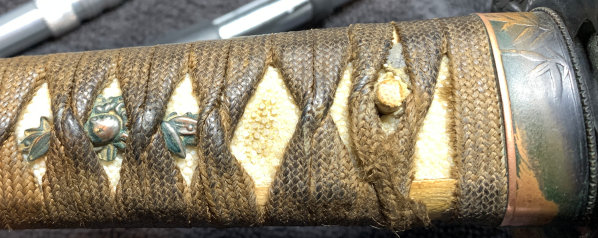
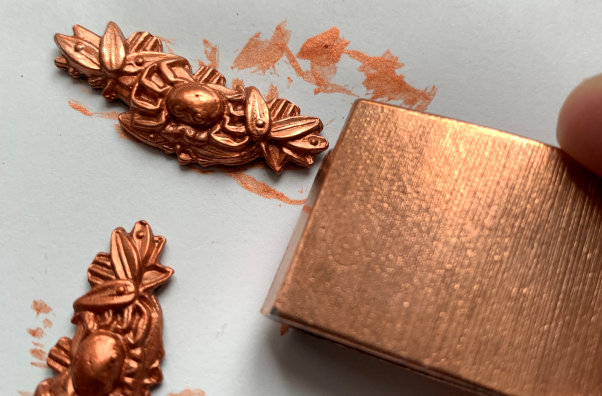
I painted the menuki first so I could color match against the polished, unpainted copper. Here's the before & after on the menuki:
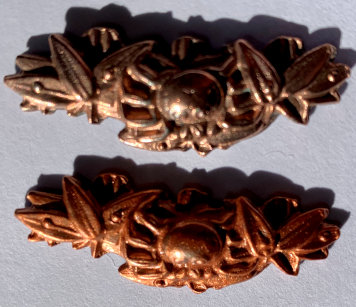
And here they are against the polished copper habaki. Go, Createx!
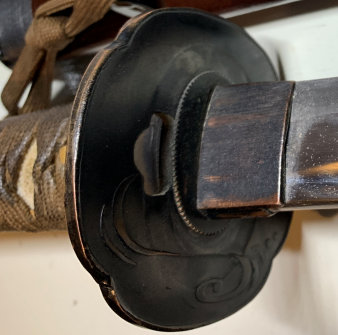
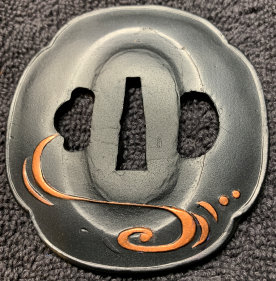
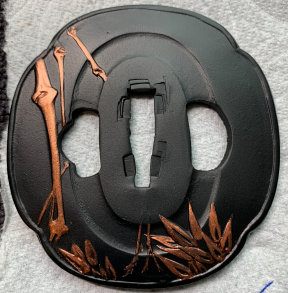
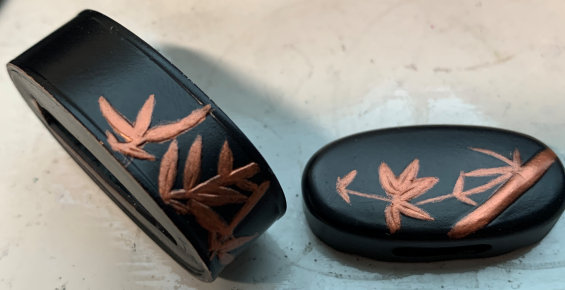
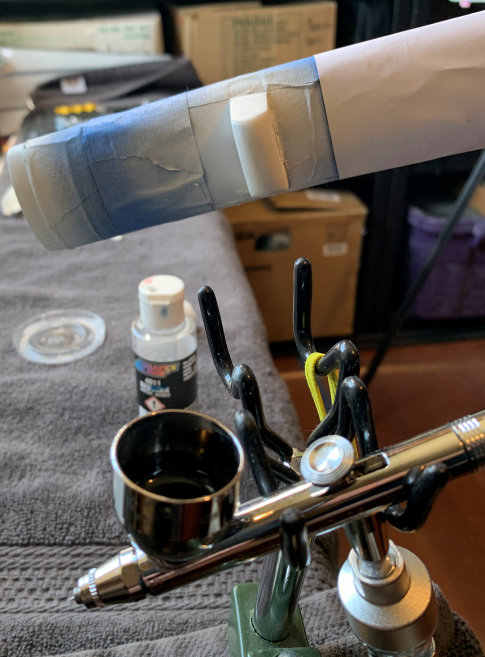
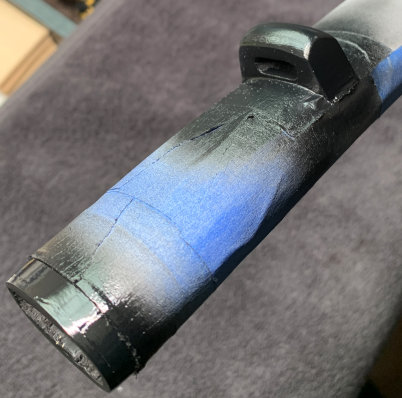
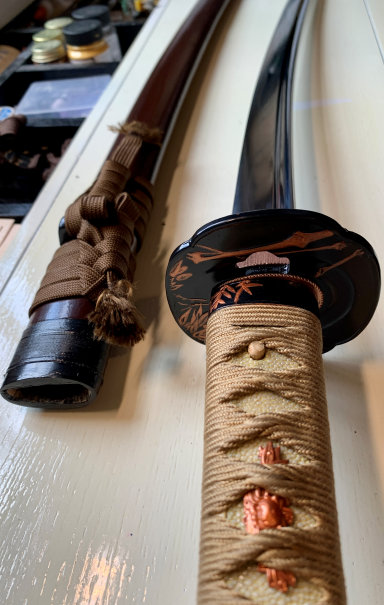
I airbrushed the tsuba, fuchi, and kashira jet black, then brush-painted the decorations with the metallic copper:
I was sure I could re-create the saya's speckled paint pattern, but I wasn't confident I could duplicate the pretty reddish-brown color. My instructor requested that I just clean it up and not repaint it. I repaired the crack and repainted the kurigata and the horn at the koiguchi:
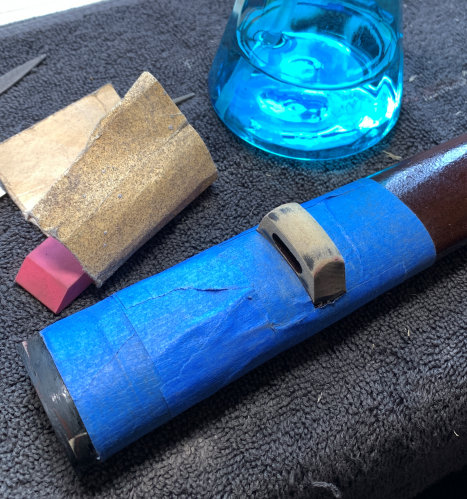
Then I shimmed the saya at the koiguchi. I have a stack of business-card-sized maple veneer that's easy to work with and great for shimming. I measured, cut, wood-glued, and clamped. When it's dry I file a slight ramp on the shim so that the habaki won't catch on it when the sword is sheathed.
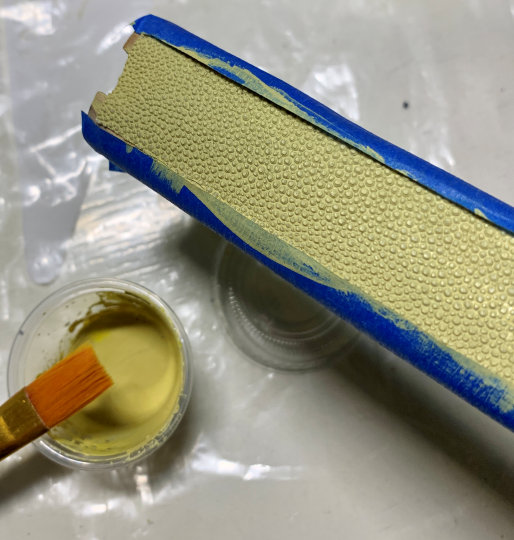
Now for the tsuka! A pattern had yellowed onto the samegawa over time, and nothing I tried would get it out. (If anyone knows how to re-bleach these things, please let me know!)
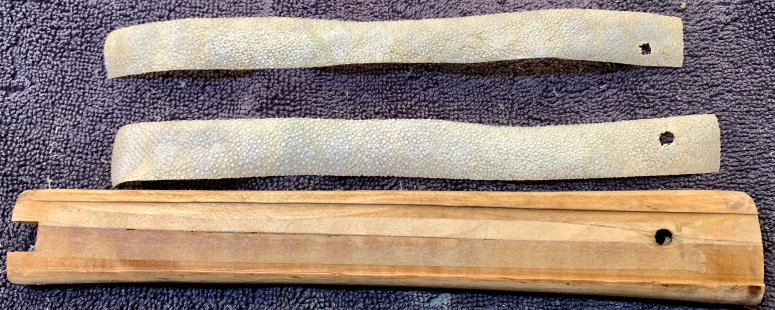
I sanded & shaped the tsuka a bit, then soaked the samegawa in water a few minutes to make it flexible. I glued it back in place and wrapped it tight. I ran a dowel through the mekugi-ana because the samegawa shrinks a little when it dries, and I didn't want the hole to move.
To get rid of the discoloration, I painted it with a faintly mustard-colored paint that looked antique-ish:
My instructor wanted a silk ito wrap, but we'd held off ordering until we'd settled on a color scheme. With the copper-on-black and the antiqued samegawa, I suggested a champagne colored silk ito from Ryujin (UK). (He's since closed down his shop but continues as an ebay seller. I've bought several items from him. They've always been high-quality, and I definitely recommend him.)
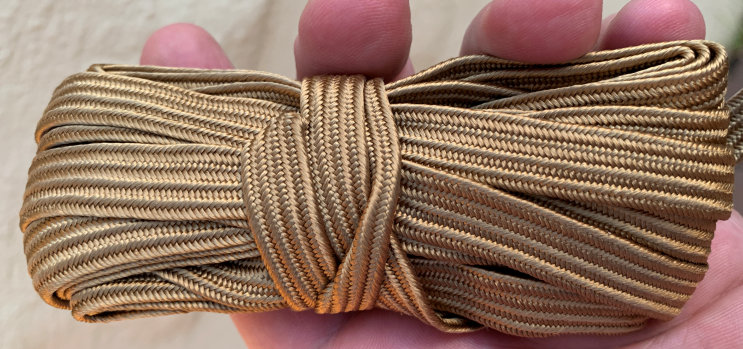
Let's get wrapping! I was a bit nervous about this part, because one mistake and I've ruined a $150 piece of silk.

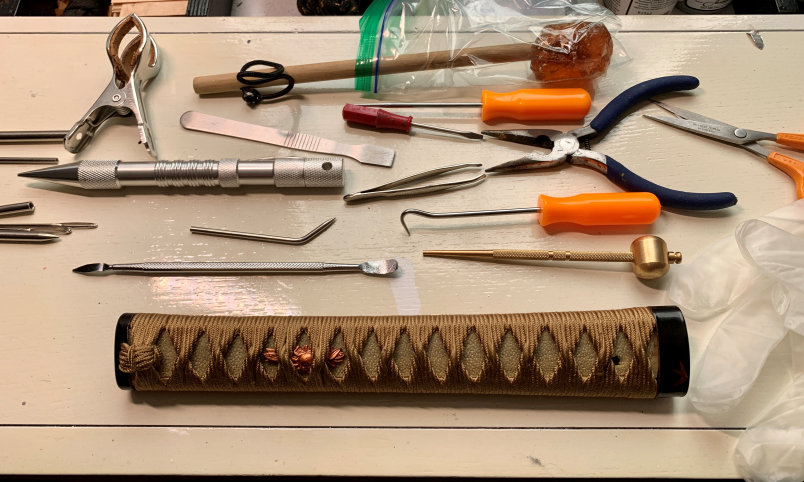
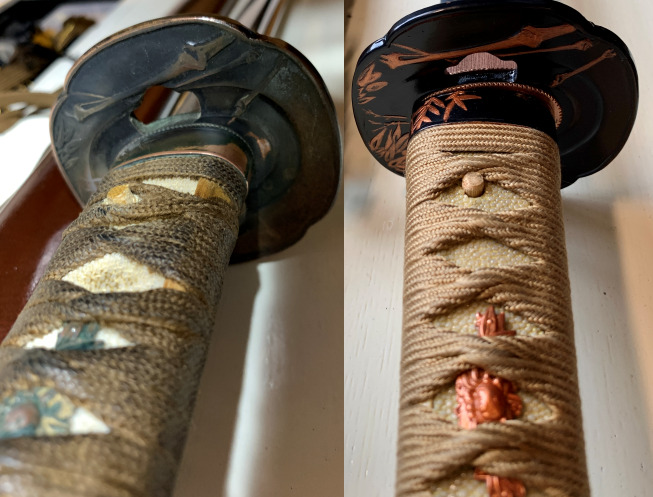
A lot of tools, hours, and sore fingers later:
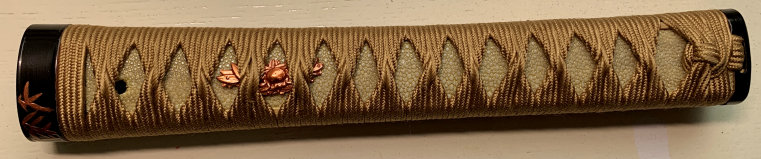
I cleaned & polished the blade (I think I used Mother's Aluminum Polish for this one) and put it all back together:
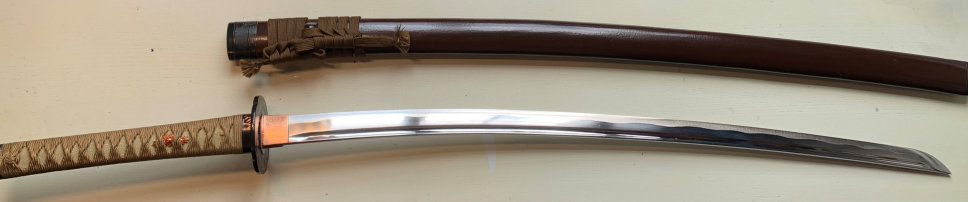

I was really happy with how this turned out! The color scheme was unusual, and there was an overall elegance that I really didn't expect. I wish I'd been able to repaint the saya, but that's my only regret in this project. My instructor loved it which, you know -- whew!
Here's some before & after:
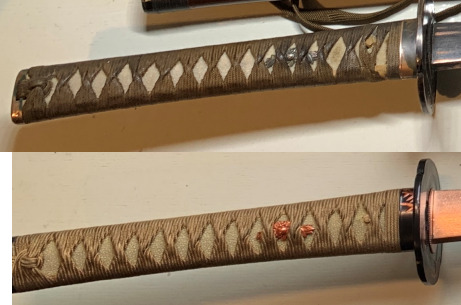
The tsuka & fittings were pretty worn. The blade was in good shape but had minor pitting. The saya was ok except for a crack at the koiguchi:
Disassembly showed a big crack in the tsuka (pretty common, I've found):
I pulled off the samegawa and scrubbed off the adhesive with a stiff brush and Goo Gone:
I used a knotting tool as a pry bar and a wood-veneer shim as a spatula to apply wood glue in the crack:
I bound it tight with the trashed ito I'd pulled off and clamped it to dry:
Cleaning time! I removed the patina from the tsuba & fittings with Brasso and several brushes, then polished with Metal Glo and Peek:
Cleaned & polished! I was a bit surprised to see that all the metal was copper. I thought it looked really good:
My instructor liked it enough to ask if we could go with it for the color scheme. I recommended painting everything black and leaving the decorations copper, and he agreed.
Rather than make life hard for myself by either doing painstakingly detailed masking on the decorations before painting black, or painting everything black and then doing painstaking filing back to copper on the decorations, I decided to cheat and paint everything black, then paint the decorations with Createx metallic copper paint. (Shhh.)
I painted the menuki first so I could color match against the polished, unpainted copper. Here's the before & after on the menuki:
And here they are against the polished copper habaki. Go, Createx!
I airbrushed the tsuba, fuchi, and kashira jet black, then brush-painted the decorations with the metallic copper:
I was sure I could re-create the saya's speckled paint pattern, but I wasn't confident I could duplicate the pretty reddish-brown color. My instructor requested that I just clean it up and not repaint it. I repaired the crack and repainted the kurigata and the horn at the koiguchi:
Then I shimmed the saya at the koiguchi. I have a stack of business-card-sized maple veneer that's easy to work with and great for shimming. I measured, cut, wood-glued, and clamped. When it's dry I file a slight ramp on the shim so that the habaki won't catch on it when the sword is sheathed.
Now for the tsuka! A pattern had yellowed onto the samegawa over time, and nothing I tried would get it out. (If anyone knows how to re-bleach these things, please let me know!)
I sanded & shaped the tsuka a bit, then soaked the samegawa in water a few minutes to make it flexible. I glued it back in place and wrapped it tight. I ran a dowel through the mekugi-ana because the samegawa shrinks a little when it dries, and I didn't want the hole to move.
To get rid of the discoloration, I painted it with a faintly mustard-colored paint that looked antique-ish:
My instructor wanted a silk ito wrap, but we'd held off ordering until we'd settled on a color scheme. With the copper-on-black and the antiqued samegawa, I suggested a champagne colored silk ito from Ryujin (UK). (He's since closed down his shop but continues as an ebay seller. I've bought several items from him. They've always been high-quality, and I definitely recommend him.)
Let's get wrapping! I was a bit nervous about this part, because one mistake and I've ruined a $150 piece of silk.
A lot of tools, hours, and sore fingers later:
I brushed two coats of Minwax gloss polyurethane on the ito (I'd already brushed semigloss onto the samegawa):
I cleaned & polished the blade (I think I used Mother's Aluminum Polish for this one) and put it all back together:
I was really happy with how this turned out! The color scheme was unusual, and there was an overall elegance that I really didn't expect. I wish I'd been able to repaint the saya, but that's my only regret in this project. My instructor loved it which, you know -- whew!
Here's some before & after:


 Unfortunately I'm an edge-perfectionist. Also one wrong move when unsheathing and the throat nicks the edge on either side.
